Anime Character Drawing: Improve Pose, Perspective, and Line Quality
A dynamic anime character can have strong colors and an appealing design while still feeling difficult to construct. In this Artwod Community example, @marcus76592 asked for help with perspective, form and depth, anatomy, and line quality. The feedback focuses on making the pose more fluid, wrapping costume details around the body, and creating clearer line hierarchy.
Insights shared in this blog post are by: @gabrielle34427. You can also request feedback on your artwork in Artwod’s Art Community.
The Artist's Question
The submission, posted by @marcus76592 in the Anime category, shows a dynamic female character in a colorful outfit with fur trim and laced boots. The artist’s note was short: “I’m struggling with perspective, form & depth, anatomy, line quality.”
That’s four problems at once, which is a common situation. Feedback works best when it picks the biggest one and fixes that first, so that is what the community did.
Loading comparison…
Reveal the original or paintover
Use Contrapposto to Make the Pose More Dynamic
One of the main suggestions from @kyleyj was to push contrapposto.
Contrapposto is a pose structure where the shoulders and hips tilt in opposing directions. Rather than keeping the torso and pelvis aligned, the opposing angles create a more natural twist through the body. That opposing relationship can create a fluid S-curve through the figure.
For this artwork, the paintover pushes that twisting action further to make the character feel more like they are actively striking rather than simply holding a sword in a fixed pose.
This is one way of defining a line of action, or the line used to define a gesture. The S-curve is one type of the line of action, and the C-curve is another common type. You can plan the pose around this line, while keeping in mind anatomy. For an anime artstyle, I would play around with the exaggeration of the gesture playing off reference images.
Within this paintover, featuring a female witch in neutral pose which shows how to breakdown this down in a sketch. Similar to this post, I make two lines for the shoulders and hips in two opposing directions to make the pose more dynamic.
Loading comparison…
Reveal the original or paintover
Think of Limbs as 3D Cylinders
For perspective and depth, the paintover feedback recommends thinking about the limbs as simple 3D cylinders moving through space. This is especially useful when the character has elaborate costume details. Instead of drawing the fur trim, boot laces, or clothing folds as flat decorations, imagine the underlying limb as a cylinder. Then wrap the details around it.
When the details follow the underlying form, they automatically communicate more depth.
This other Artwod submission with this beautiful composition shows how we could break down these forms. The upper and lower arms are cylinders, and building on that, the lower arm tapers around the wrist. Thinking of the arms as two cylinders here can help correct the arm’s perspective. The intermediate course has a whole lesson dedicated to extreme foreshortening.
Make the Costume Follow the Body
The original artwork contains a lot of strong costume design. That detail is visually appealing, but it can also make anatomy and perspective harder to judge.
Try temporarily removing the decorative details, then rebuild the costume over those forms.
The goal is to make the clothing wrap around the anatomy, rather than allowing the anatomy to disappear underneath the costume.
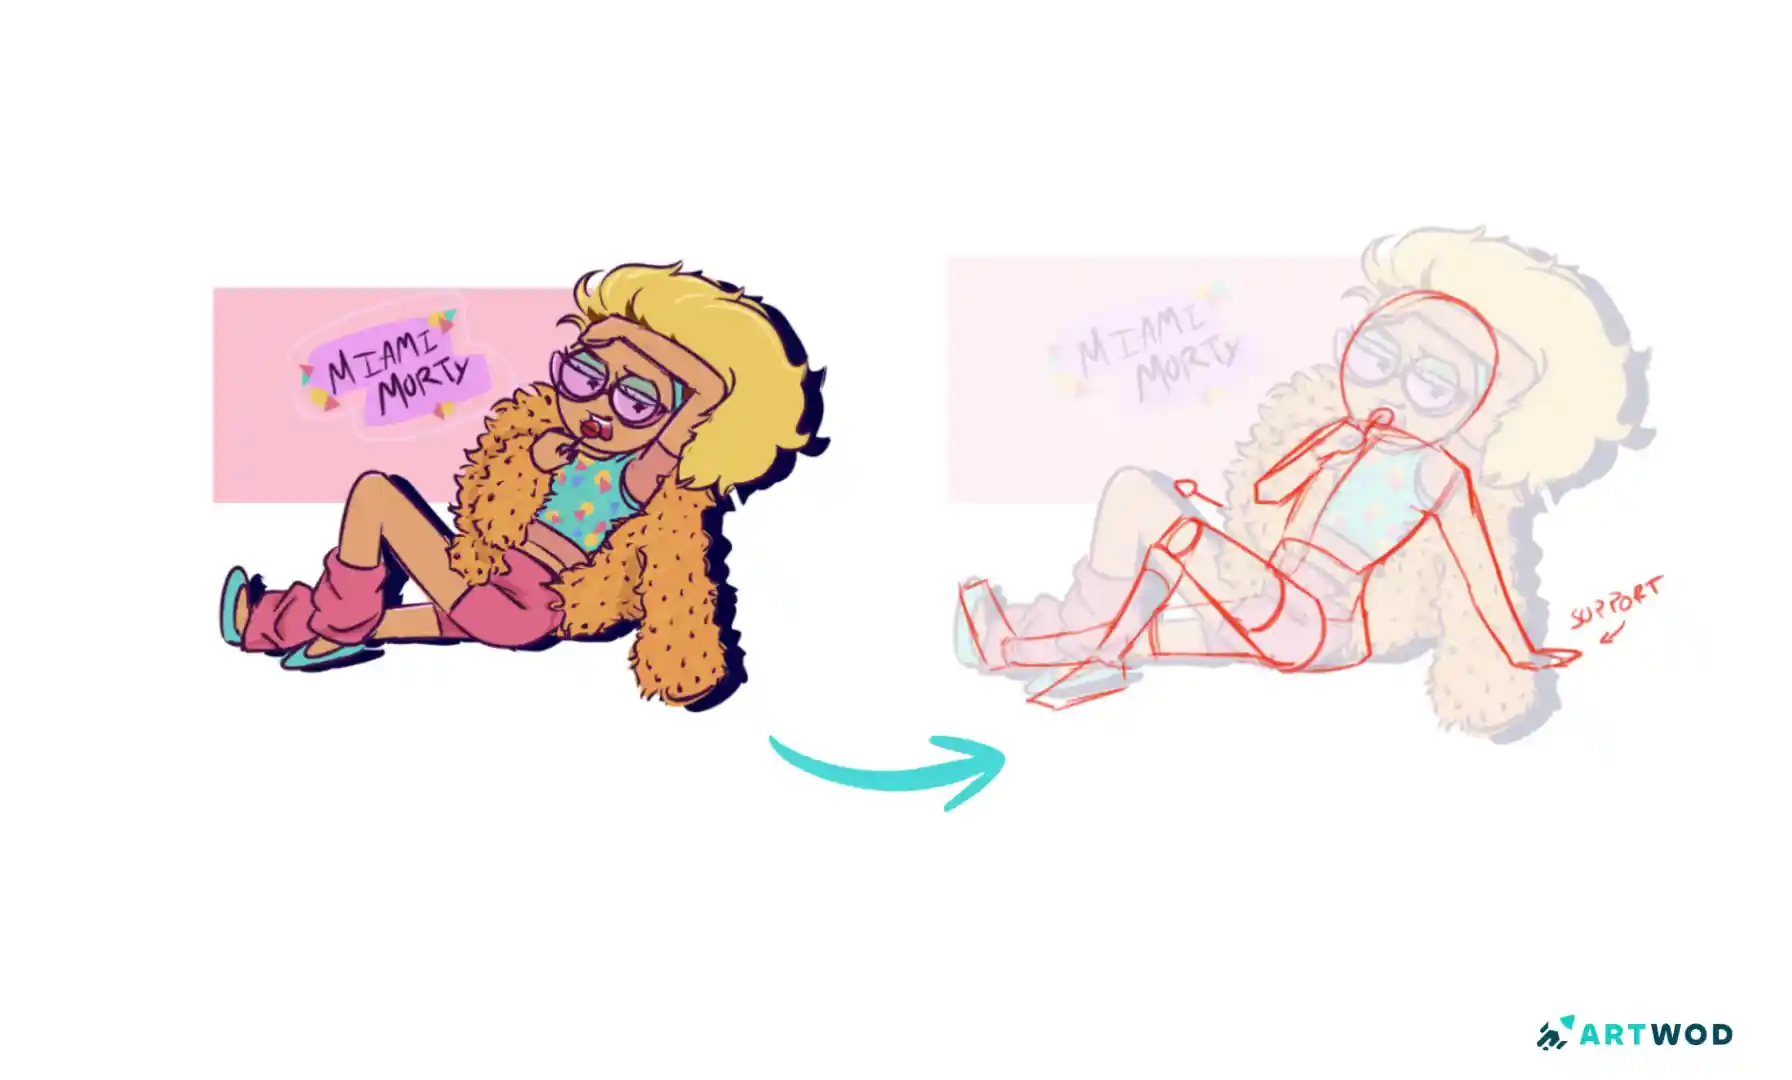
The importance of this principle is shown in this Artwod submission, featuring an anime character sitting. I draw wrinkles by drawing points where the fabric would pinch, and make lines for the drapery from that point. Without wrinkles that follow the form, the clothes can look like they’re floating on the body.
Loading comparison…
Reveal the original or paintover
Use Line Weight to Create Better Hierarchy
The artist also mentioned line quality, and the feedback provides a very practical solution Start the inking stage with a smaller brush size overall. Then divide your lines into two broad levels:
Outer silhouette: slightly thicker and stronger
Interior details: thinner and lighter
Interior details can include:
Clothing folds
Facial features
Small costume markings
Boot details
Hair details
This creates an immediate visual hierarchy.
The outer silhouette tells the viewer what the character's overall shape is, while thinner internal lines provide information without competing with the main contour.
Another approach I like to implement is using line weight to convey shadows. The opposite of the light would feature the lines with the heaviest weight. Once again starting with the lighter lines, and building to the heaviest. This method works best with a dip pen, that can vary with the level of pressure you put on the brush or tablet pen.
I find this another easy method for improving line weight variety. For more times, you can check out the line weight section in the intro to drawing course.
Don't Use Heavy Lines Everywhere
A common temptation is to make every important detail equally dark.
That can flatten the drawing because the viewer has no indication of which edges matter most.
Instead, think about line weight as another way of communicating depth.
You can emphasize:
The outer contour
Important overlaps
Foreground forms
And reduce emphasis on:
Interior folds
Small decorative details
Secondary contours
This can make a detailed drawing feel cleaner without removing the character's design complexity.
A Practical Anime Pose Exercise
Try rebuilding this type of pose in three passes.
Pass 1: GestureDraw only the movement of the character. Use a simple line to capture the torso rotation, leg direction, arm movement, and sword direction. Don't worry about clothing.
Pass 2: Construction
Add the ribcage, pelvis, limbs, and head as simple 3D forms. Then check the shoulder and hip angles. Ask whether the torso actually twists between them.
Pass 3: Costume and Linework
Build the clothing around the forms. Make fur trim, laces, belts, and other details wrap around the underlying cylinders. Then use thicker lines for the silhouette and thinner lines for interior details.
FAQs
Use a stronger gesture and introduce opposing shoulder and hip angles. Contrapposto can create a more fluid S-curve and clearer weight shift. Check out our anime course to know more!
What is contrapposto?Contrapposto is a pose arrangement where the shoulders and hips tilt in opposing directions, creating a natural counterbalance and torso twist. Learn figure drawing in our figure course!
How do you draw anime clothing with better depth?Think of the body underneath as a set of 3D forms and wrap the clothing details around those forms instead of drawing them as flat shapes. Using dots to signify where clothes wrinkle can be a great shorthand.
How can I improve line quality in an anime drawing?Use a smaller brush overall, then reserve slightly thicker lines for the outer silhouette and thinner lines for interior details.
Should the shoulders and hips be at the same angle?Not necessarily. In a dynamic pose, opposing shoulder and hip angles can create more movement and a stronger sense of weight shift.
How do you improve perspective in a detailed anime character?Construct the body using simple 3D forms first, then build the costume and details around those forms.
Keep practising
Explore roadmapsHelp an artist with feedback
Find work to critique