Rendering Techniques: How to Understand Edges
Rendering Techniques: Refining Soft and Hard Edges
Community Review
The submission was posted by @pyvz in the Rendering category of our Community Hub (thank you, @pyvz). The artist is wondering, how to decide which edges should stay sharp, which should become soft, and how blending tools can help without making the entire drawing blurry (something that happens to beginner artists very often).
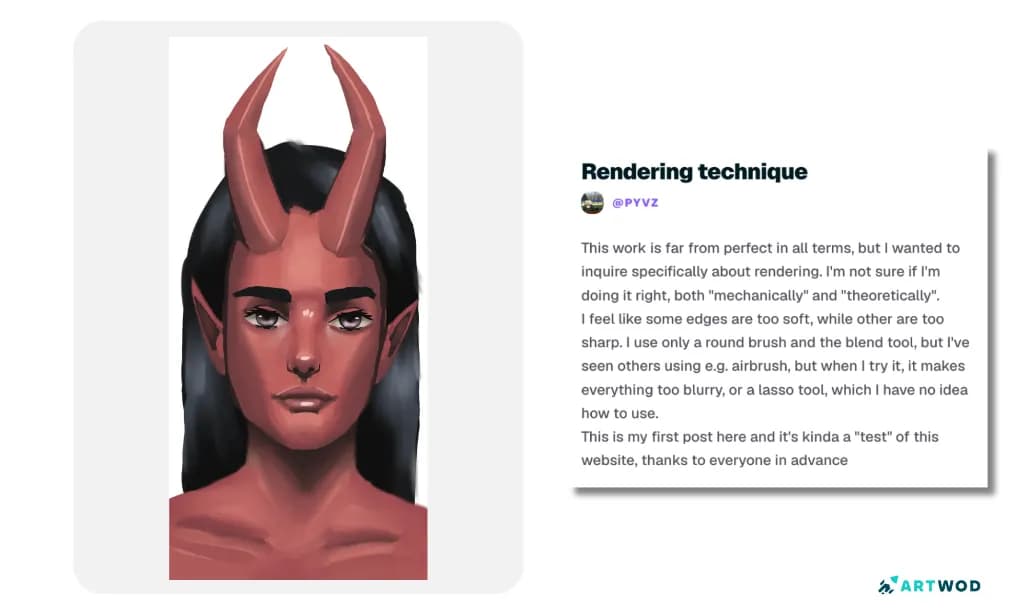
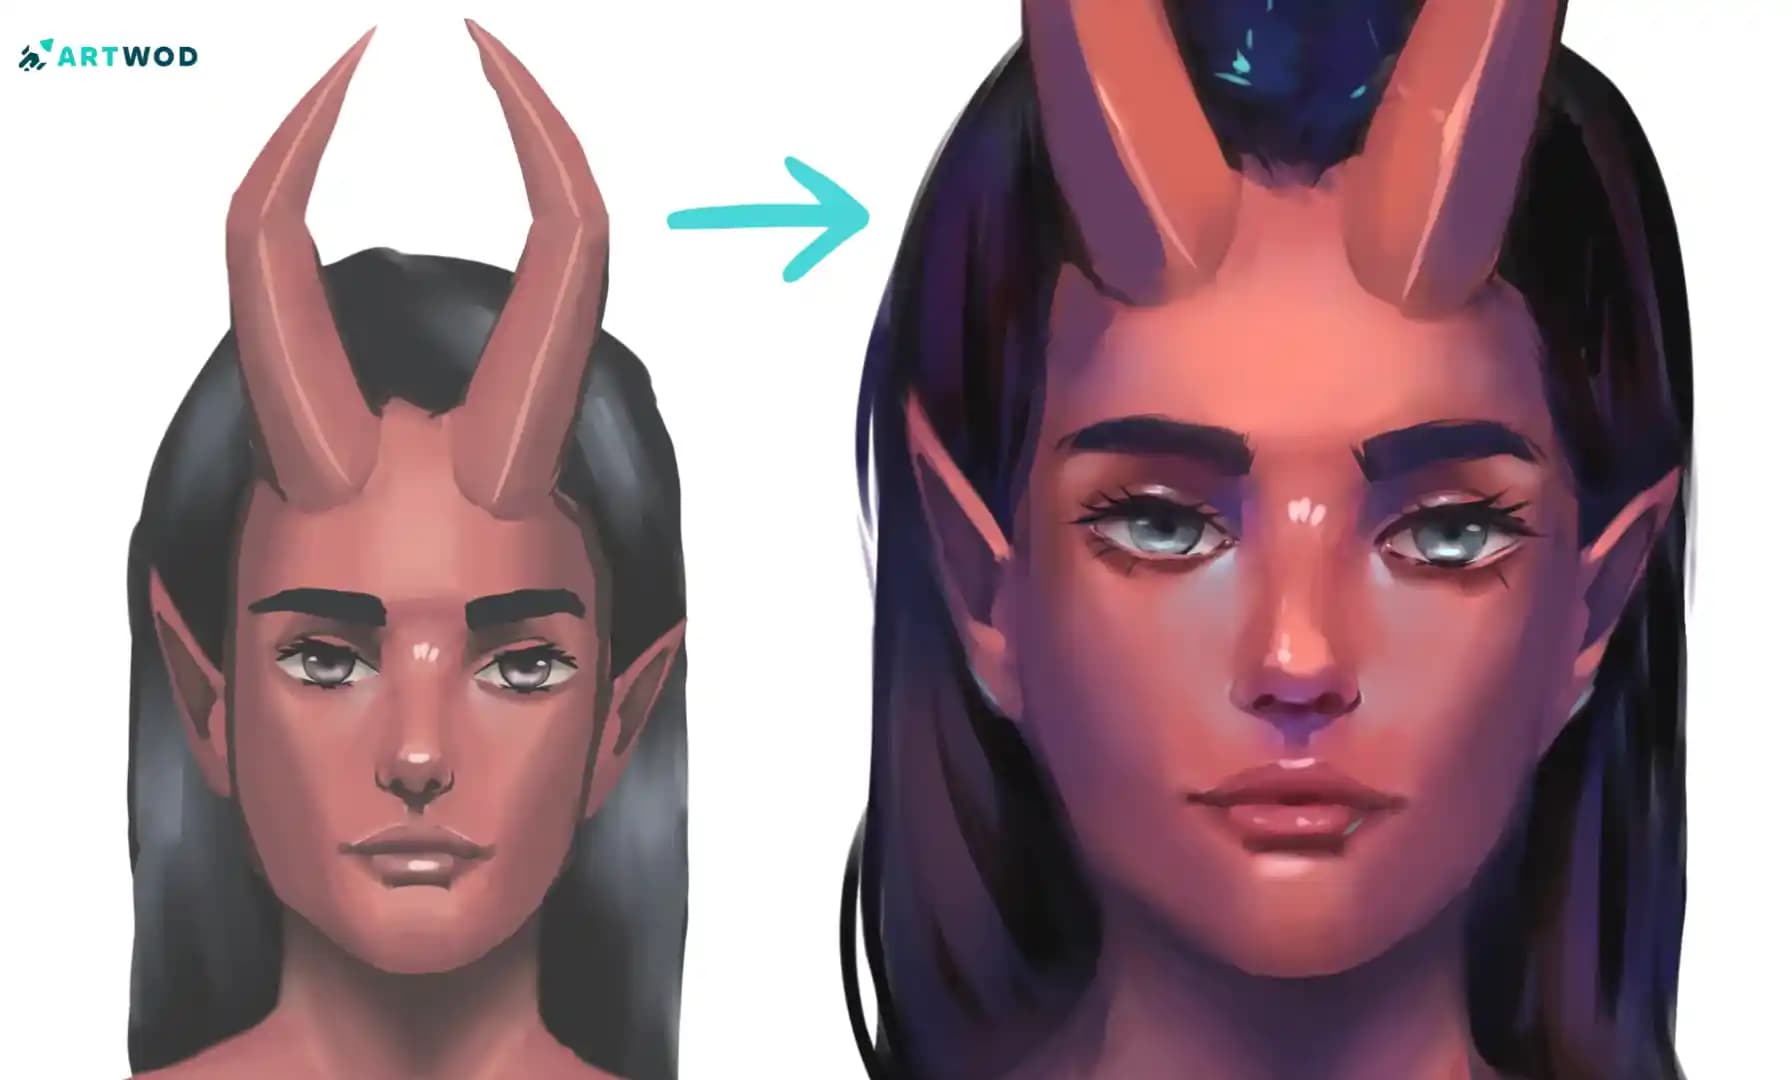
Artwod Community Hub submission, rendering technique request. Demon girl with horns, red skin and black hair.
Hard Edges and Soft Edges Have Different Jobs
You need to remember that edges communicate information. A hard edge creates a clear boundary between two shapes. A soft edge creates a gradual transition. Neither is automatically better!
Hard edges can help:
Define important facial features
Clarify the silhouette
Separate overlapping forms
Establish focal points
Show abrupt changes in plane or value
Soft edges can help:
Turn rounded forms
Suggest gradual changes in light
Push secondary areas back
Connect similar values
Create atmospheric or material effects
The main mistake beginner artists make is treating edge softness as a purely technical brush setting. It is actually a visual hierarchy decision.
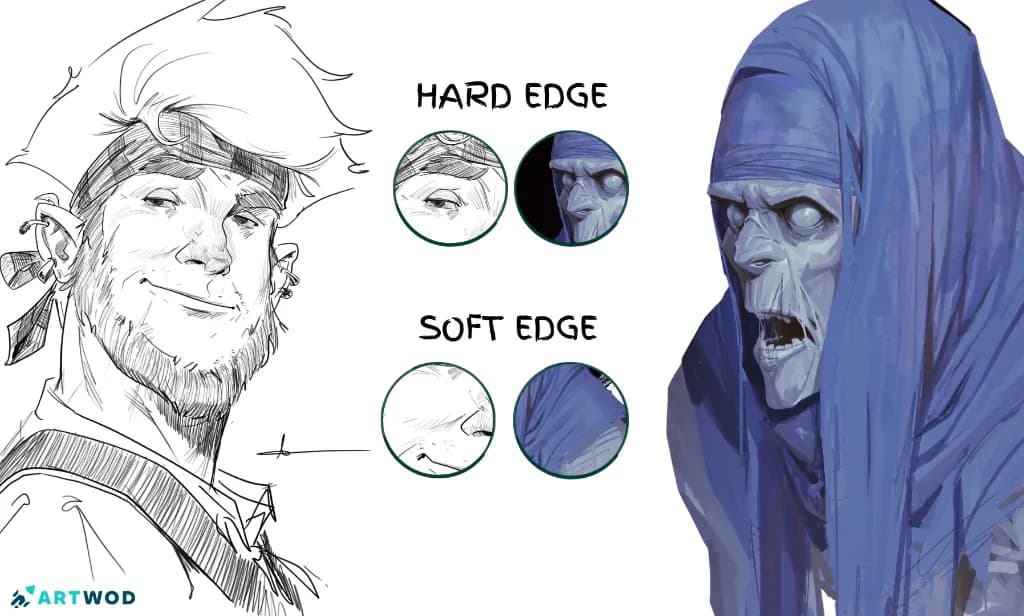
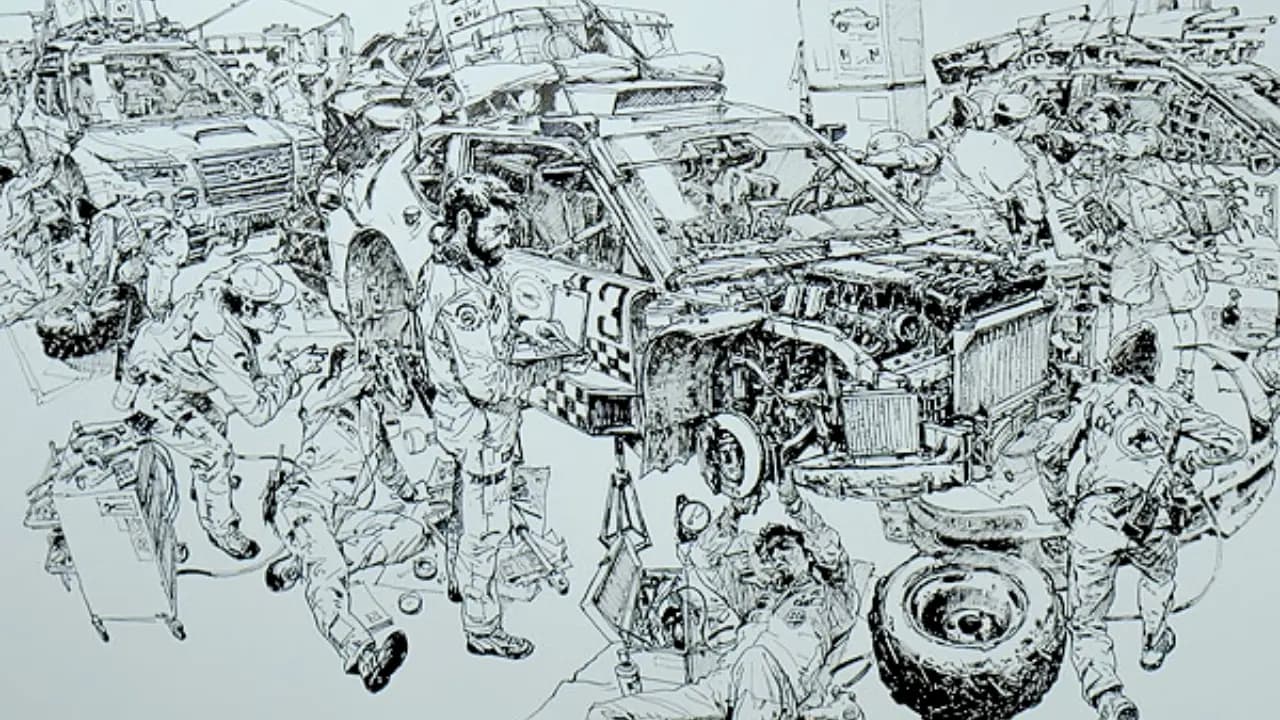
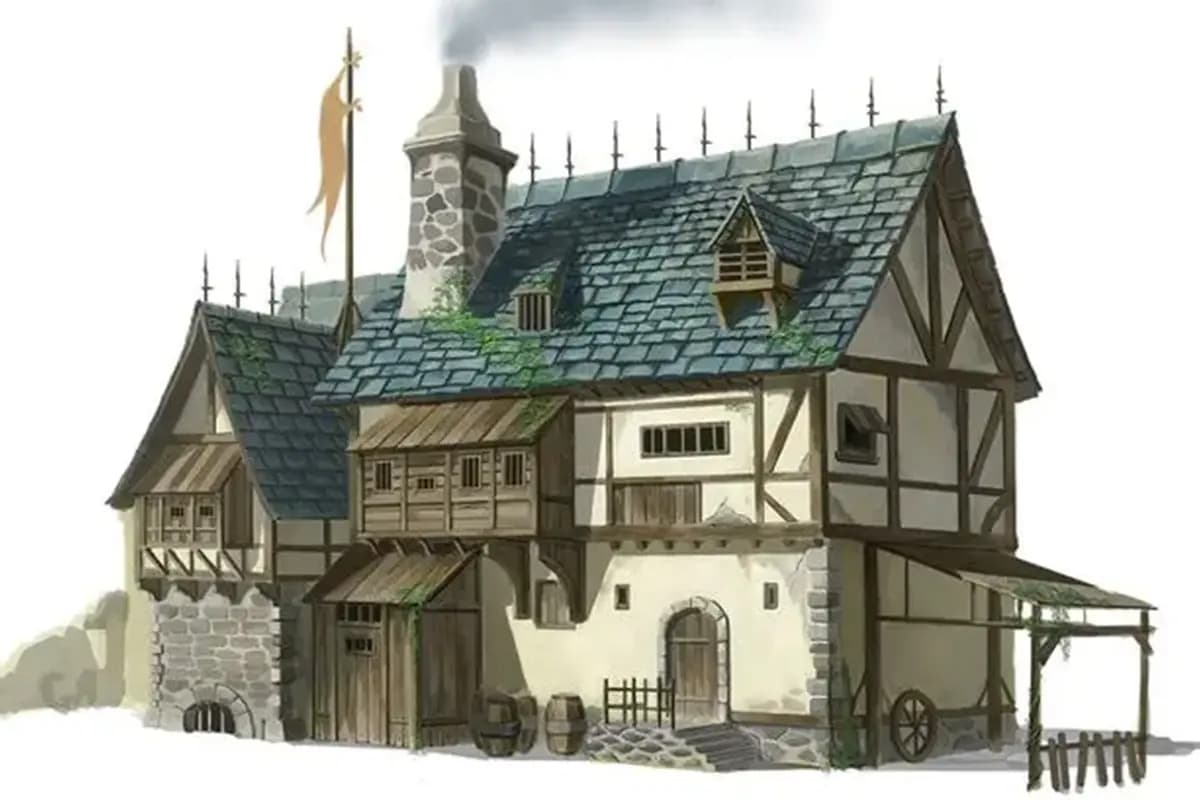
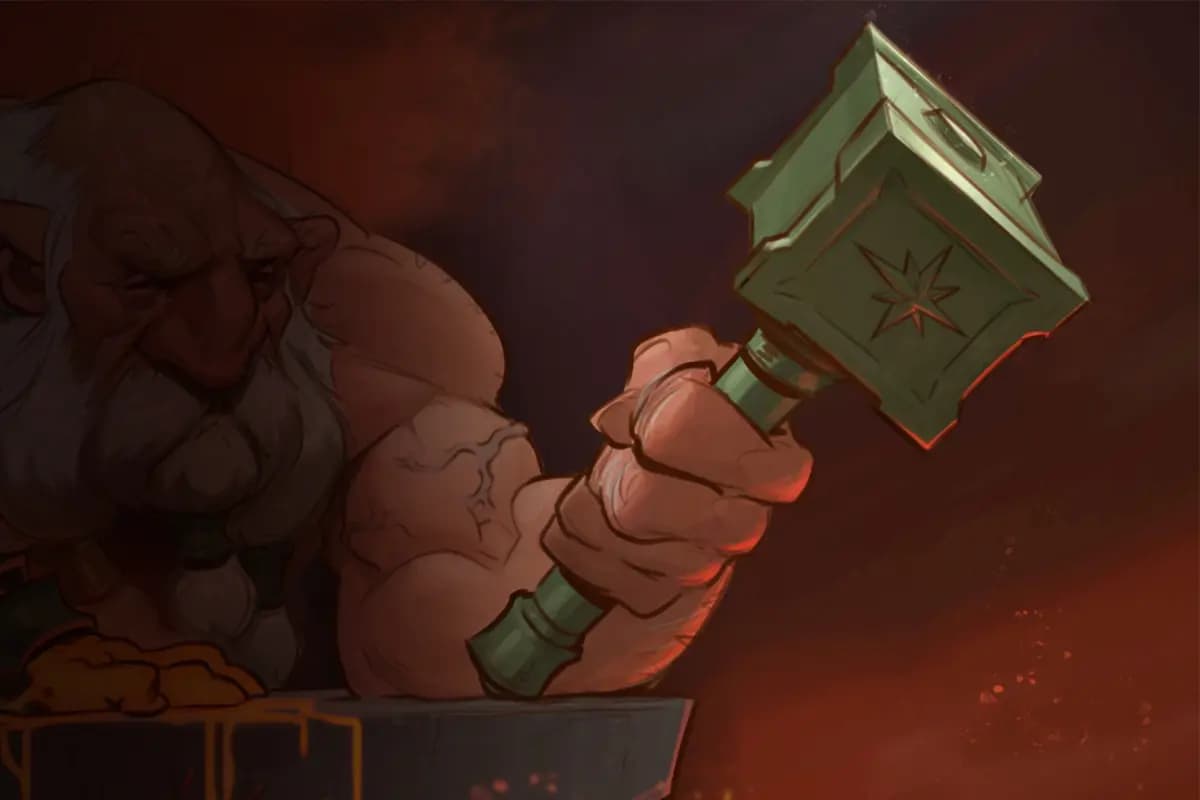
Hard and Soft Edges examples of different rendering techniques (pencil and paint, digital 2d)
How to Decide Where an Edge Should Be Sharp
When looking at your drawing, ask what information the edge needs to communicate.
For example, the outline of a character against a contrasting background may need a relatively clear edge so the silhouette remains readable. Likewise, an eye, nostril, mouth corner, or other important facial feature may benefit from more definition. If you have doubts about your work, don't be a stranger and submit it to our Community, where artists of all levels help each other!
The paintover provided by @Yurei471 demonstrates this idea by introducing more deliberate variation in edge treatment across the face, hair, horns, and other forms.
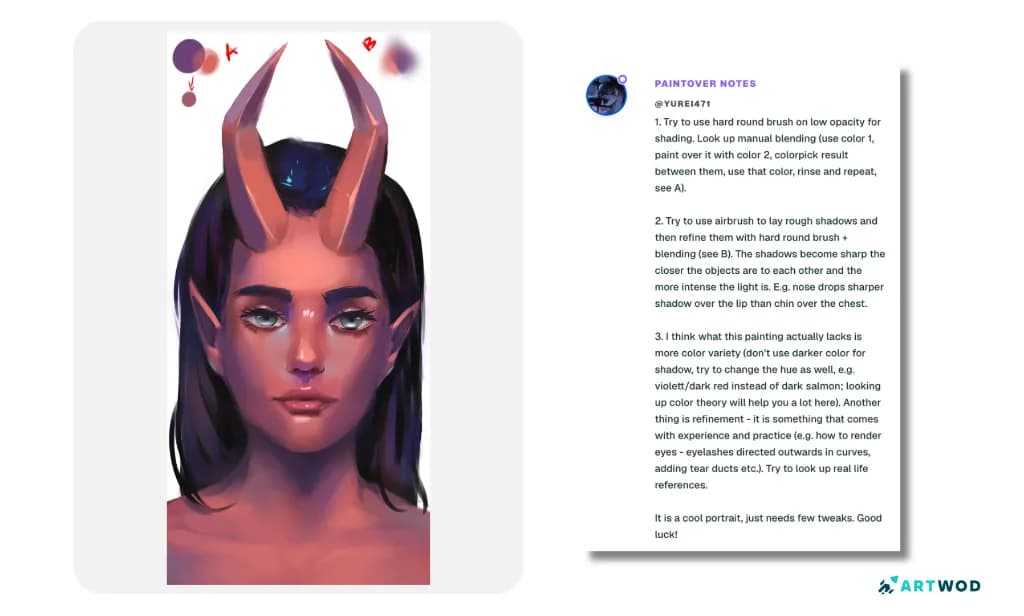
Artwod Community Paintover by YuRei471
How to Use Soft Edges Without Making the Drawing Blurry
Beginner artists often overuse the soft brush (later progressing to not using it at all).
While at early stages of your concept a soft brush can quickly create a gradient that helps understand the light source, when you move towards next steps, your edge control work needs to be more precise.
For example, a rounded cheek does not necessarily need one giant soft airbrushed gradient. You can build the form with controlled value changes and soften only the transitions that genuinely need to feel gradual. By the way, if you want to know more about the structure of the face, check out our Portrait Road!
Try this workflow:
Establish the form with larger value shapes.
Identify where the transition should be gradual.
Soften only that transition.
Re-establish important edges afterward.
Zoom out and check whether the form still reads clearly.
Softness should support the form, not erase it.
Think About Forms Before Thinking About Brushes
Remember, the tool is secondary to the rendering artistic decision. So once again, stop focusing so much on brushes. You can produce convincing rendering with a relatively simple brush setup if you understand the form.
So before switching your brushes, ask yourself: "What kind of transition am I trying to create?"
Is it:
A hard change between planes?
A gradual turn across a rounded surface?
A lost edge?
A reflected-light transition?
A separation between two objects?
A soft atmospheric effect?
A cast shadow?
Once you know the answer, the appropriate tool becomes easier to choose. And if you're having a hard time understanding the form, our Intro to Drawing road is a MUST!
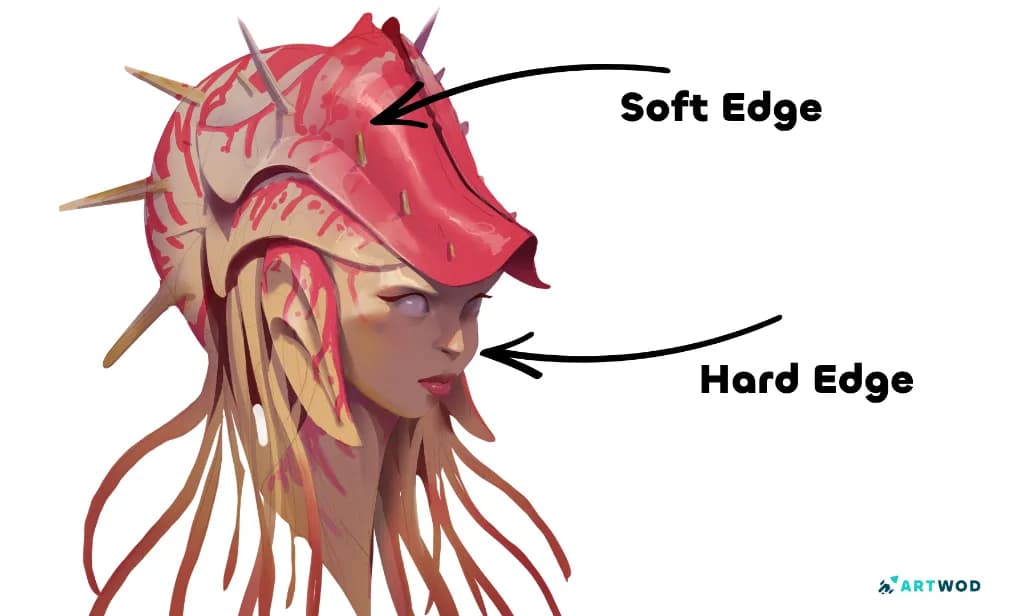
Drawing by Antonio Stappaerts, Mermaid with a shell on the head. Soft and Hard edges breakdown.
Rendering a Face With Controlled Edges
A face contains many different kinds of transitions, which makes it particularly useful for practicing edge control. This step-by-step breakdown should be helpful if you want to practice edge control in portraits:
Step 1: Establish the large formsThink about the forehead, cheeks, nose, mouth, jaw, and other major planes.
Do not (I repeat, DO NOT) begin by blending every visible value transition.
Step 2: Identify the focal areasDecide where the viewer should look first.
In a portrait drawing, the eyes and central facial features often need more controlled definition than less important areas.
Step 3: Separate planesUse clearer value changes where the underlying form changes direction more noticeably.
Step 4: Soften selected transitionsRounder areas can use softer transitions where the lighting changes gradually across the surface.
Step 5: Restore lost structureAfter blending, some edges may become weaker than intended. Re-establish the important boundaries rather than continuing to blend everything.
This creates a rhythm between definition and softness. Look closely at the image below and try to see, where edges are soft or hard. And for what reason.
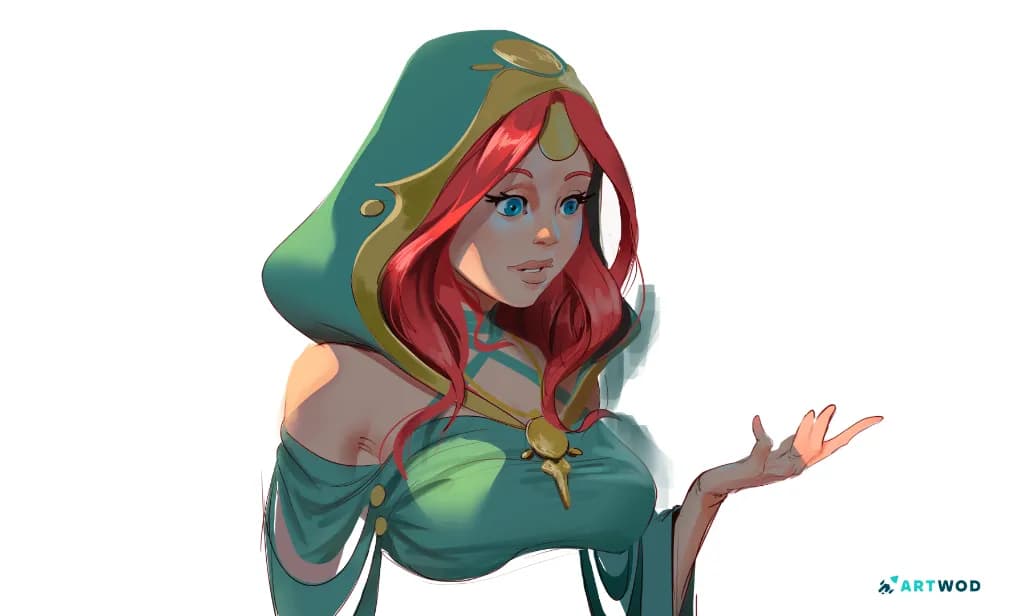
Female mage drawing by Antonio Stappaerts, Red hair, green cloak.
Hair and Horns Need Different Edge Strategies
The same edge logic applies beyond the face.
Hair often contains a mixture of:
Clear outer contours
Large shadow masses
Softer internal transitions
Individual sharper accents
Trying to define every strand can create visual noise (and make you waste hours), while making the entire hairstyle soft can destroy its structure.
The horns in this drawing present another useful case. Their large forms need enough value separation to communicate volume, while smaller transitions can remain controlled rather than being uniformly sharp.
The goal is to make the material and form readable without giving every edge equal importance. If you have a hard time understanding the form of the Horns, you definitely need to check out our Intro to Drawing road!
What About the Lasso Tool?
A lasso tool can be useful when you need to make a controlled change to a specific area without affecting everything around it.
But remember - the important principle is not mastering one particular software feature. It is learning to separate areas intentionally when a broad brush would affect too much of the drawing.
Common Rendering Mistakes
Softening everything: The drawing loses structure and becomes blurry.
Sharpening everything: Every edge competes equally for attention.
Blending before establishing values: You can create smooth transitions without actually describing the form.
Changing brushes instead of changing decisions: A different brush cannot solve an unclear lighting or form problem.
Rendering every visible detail equally: The result can become noisy instead of focused.
Forgetting to restore edges: Heavy blending can remove important structural boundaries.
Ignoring the silhouette: Interior rendering cannot compensate for an unclear outer shape.
Practice Time: One Drawing, Three Edge Passes
A useful way to practice edge control is to take a simple portrait drawing and create three versions. Draw your own portrait or use the one below.
Version 1: Mostly hard edgesKeep most boundaries defined and observe how graphic the result becomes.
Version 2: Mostly soft edgesSoften most transitions and observe where the form begins to lose clarity.
Version 3: Controlled edge hierarchyCombine the two approaches. Keep important boundaries and focal areas more defined, while allowing secondary transitions to become softer or disappear.
Compare the three versions.
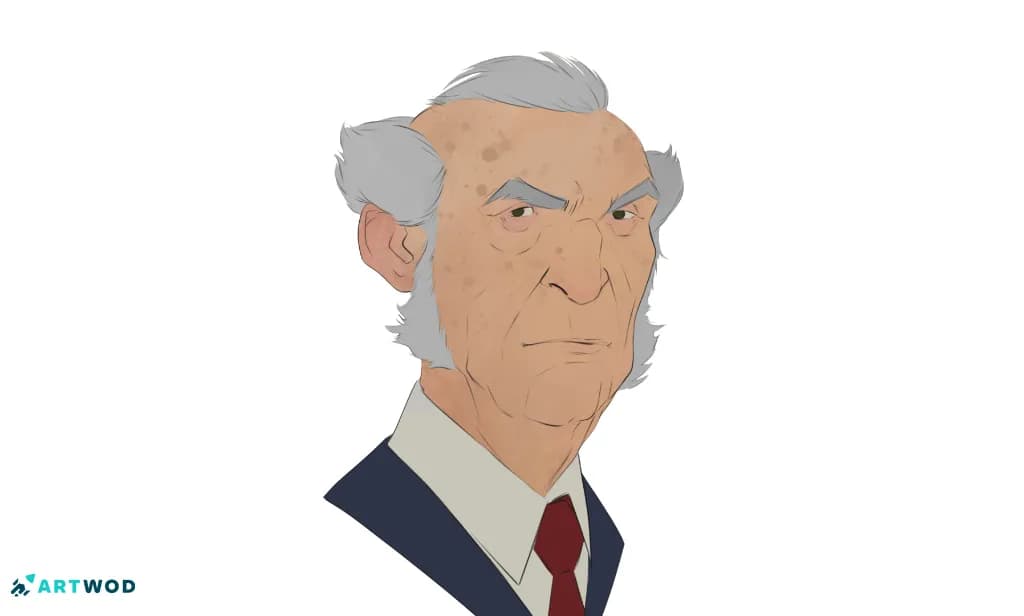
Portrait drawing by Antonio Stappaerts, old man. Flat colors. Practical rendering exercise: draw 3 versions of this drawing using different edges.
Getting Feedback on Rendering
Rendering can be difficult to evaluate alone because it is easy to become focused on whether a particular brushstroke looks smooth enough. This is what the Artwod Community exists for - we are your fresh set of eyes.
When sharing a drawing with the Artwod community, you can ask focused questions such as:
Are my edges too soft?
Which areas should be sharper?
Where should I lose edges?
These questions give other artists something specific to evaluate and can make the feedback easier to apply.
Remember, your submission doesn't need to be perfect!
FAQ
When should I use hard edges in a drawing?
Use harder edges where you need clear separation, important structural information, or stronger visual emphasis. They can be especially useful around focal areas and significant changes in form.
When should I use soft edges?Soft edges work well for gradual changes in rounded forms, subtle lighting transitions, atmospheric effects, and secondary areas that should attract less attention.
Do I need many brushes to render well?No. A small number of tools can be enough when you understand values, forms, lighting, and edge control. The important part is knowing what rendering effect you are trying to create. Try our Portrait Realism road to try rendering with just a pencil!
How can I practice edge control? See a pracrical exercise above!Related Posts