How to Fix Inking Mistakes Without Throwing the Page Away
How to Fix Inking Mistakes Without Throwing the Page Away
The sketch was good, the pen was steady, and then one line went somewhere it absolutely shouldn’t have. Pencil forgives. Ink holds a grudge.
The good news is that inking mistakes are rarely as permanent as they look. Comic artists have been fixing them for a century, and most of their tricks need nothing more than a white pen and a bit of nerve. Here’s how to fix ink mistakes on paper and on screen, and how to make fewer of them in the first place.
First, stop touching it
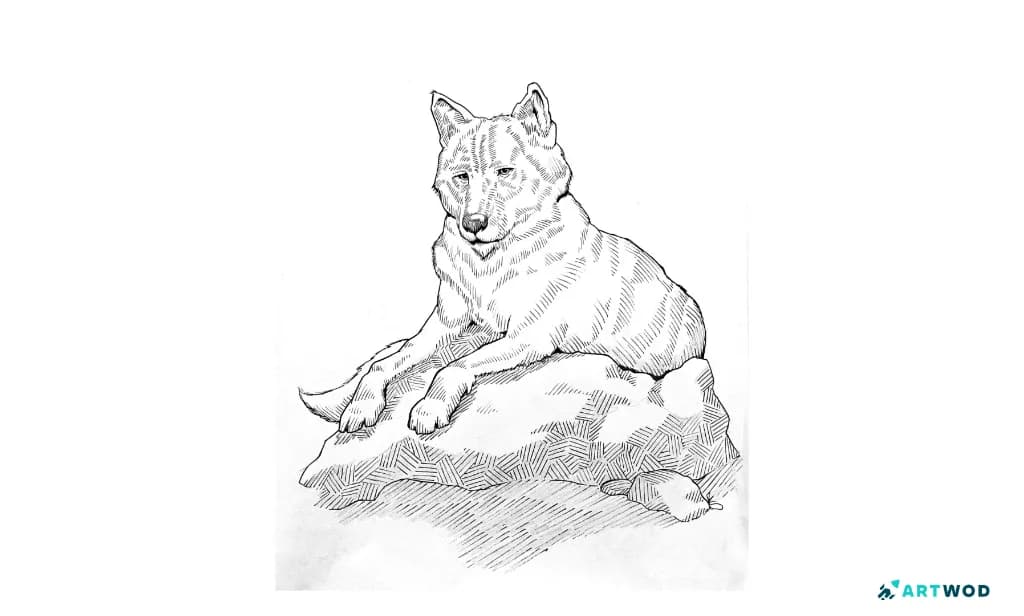
Inktober Lady drawing by Rikuh, Artwod Community Feedback submission, traditional art. Lady Wolf from Game of Thrones.
Check whether it’s actually a mistake
Hold the page at arm’s length, or take a photo and look at it as a thumbnail on your phone. A surprising number of inking mistakes disappear at viewing distance. A wobbly line in a background or a slightly thick contour on a sleeve reads as texture once you see the whole drawing. You are the only person who watched that line go wrong. Nobody scrolling past it on Instagram knows what you meant to draw.
If it still bothers you at thumbnail size, it’s worth fixing.
Cover it with white
This is the classic fix and it works on almost anything. Opaque white ink or white gouache, applied with a small brush, will sit on top of black ink and hide it. Bleed-proof whites are made exactly for this. A white gel pen is quicker for thin lines and small dots, though it can look slightly raised on the paper.
Two things make white corrections look clean. Let each layer dry before adding another, because one thick blob dries cracked and lumpy. And redraw the correct line over the white once it’s dry, so the fix blends into the drawing instead of leaving a pale gap.
On the original page you’ll see the correction if you look closely. In a scan or a photo with decent contrast, it vanishes.
Patch it with paper
For bigger disasters, like a face that went wrong or a hand that looks like a bunch of carrots, cut a piece of the same paper, glue it over the area and redraw it. This is standard practice in comics. Plenty of published pages are quietly covered in patches.
Use a glue stick or double-sided tape rather than liquid glue, which can warp the paper. Trim the patch along a line in the drawing if you can, so the edge hides inside a contour. Once it’s scanned, the seam is invisible.
Fix it in the scan
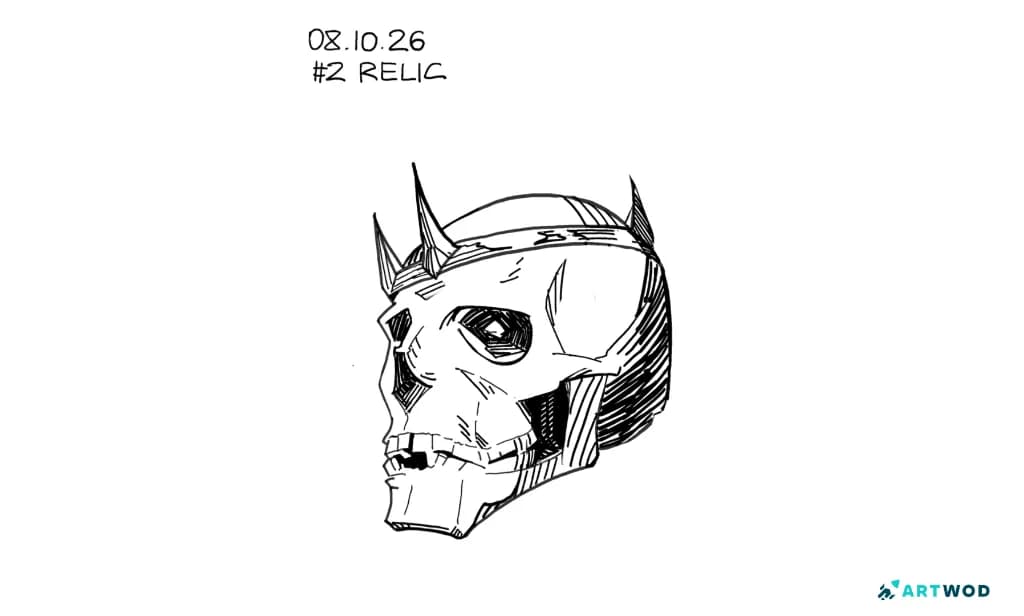
Inktober Relic Drawing, Inktober 2026, skull in a crown
Turn the mistake into part of the drawing
Sometimes the best fix is to commit harder. A line that went too thick can become a deliberate weight change if you thicken the lines around it to match. A blot near the edge of a form can grow into a shadow. A stray mark in a background can turn into a crack, a leaf or a bit of texture.
Black fills are especially forgiving. If a line went wrong in an area that could reasonably sit in shadow, fill the whole shape with black and the error disappears inside it. Hatching works the same way on a smaller scale - layer lines over the mistake and it becomes part of the tone.
The trick is to make the change look intentional. One random black shape looks like an accident. Two or more that follow the same light direction look like a choice.
If you ink digitally
Undo exists, so the problem is different. Digital inkers rarely get stuck with one bad line. They get stuck redoing the same line forty times. If a stroke isn’t right after a few attempts, the problem is usually the sketch underneath or the angle of your hand, not the stroke itself. Rotate the canvas so you’re pulling the line in a comfortable direction, or zoom out and draw it in one movement instead of nudging it in tiny segments.
Keep your sketch and inks on separate layers, and don’t merge them until the very end. That way a mistake in the inks never costs you the drawing underneath.
How to make fewer inking mistakes
A clean pencil underdrawing does most of the work. The more decisions you make in pencil, the fewer you have to make with the pen, and inking turns into tracing your own confident choices instead of improvising.
Ghost the line before you commit. Hover the pen just above the paper and move through the stroke a couple of times, then put it down and draw it in one go. Lines drawn fast from the elbow come out smoother than lines drawn slowly from the wrist.
Test every pen on scrap paper before it touches the drawing, especially brush pens and dip nibs, which tend to blob after sitting unused. And work in a direction that keeps your hand out of wet ink - top left to bottom right for most right-handers, the reverse for lefties.
FAQ
Can you erase ink?
Not cleanly on most papers. Ink erasers exist, but they mostly scuff the surface and leave a grey patch. Covering the mistake with opaque white or a paper patch gives a much cleaner result. If you want to build the line control that makes erasing unnecessary, check out our Intermediate Road.
What’s the best white for fixing ink mistakes?
An opaque white ink or gouache applied with a fine brush covers best and takes redrawing well. White gel pens are handy for small fixes but sit on top of the paper. Whichever you use, apply thin layers and let them dry. Ask in the Artwod Community Hub what other inkers swear by, because everyone has a favourite.
Is it cheating to fix mistakes digitally?
No. Professional inkers clean up their scans all the time. The drawing you share is the finished art, and the paper is one step on the way there. If you’re posting for Inktober, upload the cleaned version to the Inktober category of the Artwod Community Hub.
Why do my ink lines always look shaky?
Usually because they’re drawn slowly from the wrist. Speed and a bigger arm movement smooth them out, and ghosting the stroke first builds confidence. The practice drills in the Artwod Practice Section are a good place to build that control in short daily sessions.
How do I know if a mistake ruined the drawing?
Look at it as a thumbnail or post it for feedback before you decide. Other artists will often tell you they can’t even spot what you’re worried about. Share it in the Artwod Community Hub and let fresh eyes judge it.
Where can I learn more about inking?
Start with the Artwod Inktober inking guide, then work on line weight in the Intermediate Road.