Drawing Athletic Figures: Anatomy and Dynamic Posing for Sports Art
Athletic Figures: Dynamic Anatomy and Posing Techniques
Athletic figures are some of the most exciting - and challenging - subjects to draw. They combine strong anatomy, dynamic motion, and clear interaction with space. Learning how to place athletic figures into an environment will dramatically improve your gesture drawing, perspective skills, and overall sense of movement.
In this tutorial, you’ll follow a step-by-step process for drawing athletic figures in perspective. The focus is on clarity, energy, and construction rather than perfection, making this workflow ideal for beginners and intermediate artists alike.We will be using basketball players and basketball courts as reference.
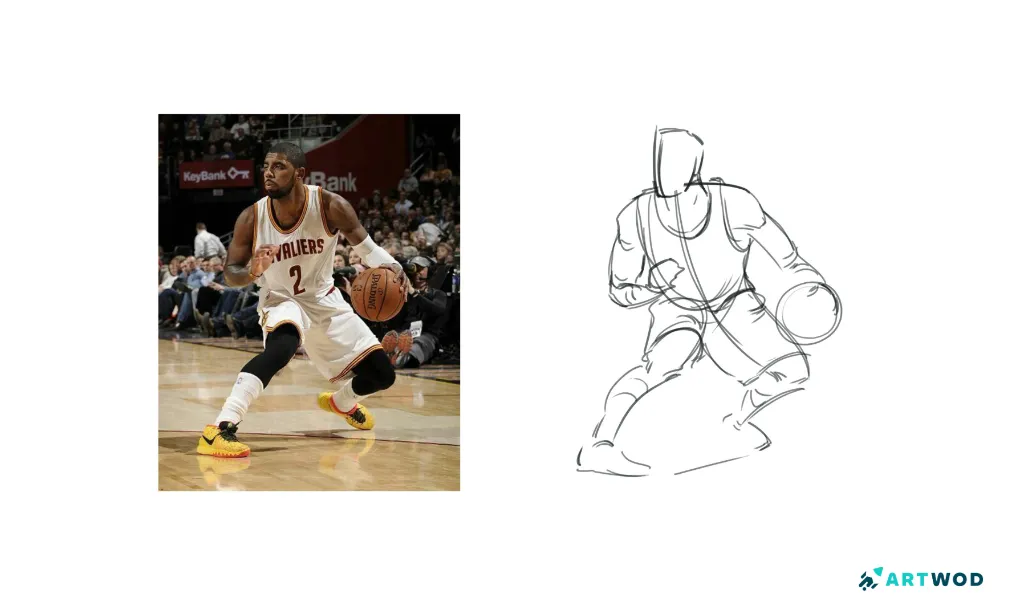
Step 1: Do 3 Mini Gesture Studies of Athletic Figures
Begin by creating three quick gesture studies of basketball players. These should be fast drawings - anywhere from 30 seconds to 5 minutes each.
Focus on:
The line of action
Weight shifts and balance
Overall motion
Use photo references of basketball players in action. At this stage, ignore details and proportions. Your goal is to capture energy, not accuracy.

Step 1: Athletic Figures: Dynamic Anatomy and Posing Techniques
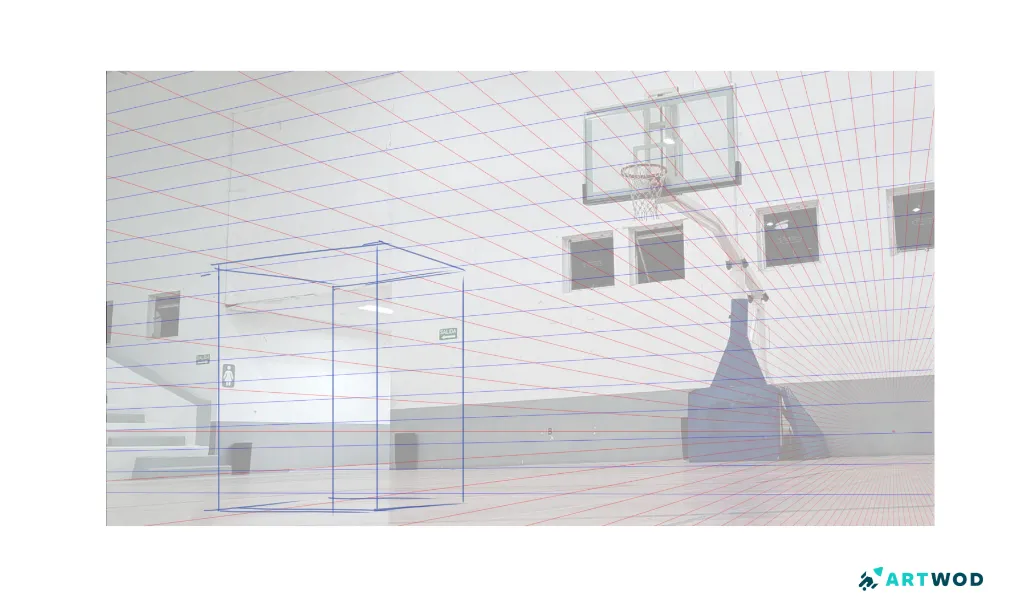
Step 2: Choose a Basketball Court Scene and Add a Perspective Grid
Next, choose one basketball court scene (photo or background image).
On top of the image:
Draw a simple perspective grid (one-point or two-point perspective)
Identify the horizon line and vanishing point(s)
Add a simple box where you want your basketball player to be placed
This box will help you visualize the player’s scale and position within the court.
Step 2: Athletic Figures: Dynamic Anatomy and Posing Techniques
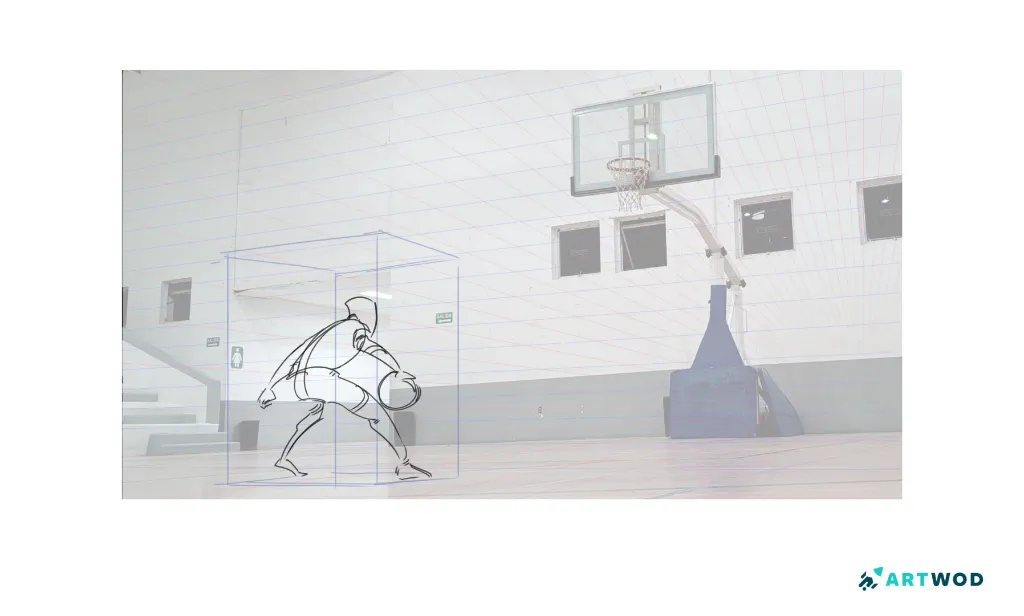
Step 3: Draw the Gesture Basketball Player Inside the Box
Take one of your gesture drawings from Step 1 and redraw it inside the perspective box.
At this stage:
Don’t worry too much about proportions
Focus on fitting the gesture into the space
Let limbs break outside the box if the pose requires it
Step 3: Athletic Figures: Dynamic Anatomy and Posing Techniques
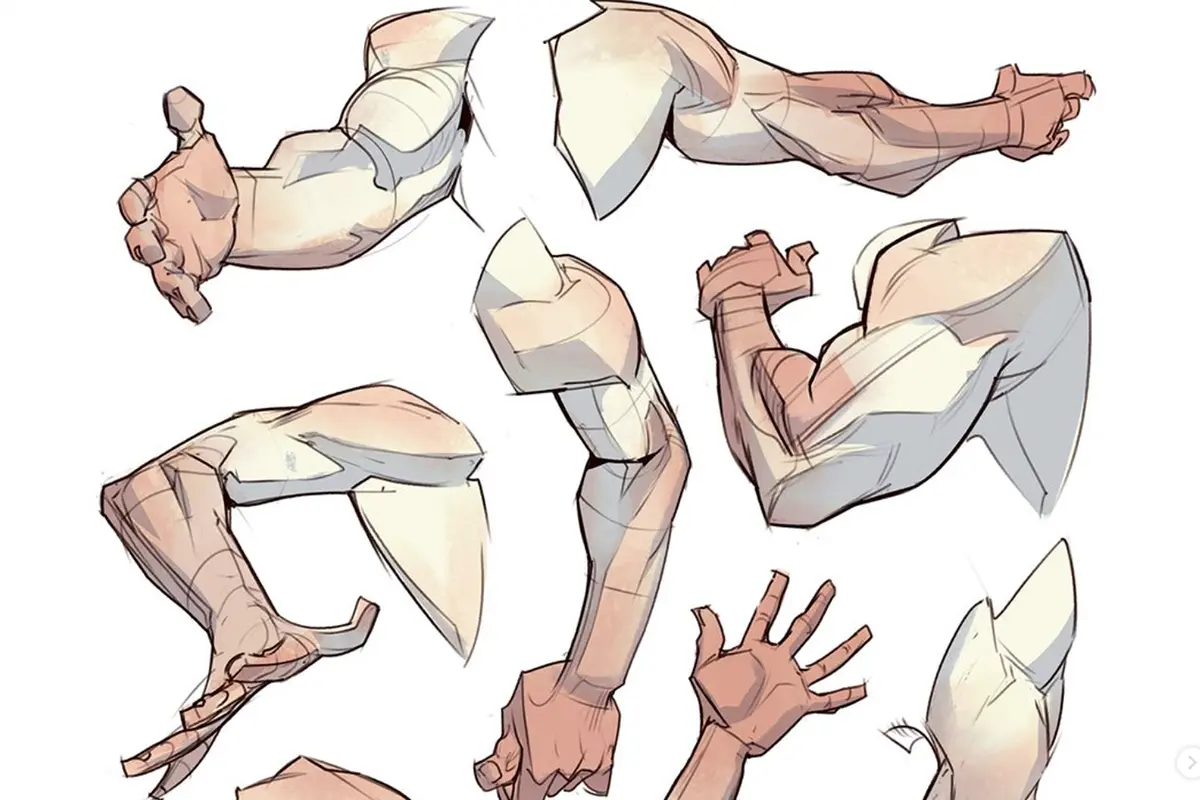
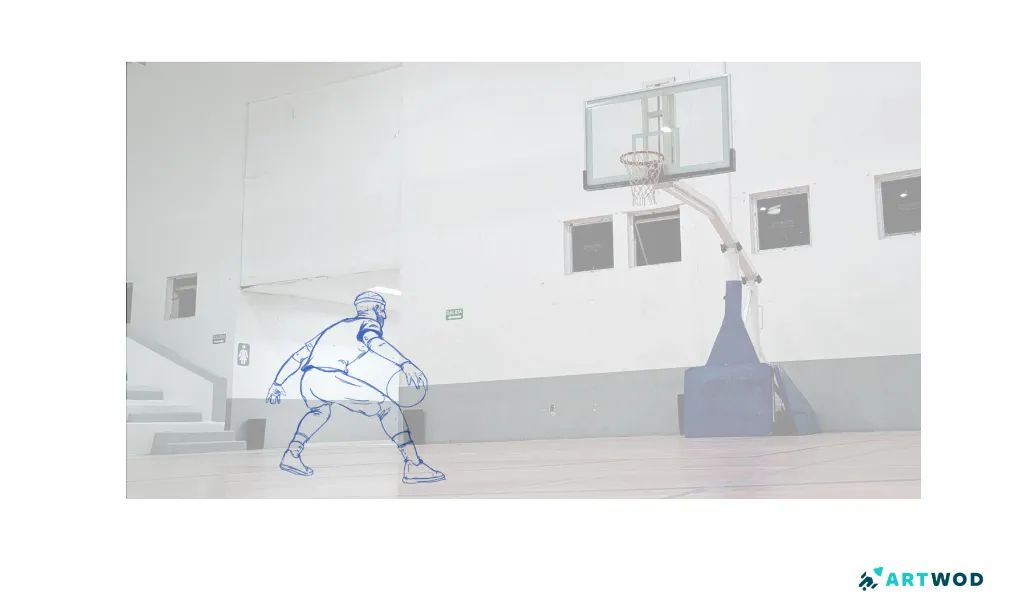
Step 4: Refine the Gesture With a Simple Mannequin
Refine your gesture by building a simple mannequin over it.
You can:
Use basic shapes like spheres, cylinders, and boxes
Or, if you’re more advanced, use a more detailed mannequin with torso and pelvis structure
The goal is to add volume and clarity without losing the energy of the pose.
Step 4: Athletic Figures: Dynamic Anatomy and Posing Techniques
Step 5: Dress Your Mannequin Using Basketball Clothing From Step 1
Using your gesture studies as reference, add basketball clothing to your mannequin.
Examples include:
Basketball jersey
Shorts
Socks and basketball shoes
Pay attention to how the clothing follows the pose, stretches with movement, and folds around joints.
Step 5: Athletic Figures: Dynamic Anatomy and Posing Techniques
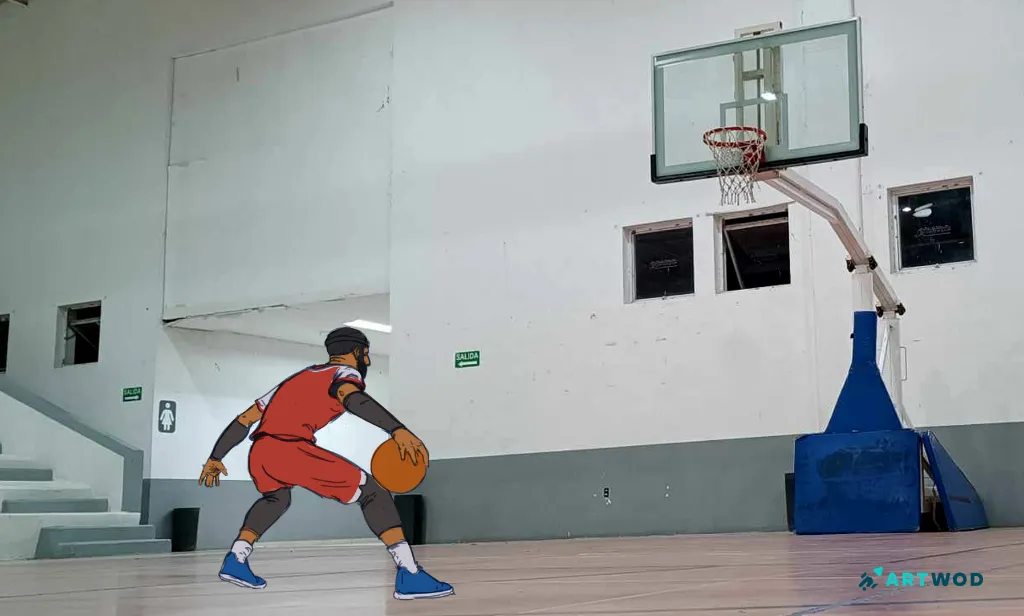
Step 6: Add Color to the Basketball Player
Once the drawing feels solid, begin adding color to the player.
Tips:
Start with flat colors
Match the lighting direction of the court scene
Color should help separate the player from the background while keeping them integrated into the scene.
Step 5: Athletic Figures: Dynamic Anatomy and Posing Techniques
Bonus Step: Render the Player Into the Scene
As a bonus challenge, render the basketball player so they feel fully part of the court environment.
Consider:
Adding cast shadows on the floor
Adjusting color temperature to match the scene lighting
Matching edge softness to the background
This step elevates the drawing from a study to a finished illustration.
Drawing athletic figures in perspective takes practice, but breaking the process into manageable steps makes it far more approachable. Prioritize gesture, use perspective as a guide, and build your figure gradually.
For helpful critiques and support, submit your work using the Artwod Feedback Tool. It lets you keep all your feedback in one place and connect with the community. And remember, consistent practice and thoughtful feedback are the fastest ways to improve - keep drawing and stay active.