Lighting Your Drawing: Build Stronger Volume With Light and Shadow
The Artist's Question
The artist, @name74321, explained that their drawings look flat even when they try to create volume through lighting. They were particularly hesitant about making facial shadows darker because they wanted everything to remain clearly visible.
They also described a broader difficulty with understanding:
Where the light is coming from
How light hits the character's forms
Where shadows should fall
How much contrast is appropriate
The artwork shows two anime-style female characters side by side. The left character has orange hair and headphones, while the right character has brown hair and a softer, more lightly rendered face.
The feedback focuses primarily on the left character because the stronger shadow under the chin creates an important clue about the intended light direction.
Loading comparison…
Reveal the original or paintover
Why Your Face Can Look Flat
,A face can contain plenty of shading and still look flat if the shadows do not follow a consistent lighting system. The main issue is not necessarily the amount of shading. It is the relationship between light direction, form and shadow
For example, if the underside of the chin contains a very deep shadow, that strongly suggests that a relatively bright light is coming from above. When the shading does not agree with each other, it can make the light source seem unclear.
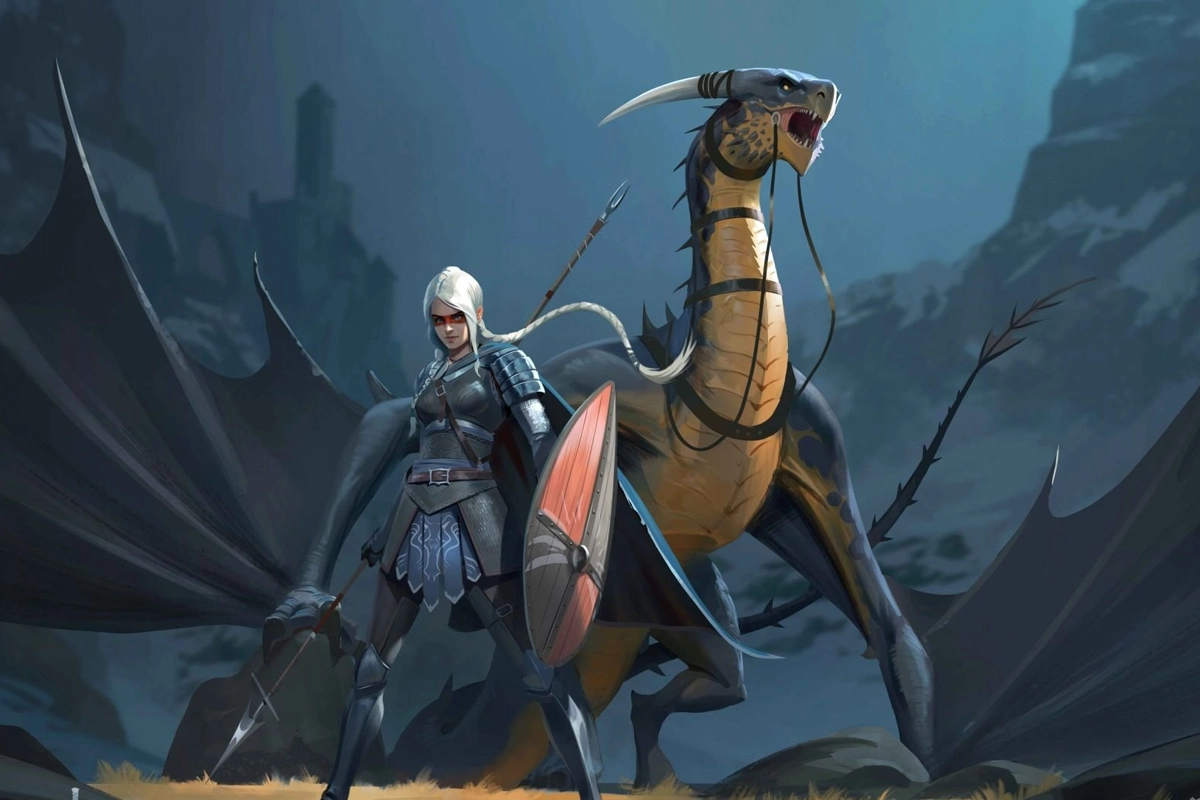
Once you establish that relationship, other parts of the face should respond to the same light source. Look at this painting of Rhaenyra Targaryen, where a strong light source is coming from the left. All shadows look cohesive and the painting looks belivable.
Loading comparison…
Reveal the original or paintover
Start With One Clear Light Direction
The most useful piece of feedback on the first artwork is simple:
Choose a clear light direction first.
The paintover indicates a light source coming from the upper-left area. That creates a straightforward lighting structure:
Forehead planes facing the light become brighter.
One side of the nose receives light.
The cheek turns gradually into shadow.
The underside of the chin becomes darker.
The neck receives less direct illumination.
I find with creating the light direction, you can also use this as a tool for storytelling. I tend to reference movies I like, and analyze different shots to see how they used directional lighting to sell a story. There is an excellent course on this on Artwod for painting that covers this.
At this step another good thing to consider is the type of lighting setting you have. Is it from natural light, an overhead light, or are there more than one source? These conditions will affect how harsh the light is and the color the light exhibits.
This portrait of a Captain follows the same advice - establish the light source and push the values of the planes that are facing it. You see how @fosco made the planes facing the light lighter, making the overall piece stronger and more believable?
Loading comparison…
Reveal the original or paintover
Use the Chin Shadow as a Lighting Clue
The original drawing already contains a strong shadow underneath the chin. The feedback points out that this creates an implicit lighting rule: if the chin is receiving a deep shadow because the light is coming from above, then the rest of the face needs to respond to that same light direction.
This is an important concept when learning lighting:
One strong shadow can establish expectations for the entire face.
You Don't Have to Make Everything Dark
The artist's concern about making shadows too dark is understandable, especially when working on a detailed illustration. But creating volume does not require turning the entire shadow side into black. Do not be afraid of pushing your values.
A good approach is to separate the face into broad value groups:
Light: planes directly facing the source
Midtone: planes gradually turning away
Shadow: planes receiving significantly less direct light
Artwod's Portrait course is something that will help you immensely when it comes to understanding the planes of the face.
Use Layers When You Are Afraid of Ruining the Drawing
The original feedback offers a practical solution for digital artists: experiment on a new layer or a copy of the file.
The paintover itself demonstrates this by using a multiply layer to add shading to the left character. This gives you freedom to test stronger shadows without permanently changing the original artwork.
Note: If you’re a traditional artist, creating careful build-up of your materials is how you avoid ruining your drawing. I would suggest following the principle of darkest to lightest. If your darkest value needs more depth, it’s easier to adjust when you start with the darkest values first.
A Simple Anime Lighting Art Workout
Try practicing the lighting separately from your finished artwork.
Step 1: Draw a simple headKeep the features minimal.
Step 2: Choose one light sourceFor example, place the light above and to the left.
Step 3: Mark the bright planesIdentify the forehead, cheek, and other surfaces facing the light.
Step 4: Add the main shadowPlace the shadow on the planes turning away from the source.
Step 5: Check the chin and neckMake sure the underside of the chin and neck respond logically to the same light.
Step 6: Add smaller shadowsOnly after the major lighting works should you add subtle transitions around the nose, eyes, and cheeks.
Step 7: Move the lightRepeat the exercise with the light coming from the right, below, and directly above.
This builds a more practical understanding of how facial forms respond to changing illumination.
Common Mistakes to Avoid
Adding shadows without choosing a light source: This makes the lighting inconsistent.
Making every shadow equally dark: Not every form needs the same contrast.
Keeping the shadow side too light: Excessively narrow value ranges can make rounded forms feel flat.
Making everything black to create volume: Strong contrast is useful, but it should follow the form and light direction.
Rendering individual facial features first: Establish the major planes before adding small shadows.
Avoiding experimentation: Digital layers and copies make it easier to test stronger lighting without committing to it.
FAQs
Choose a clear light direction and use values to distinguish planes facing the light from planes turning away from it.
Why does my face look flat?Your shadows may not be following a consistent light source, or the value difference between light and shadow may be too limited to describe the form.
Should face shadows be very dark?Not necessarily. Stronger shadows can help, but the important part is that their depth and placement make sense relative to the light source.
How do you shade a face?Start with the major planes of the face, establish the light and shadow groups, then add smaller shadows around features such as the nose, eyes, and cheeks.
How can I practice lighting?Draw simple heads under different light positions and observe how the forehead, cheeks, nose, chin, and neck change as the light moves.
How can I experiment with darker shadows without ruining my drawing?If you work digitally, duplicate the artwork or use a separate layer for the shading so you can test different levels of contrast without altering the original.

Keep practising
Explore roadmapsHelp an artist with feedback
Find work to critique