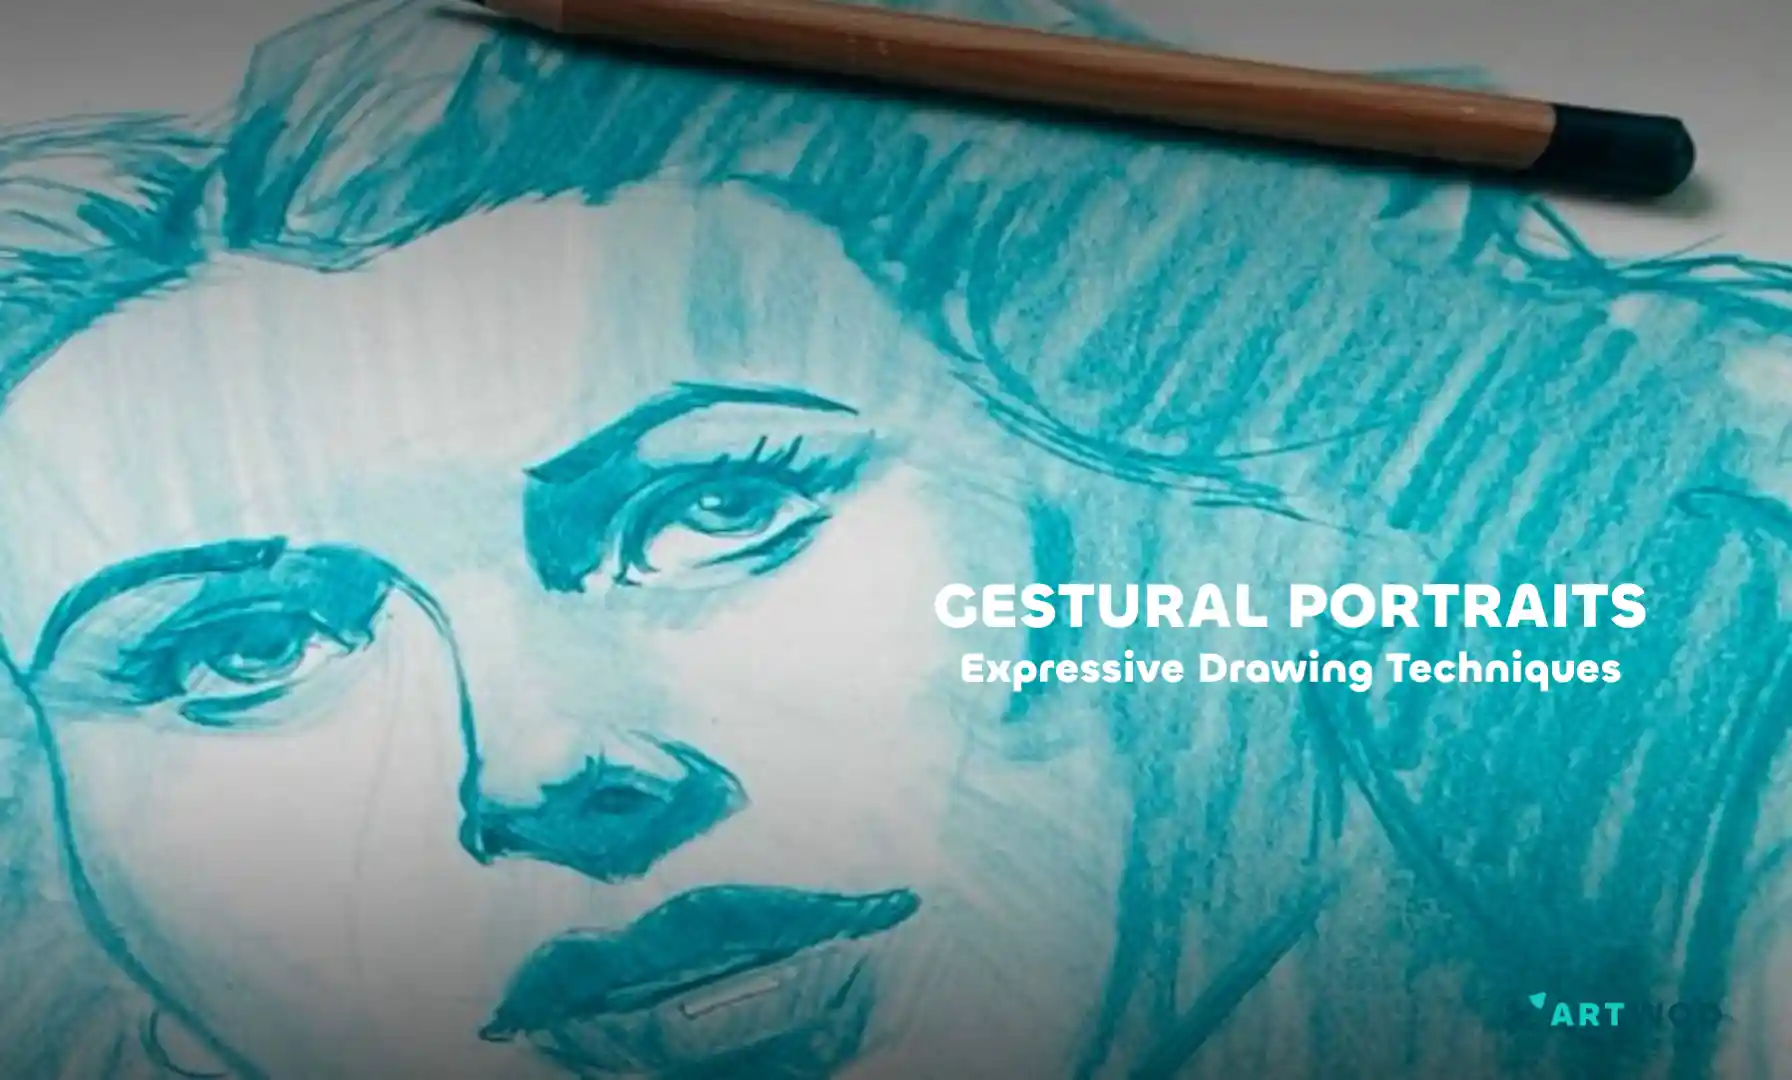
Gestural Portraits: Capturing Expression and Movement in Quick Sketches
Gestural Portraits: Expressive Drawing Techniques
Drawing convincing portraits can feel overwhelming - proportions, features, lighting, values, all at once. This exercise breaks the portrait process into clear steps, combining the Loomis head, Reilly rhythms, and shadow mapping to help you build a solid, readable portrait from the ground up.
By focusing on structure first and detail last, you’ll learn how to construct a face that feels believable, well-lit, and cohesive. Try this beginner friendly art workout to instantly improve your portraits!
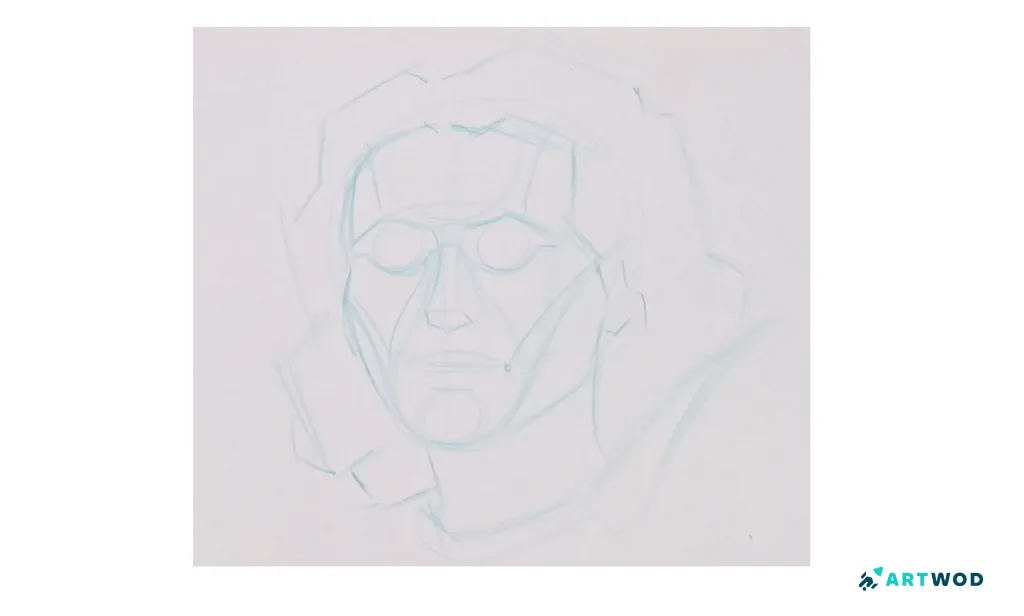
Step 1: Draw the Loomis head using reference
Start by drawing the Loomis head using a reference photo. Focus on the basic construction: the sphere, the jaw, and the center lines.This step establishes correct proportions and head orientation before you worry about facial features.
Keep it light and simple - accuracy matters more than a polished look here.

Step 1: Gestural Portraits: Expressive Drawing Techniques
Step 2: Add Reilly rhythms
Using the same reference, add the Reilly rhythms on top of your Loomis head. These flowing lines help connect facial features and describe the underlying structure of the face.
Reilly rhythms guide the eye and prevent features from feeling isolated or stiff. Think of them as the “flow” of the face.
Step 2: Gestural Portraits: Expressive Drawing Techniques
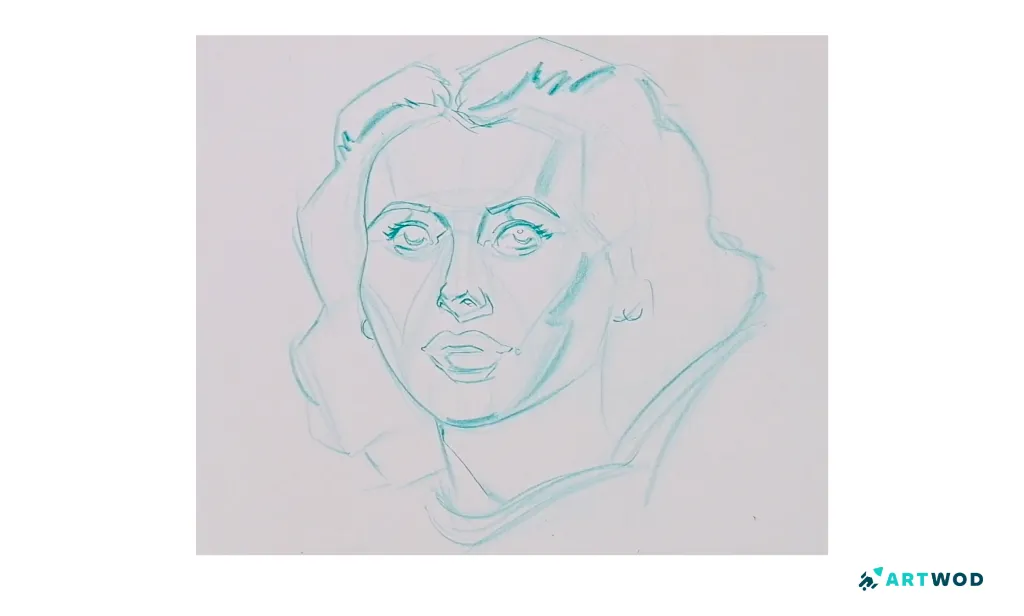
Step 3: Define the main features
Now define the main facial features: eyes, nose, mouth, and ears. Use your construction and rhythms to place everything accurately.
Avoid adding detail too early. At this stage, focus on placement, size, and relationships between features NOT rendering.

Step 3: Gestural Portraits: Expressive Drawing Techniques
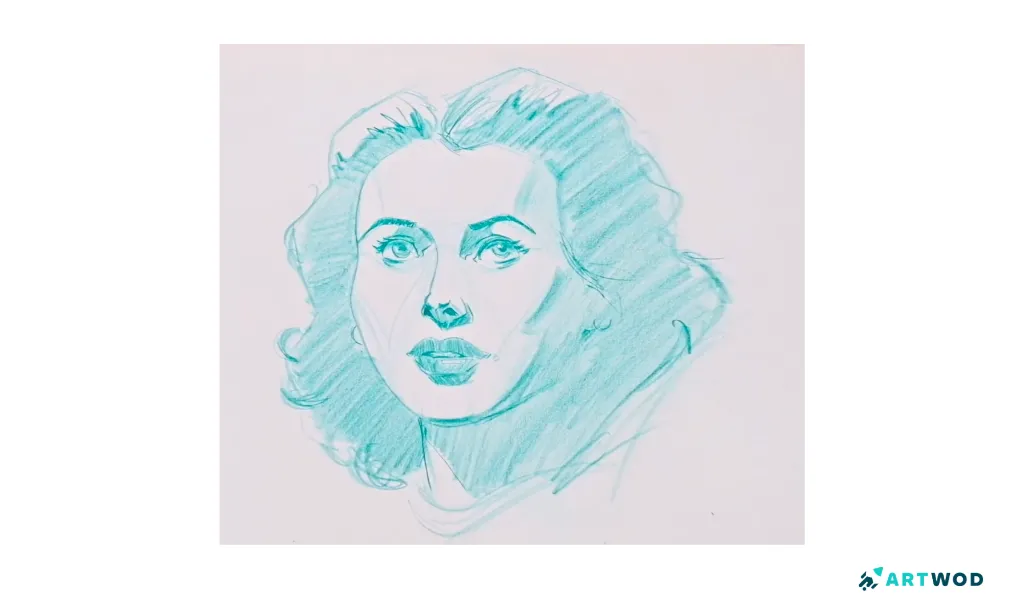
Step 4: Add a shadow map
Using the reference, create a clear shadow map. Identify where light does not hit the face and block those areas in as one flat shape.
Keep the edges mostly hard at first. This step is about separating light from shadow, not adding gradients yet.
Step 4: Gestural Portraits: Expressive Drawing Techniques
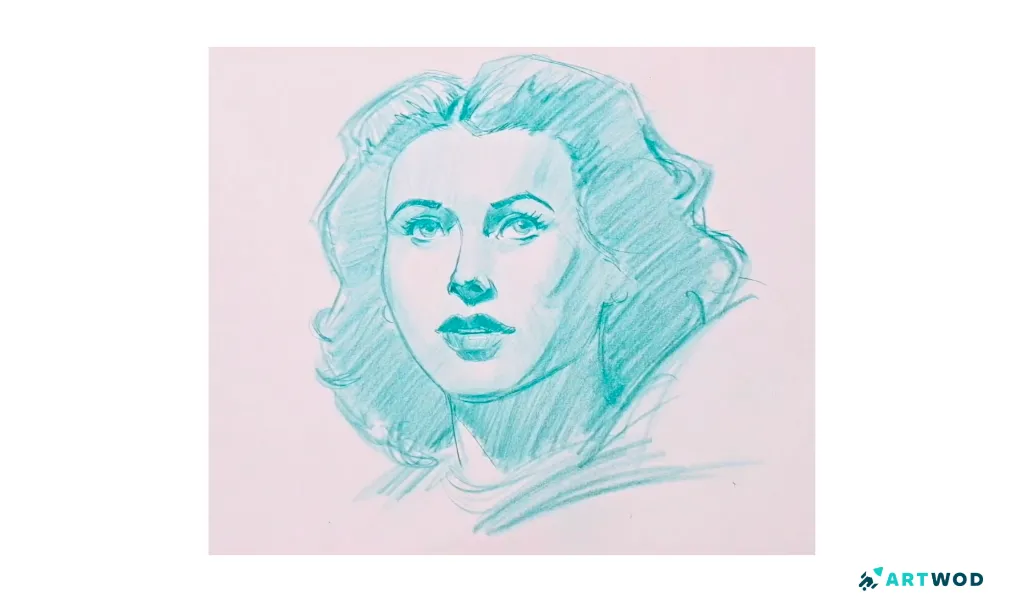
Step 5: Fill the shadow map with value
Fill the entire shadow shape with a single value. This helps you clearly establish the lighting and keeps your portrait readable.
Resist the urge to model forms inside the shadow just yet — clarity comes first.
Step 5: Gestural Portraits: Expressive Drawing Techniques
Step 6: Refine with halftones and details
Finally, refine the portrait by adding halftones, softening edges where needed, and introducing subtle details. Use restraint - details should support the structure, not overpower it.
At this stage, you’re enhancing what’s already solid, not fixing mistakes.
Step 6: Gestural Portraits: Expressive Drawing Techniques