Stylised Body Shapes: Simplify and Exaggerate Figures for Animation and Illustration
Drawing, Figure, Design, Design
Stylised Body Shapes: Techniques for Animation and Illustration
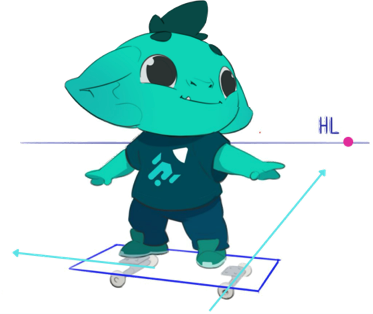
If you, like us, think that ultra-realistic characters can feel a bit boring, and would rather create something stylized, unique, and full of your own voice, this exercise is for you.
Creating stylized characters is about more than copying what you see - it’s about understanding the shapes, volumes, and anatomy that make them work. By breaking down a character into its basic graphic shapes, you can experiment, exaggerate, and invent new designs while staying grounded in what makes them visually appealing. This exercise will help you develop your eye for silhouette, improve character design, and strengthen your understanding of form.
Step 1: Analyze a stylized character
Pick a stylized character you admire - from a cartoon, comic, or video game. Look closely at the silhouette and identify the graphic shapes that define it. Are there circles, triangles, rectangles, or more organic forms? Mark them out and think about how they interact to create the character’s visual identity.
Use different colors for each part of the character - this technique is often used in animation and helps identify the silhouette better.
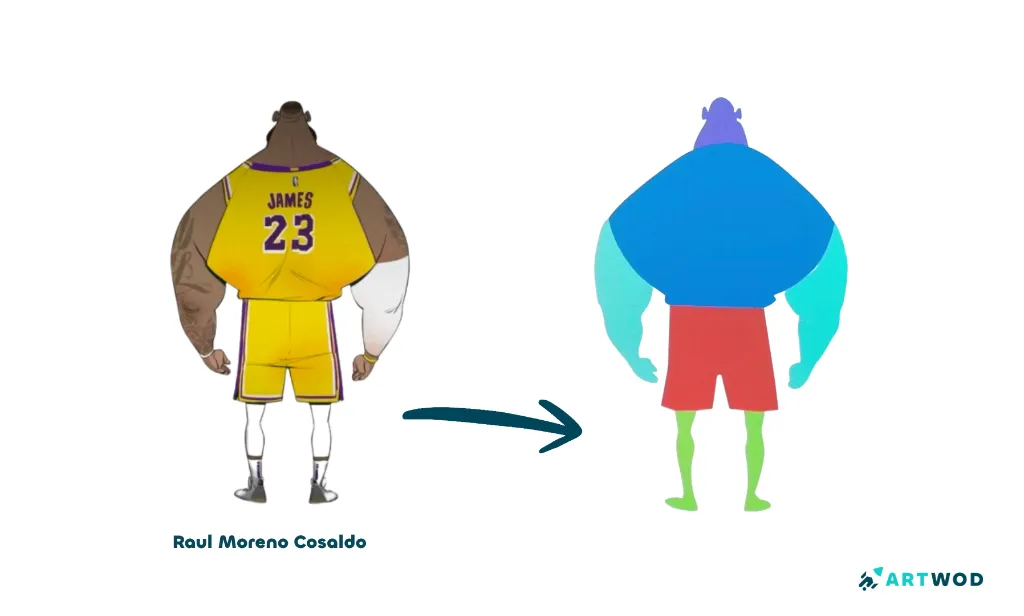
Step 1:Stylised Body Shapes: Techniques for Animation and Illustration
Step 2: Scramble and experiment
Now it’s time to play. Take the shapes you identified and scramble, stretch, or move them to create two new character silhouettes. Don’t worry about details yet - focus on strong, readable shapes and interesting proportions. This step encourages creative exploration and helps you understand how changing graphic shapes affects the overall character.
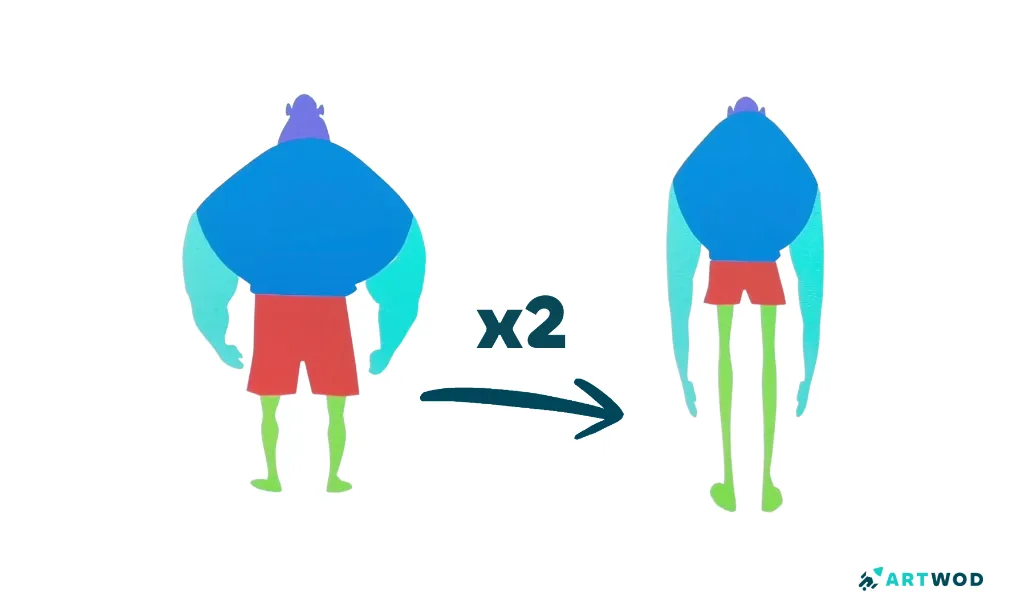
Step 2:Stylised Body Shapes: Techniques for Animation and Illustration
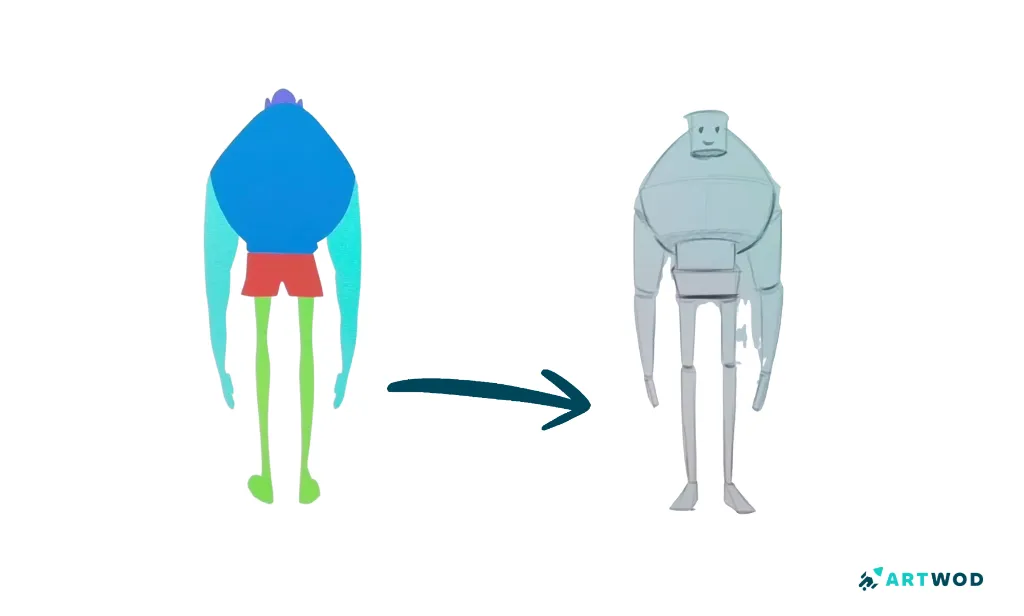
Step 3: Add volume with a mannequin
Choose your favorite of the two new silhouettes. On top of these shapes, draw a simple mannequin to define volume. Think about the 3D structure of the body and how to create this illusion on a 2D canvas. This will make your character feel solid and believable even before adding details.
Step 3:Stylised Body Shapes: Techniques for Animation and Illustration
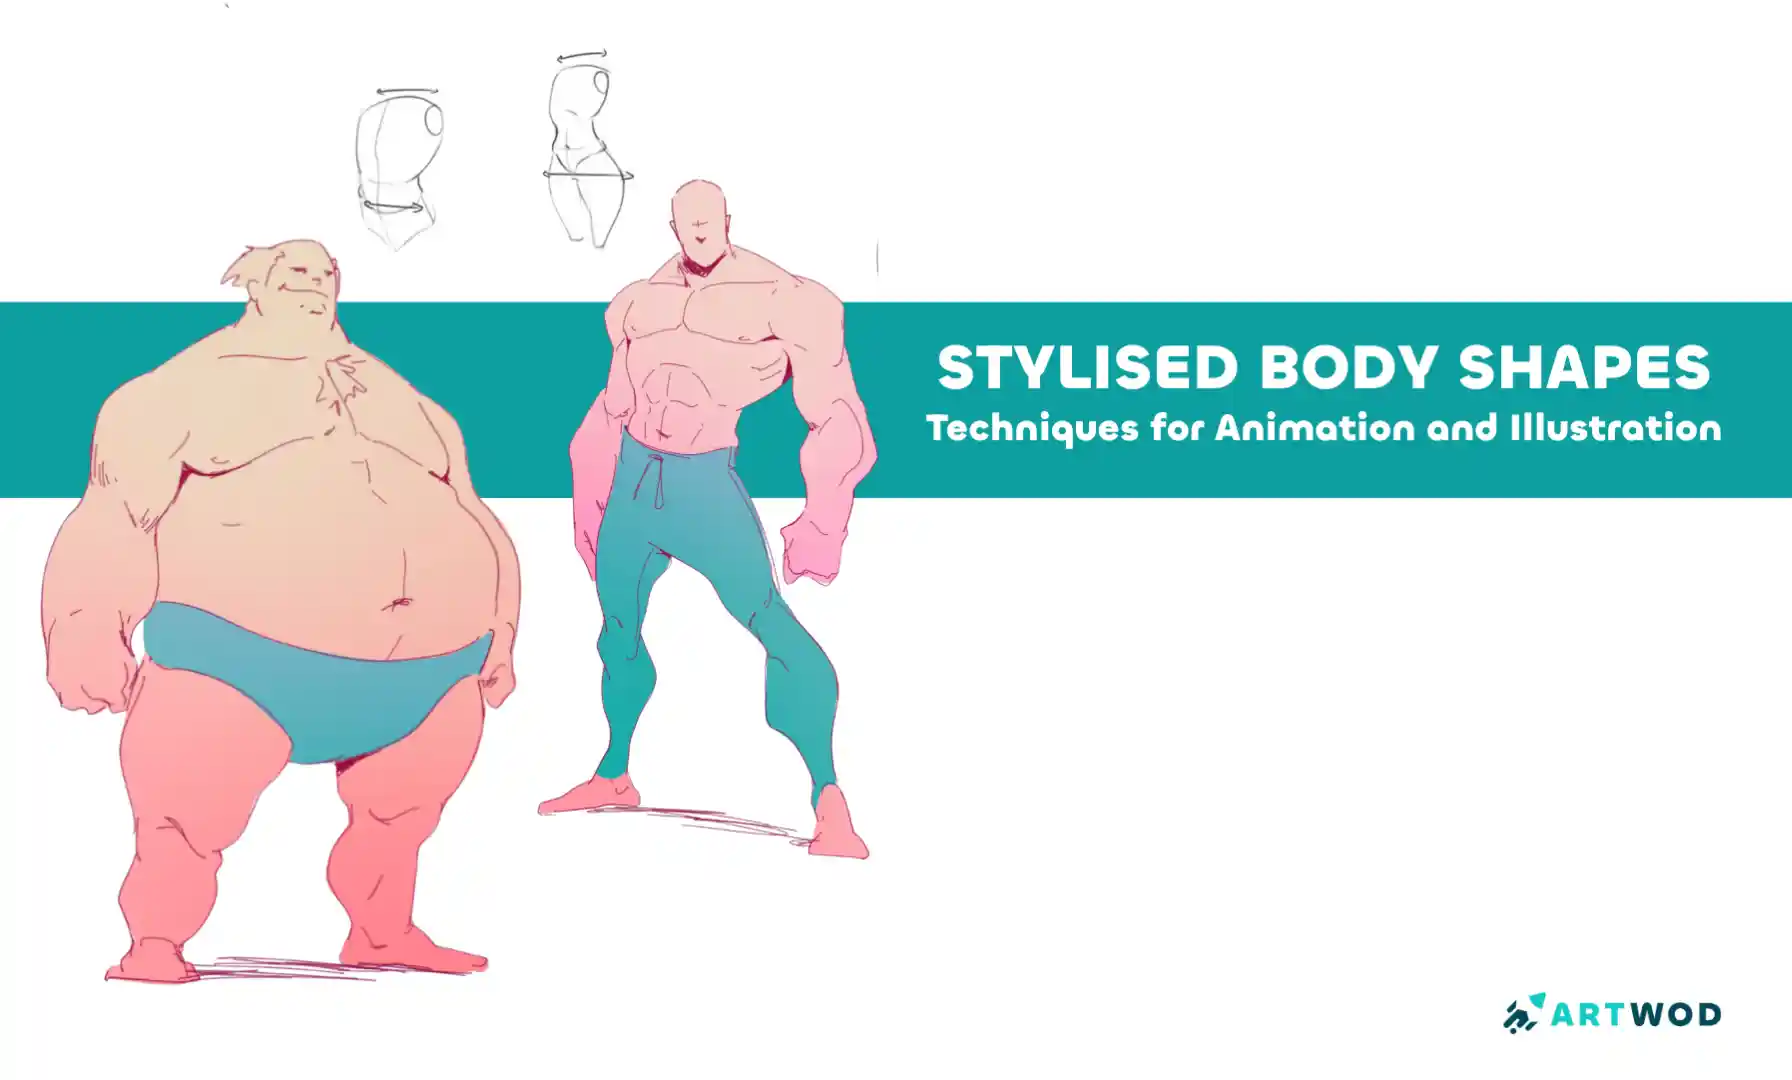
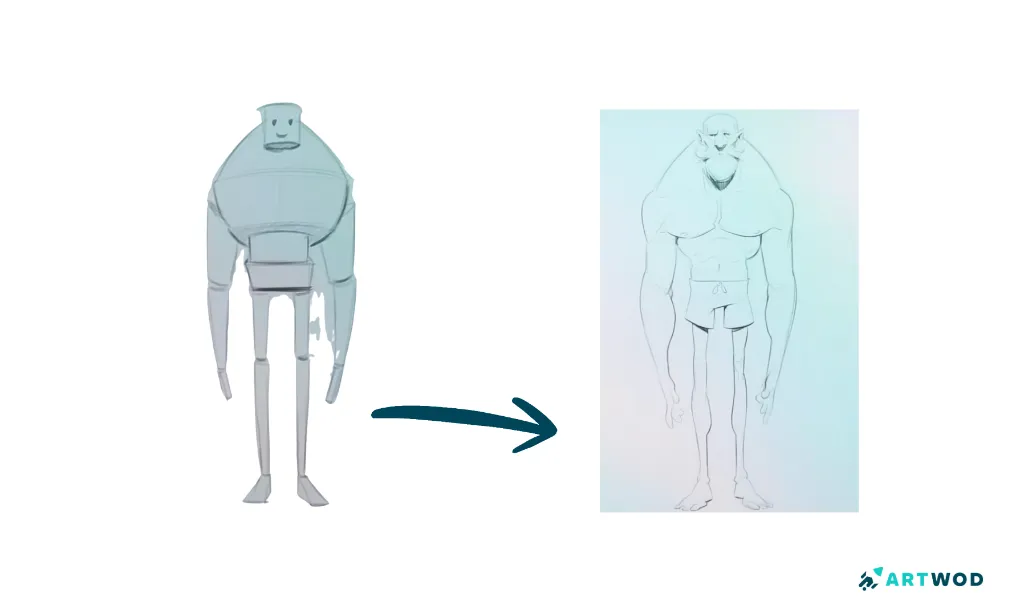
Step 4: Add anatomy
Finally, add anatomy to the mannequin to the extent of your knowledge. Even a simplified version of muscles, joints, and proportions can bring life and believability to your design. Focus on connecting the shapes in a way that reads clearly and reinforces the silhouette you worked on.
Step 4:Stylised Body Shapes: Techniques for Animation and Illustration
By breaking down characters into shapes, experimenting with silhouettes, and building volume with mannequins, you strengthen both your creative thinking and technical skills. Repeat this exercise with different stylized characters to see how shape choices impact personality, readability, and overall appeal.
Don’t forget to share your progress with us on Instagram (@art_wod) and Discord - we love seeing how artists take inspiration and turn it into something new. And remember to try our Feedback tool — it helps you keep all the feedback in one place (both written and visual draw-overs).Author: Artwod team
Published: Feb 13, 2026
Related Posts

Drawing, Figure, Design, Design
4 Levels of Character Posing: How to Make Your Drawings Come Alive
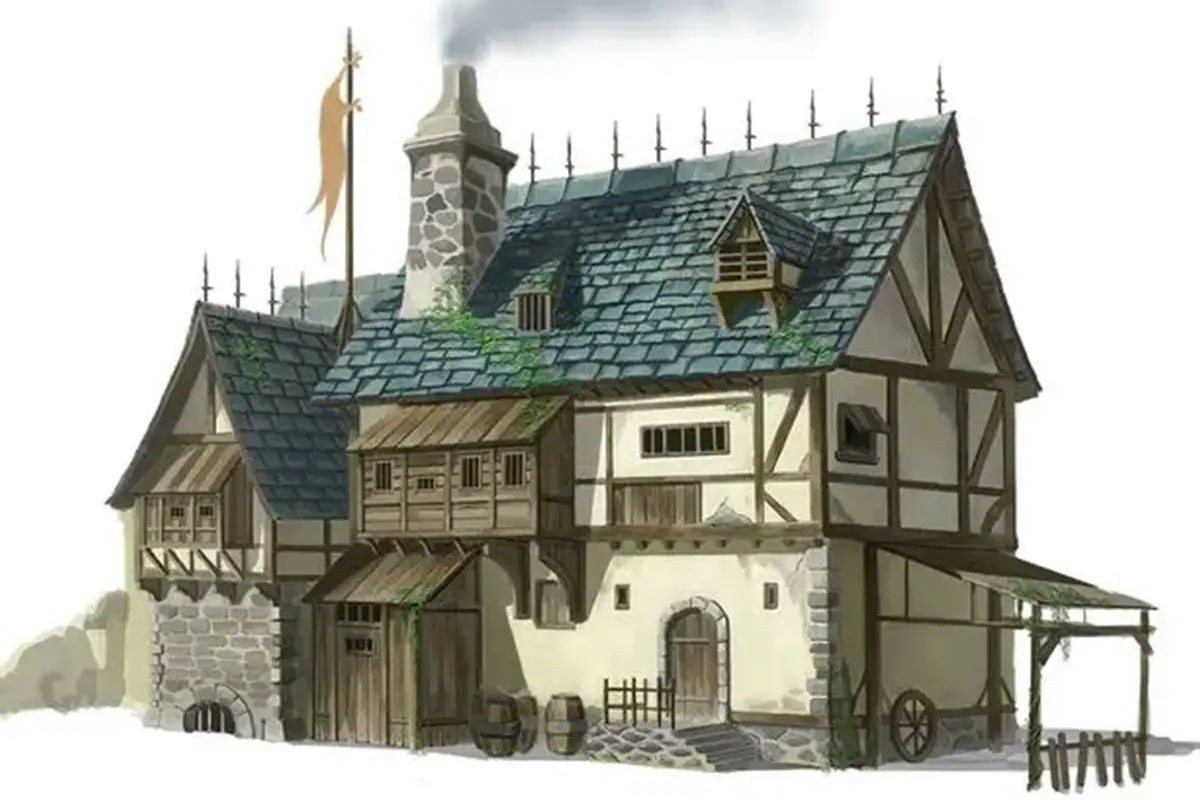
Drawing, Environment, Still-Life, Design
Beginner’s Guide to Drawing Buildings from Imagination: Step-by-Step Tips
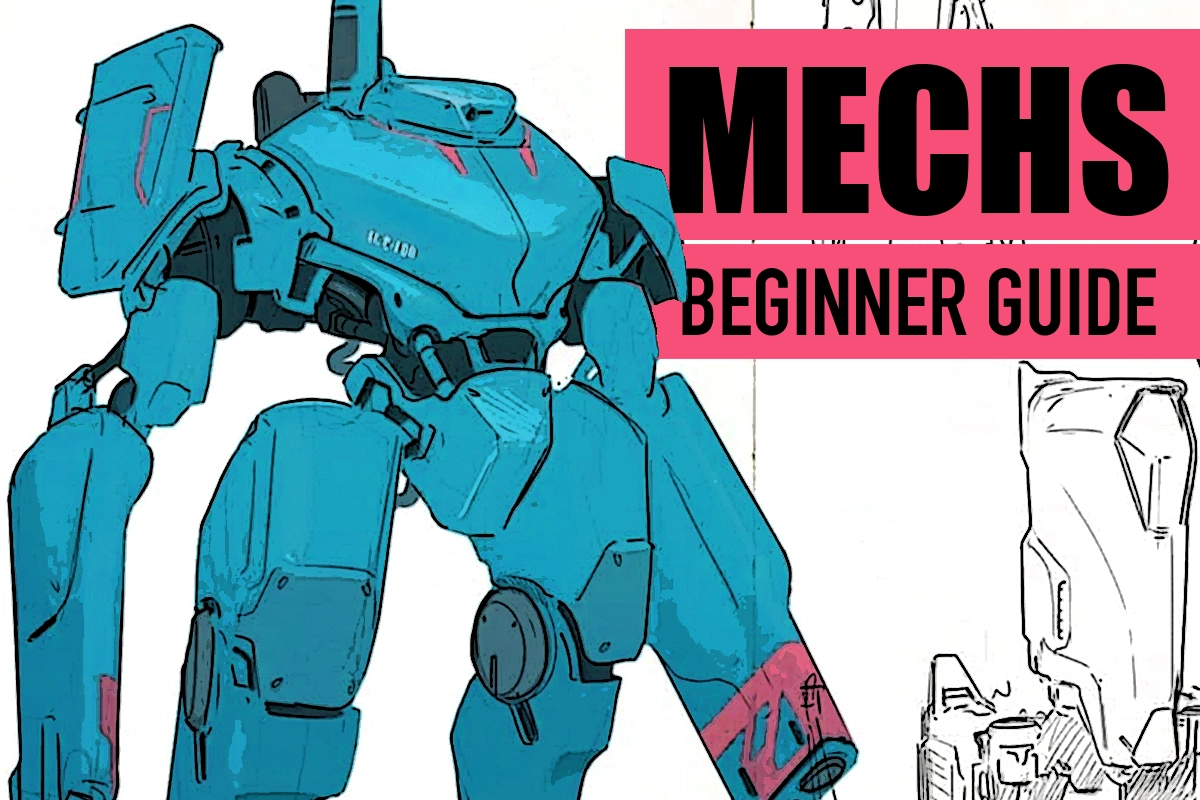
Drawing, Design, Still-Life, Figure
Mastering Mech Design: A Step-by-Step Guide for Beginner Artists