Watercolor Trees: Step-by-Step Guide to Painting Lush Forests
How to Paint Watercolor Trees: Tips for Lush and Vibrant Forests
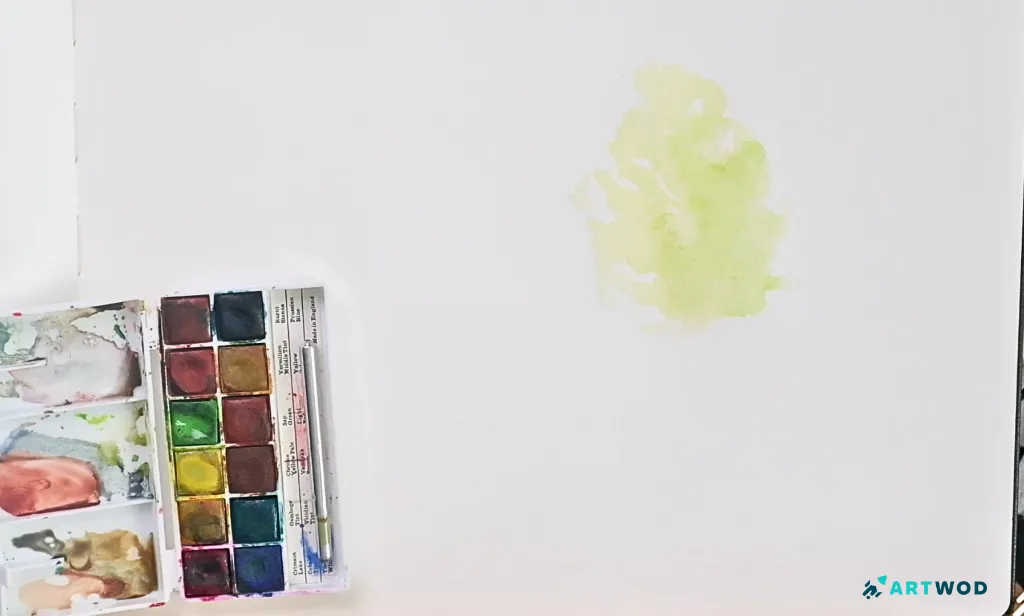
Step 1: Create the following using a watercolor of choice:
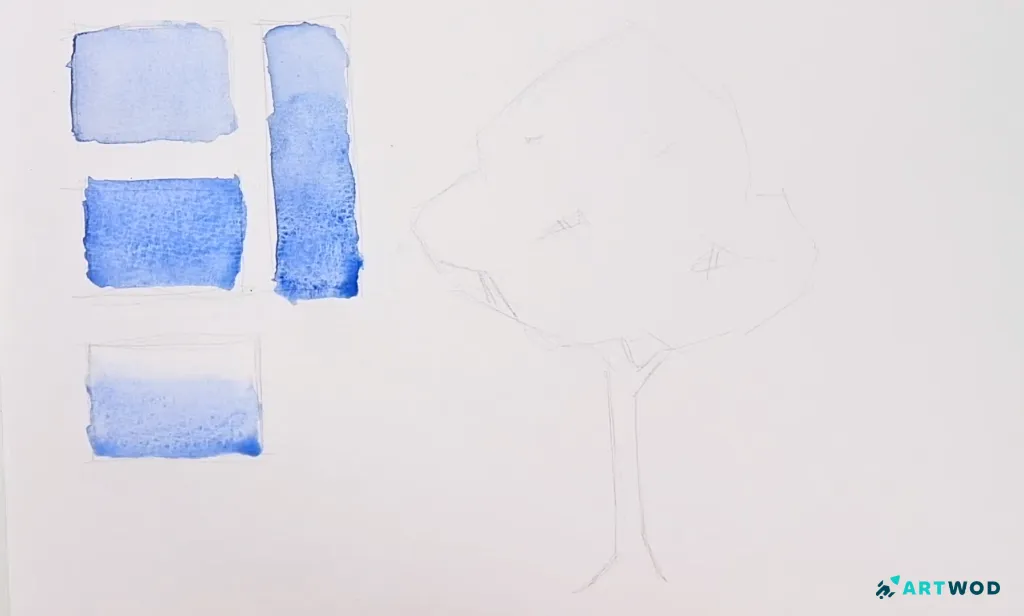
Before painting the tree, start by warming up with these exercises. Using the watercolor of your choice, create the following four squares:
a light-colored square using a diluted wash
a saturated-colored square with more pigment and less water
a gradient color square with no hard edge at the top
a smooth gradient color square transitioning evenly from light to dark
These exercises help you understand water-to-pigment ratio, brush control, and how to avoid streaks or unwanted edges.
Aim for an even dispersion of color and water to create a consistent surface across each square.
Step 1: How to paint watercolor trees step-by-step, beginner friendly
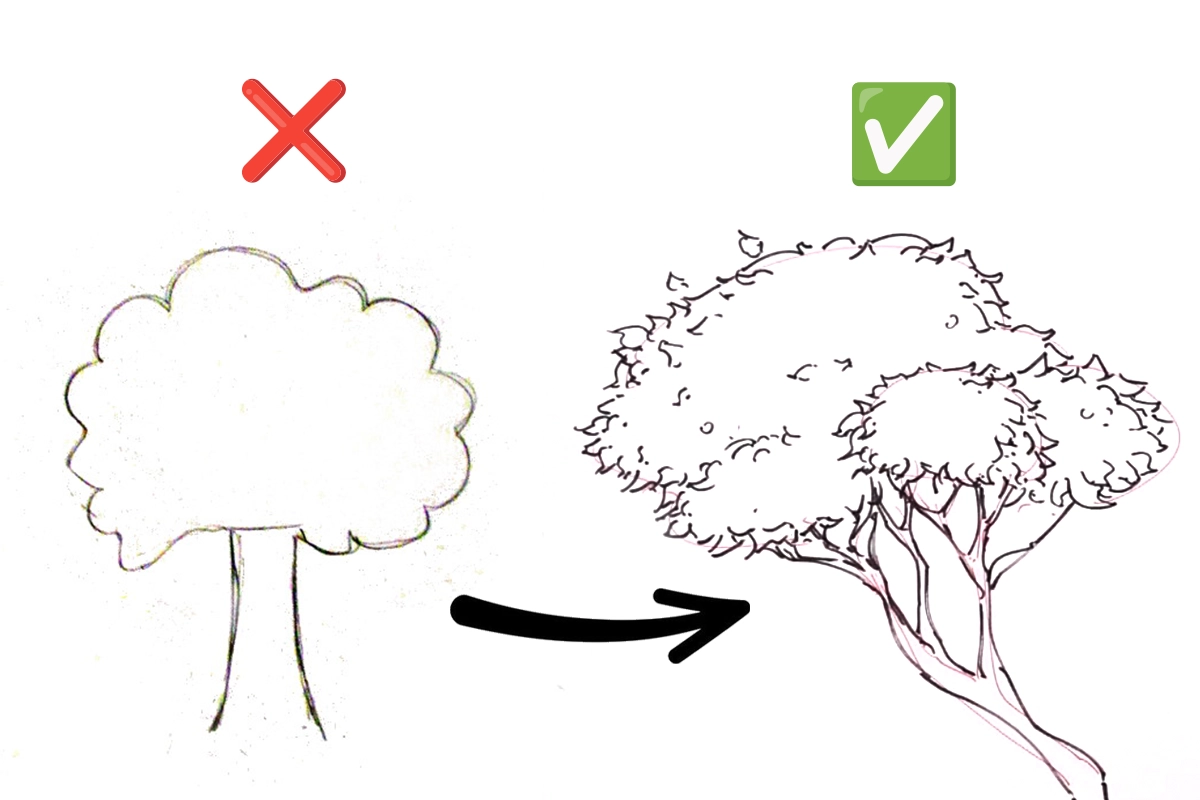
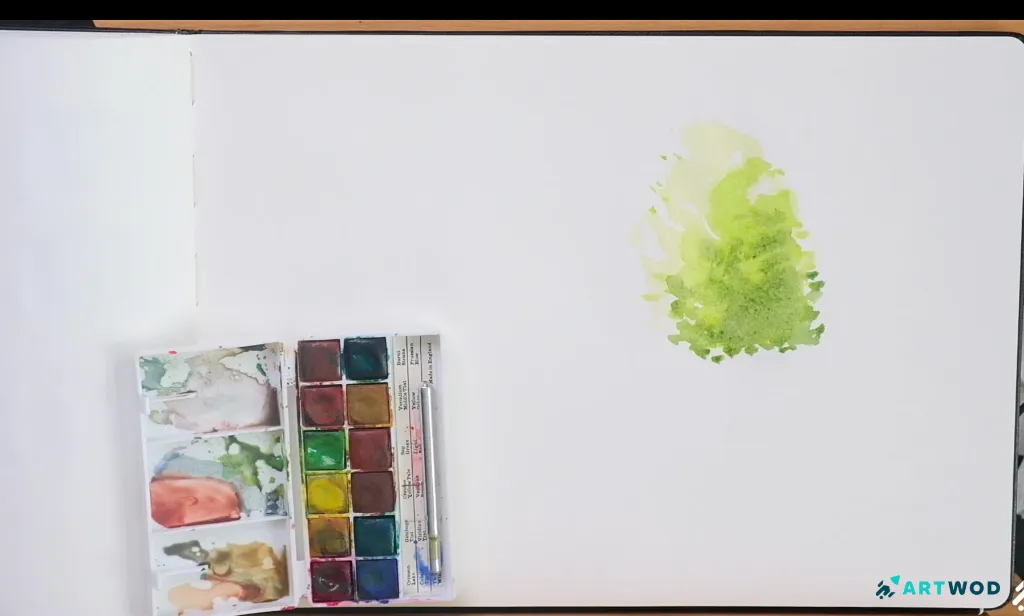
Step 2: Create an organic form that represents the crown of the tree using the gradient technique. Leave some whitespace in certain areas.
Create an organic shape that represents the crown of the tree. Use a gradient wash technique to form the shape, allowing the color to flow naturally.
Leave intentional whitespace in certain areas. This negative space will later help define branches, light, and depth within the tree canopy.
Avoid outlining the shape and let the watercolor move freely.
Step 2: How to paint watercolor trees step-by-step, beginner friendly
Step 3: Emphasize the gradient by adding more saturated greens within the shape
Add more saturated green tones within the crown shape to emphasize the gradient and create visual interest.
Focus on varying saturation, maintaining soft transitions, and avoiding overworking the surface. This step helps the tree feel dimensional rather than flat.
Step 3: How to paint watercolor trees step-by-step, beginner friendly
Step 4: Using different color, create a trunk of the tree.
Using a different color, paint the trunk of the tree. Keep the water and pigment evenly dispersed to achieve a smooth, even surface.
Make sure the edges remain dry so you can create a hard edge for the trunk. This contrast between soft gradients and sharp edges adds structure to the composition.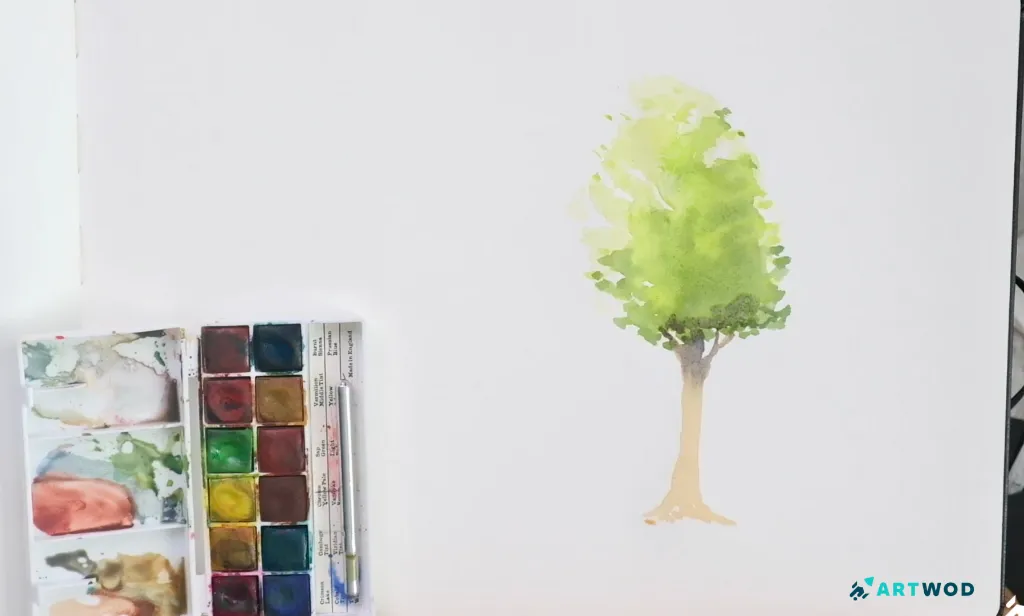
Step 4: How to paint watercolor trees step-by-step, beginner friendly
Step 5: Finish the tree by adding darker values in some shadow spaces and some detailing for the branches within the whitespace.
Finish the tree by adding darker values in selected shadow areas. Use the whitespace within the crown to suggest branches rather than fully defining them.
Rely on value changes instead of outlines, and preserve lighter areas to maintain depth and balance.
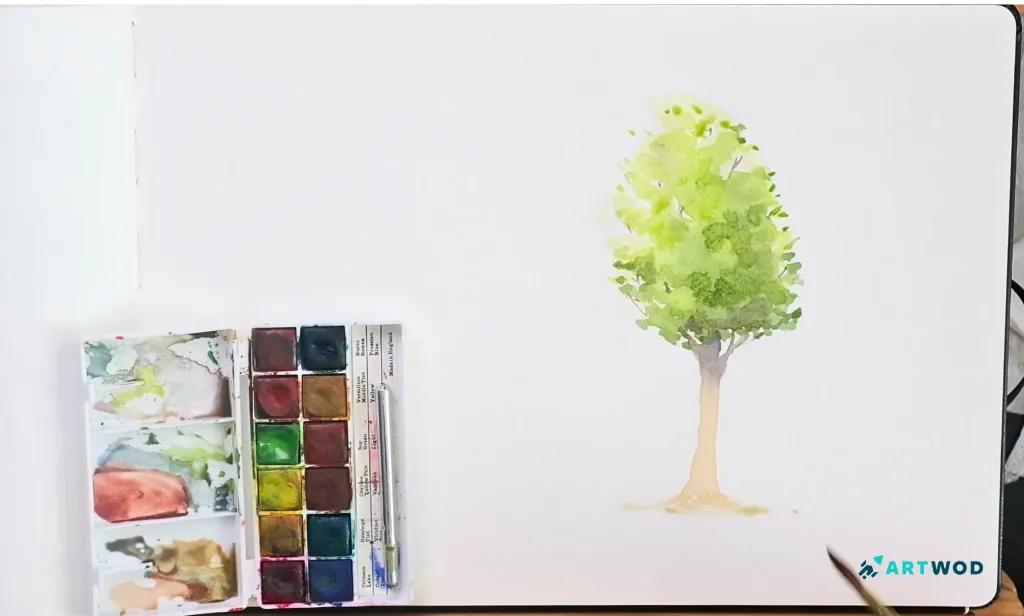
Step 5: How to paint watercolor trees step-by-step, beginner friendly
Don’t forget to follow us on Instagram and Reddit and share your work. We love to see you grow!
Related Posts