How to Practice Anatomy Drawing Without Getting Overwhelmed
Best Anatomy Drawing Practice Routine for Artists
Ask any aspiring artist what they are currently struggling with, and nine times out of ten, you’ll get the same answer: Anatomy.
You try to start with it, and you are instantly bombarded with hundreds of Latin terms like latissimus dorsi and complex, interlocking muscle groups.
Why does anatomy feel overwhelming to beginners? Because most try to memorize everything at once. But you don't need a medical degree to draw a convincing human figure.
If you want to discover a structured anatomy practice routine that helps artists improve figure construction, muscles, and proportions efficiently, follow this step-by-step roadmap.
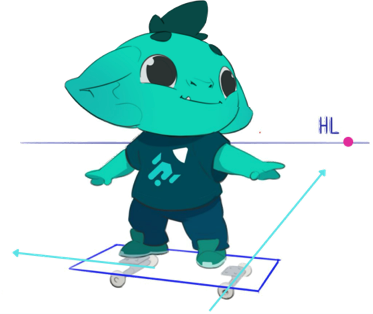
Don't Overthink - Start with a Mannequin
Before you even think
about muscles, you need to understand basic body construction. If you don't know how a simple box or cylinder twists in 3D space, drawing a perfectly detailed bicep on top of it will still look entirely flat. Combining anatomy with figure drawing too early is a recipe for disaster.If you don't know how to build a basic mannequin yet, do not try to study muscles. Instead, take a step back and dive into our Figure Road. You'll learn how to simplify body construction into forms, use references correctly, and learn major anatomical landmarks first.
Honestly? Once you master a dynamic, solid mannequin on the Figure Road, you might realize your art looks so good that you don't even want to study deep anatomy anymore.
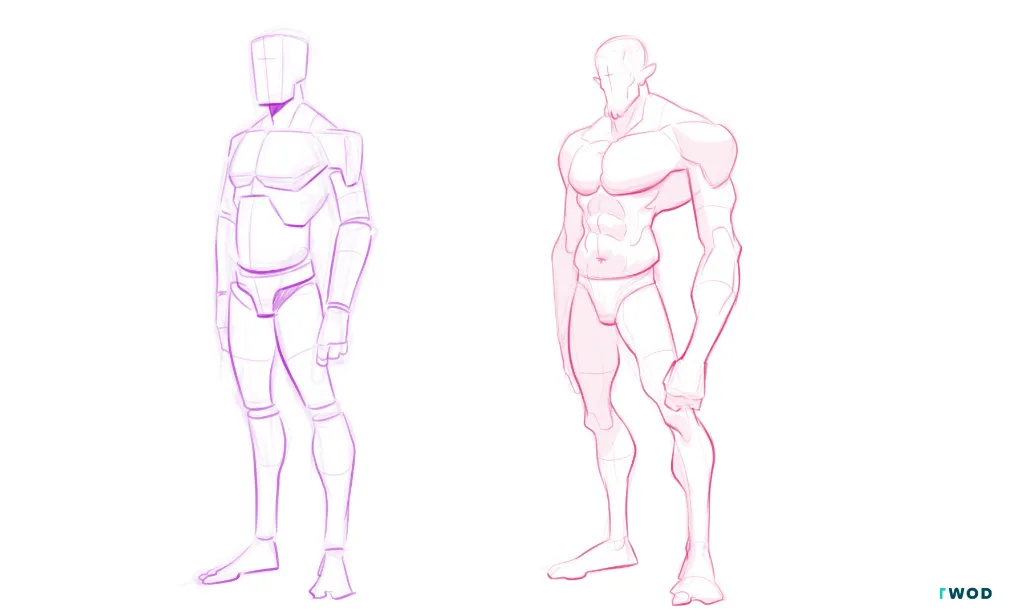
2 drawings digital 2d: on the left a mannequin in purple pencil, on the right a human body, stylyzed, with correct anatomy, drawn with pink pencil
You’re Still Here? Alright, Let’s Talk Muscles
Ok, you really
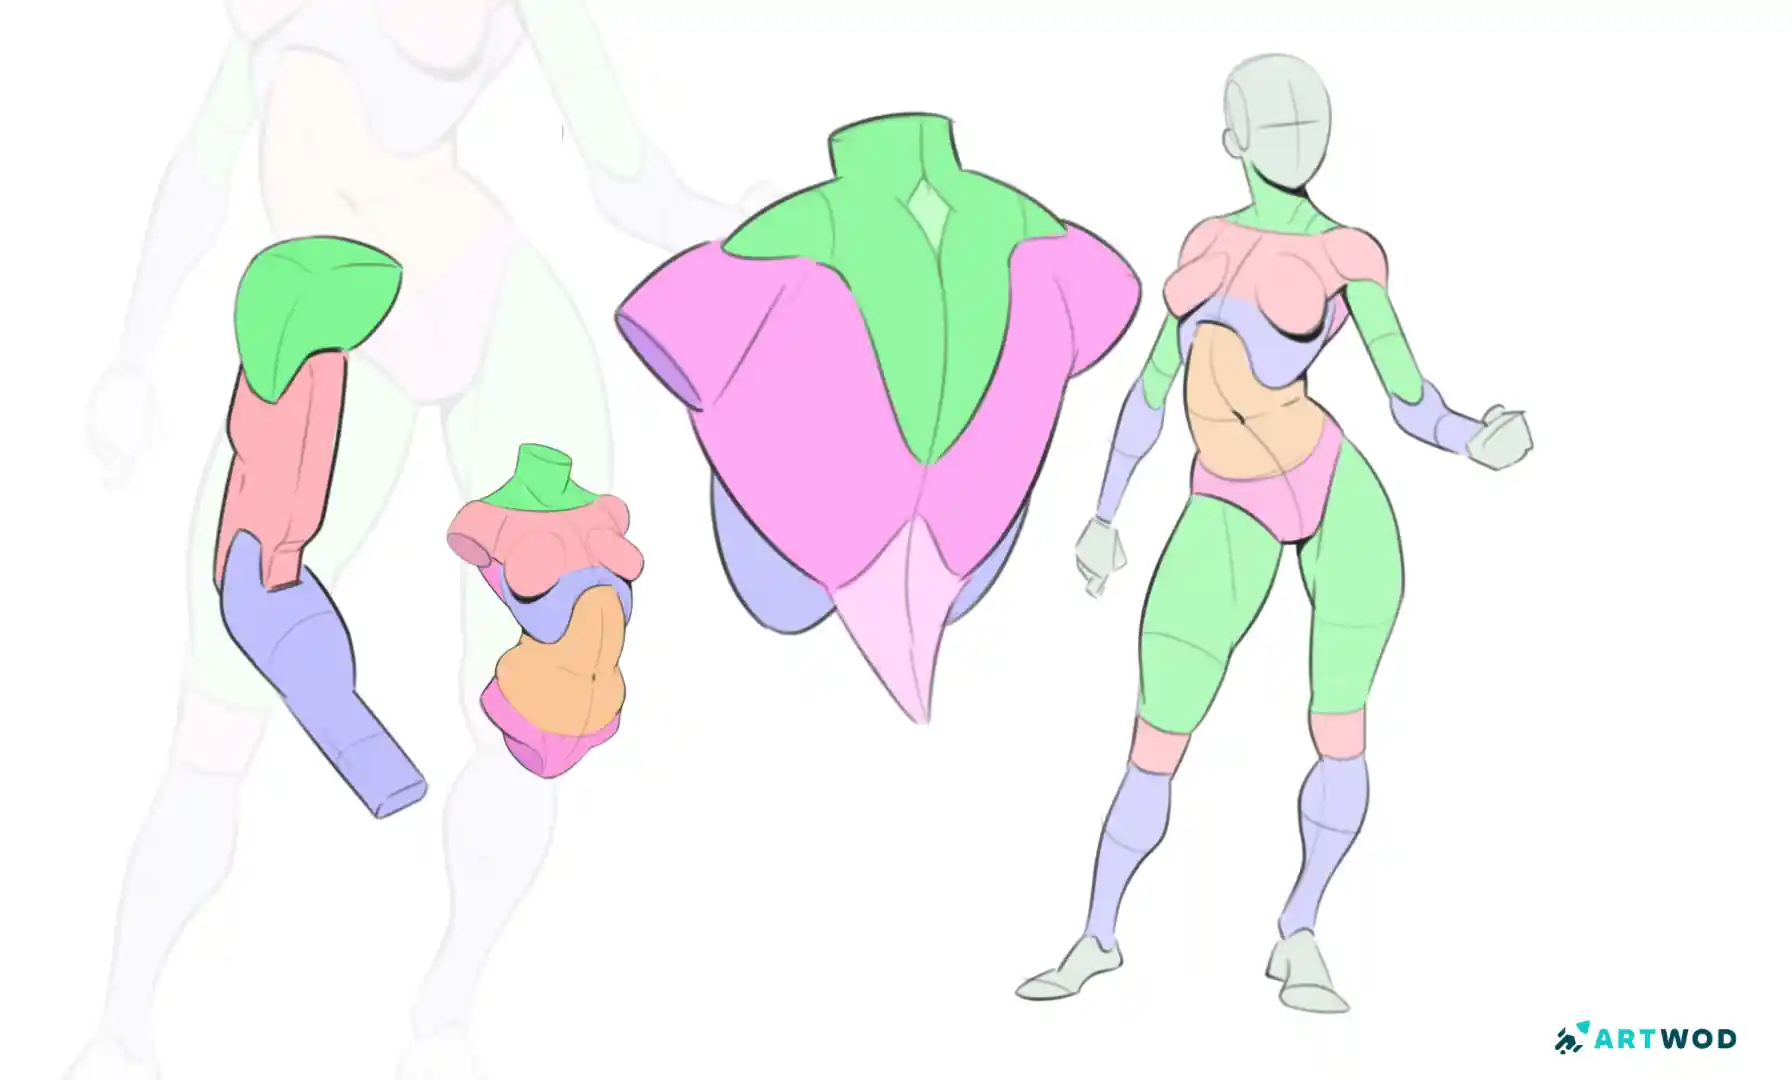
want to learn the science of muscles, welcome to the grid. The trick to keeping your daily cortisol levels low is breaking anatomy into manageable study systems.Do not try to master the whole body in a week. Instead, isolate your anatomy study exercises for beginners into regional zones:
Zone 1: The Torso & Core (The foundation of all movement).
Zone 2: The Shoulder Girdle & Arms (Focus on how the collarbone connects to the chest).
Zone 3: The Pelvis & Legs (Crucial for learning how weight distribution works).
Keep your muscle studies simple. You are an artist, not a surgeon. Learn how professional artists study anatomy daily: they focus on the masses and how they change shape when bending, not the microscopic fibers.
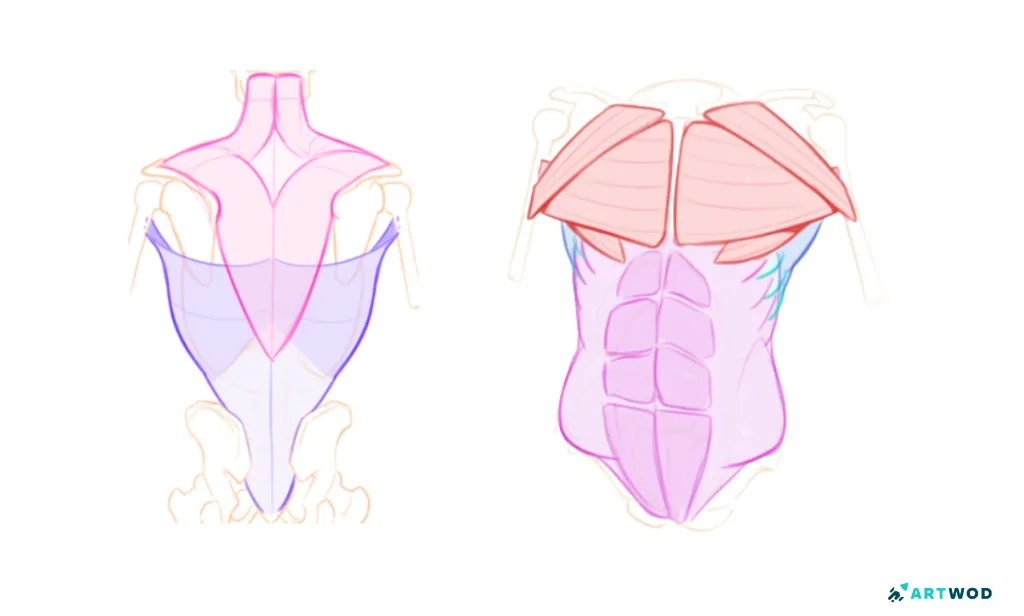
Digital 2d anatomy studies: torso, divided my muscle groups
Gradually Manipulate Your Mannequin Shapes
One of the most common anatomy practice mistakes is trying to drop a hyper-realistic muscle layer onto a stiff, straight mannequin. True skill progression comes from a gradual, iterative learning cycle.
Don't try to integrate everything at once. Start by slightly modifying your basic boxes and cylinders.
By gradually morphing your primitive shapes into organic volumes, you smoothly bridge the gap between rigid structural layouts and fluid realism.
Seriously, Forget the Names
If you are spending your precious drawing time flashcard-memorizing sternocleidomastoid
or brachioradialis, you are actively sabotaging your progress.Your brain does not care about the Latin name when it’s trying to balance a line.
Instead of words, focus entirely on origins, insertions, and overlapping shapes. You just need to know where a muscle starts, where it ends, and what shape it makes when it flexes. Let the medical students worry about the vocabulary test—your job is to make the form look structural and believable.
Keep learning names to the minimum!
Yes to Tracing! (The Active Approach)
There is a massive stigma around tracing, but when used correctly, it is one of the absolute best tools for tracking anatomy drawing progress over time. Mindlessly copying photos side-by-side is passive learning. Tracing over them structurally is active learning.
Try the Trace-Over Method:
Grab a high-quality reference photo of an athlete or model.
Drop the opacity down to 20% in your digital software.
On a layer above the photo, draw through the image to locate the hidden structural bones and muscle masses.
This actively forces your brain to look past the surface skin, teaching you how to read the underlying physical mechanisms of the human body.
Anatomy isn't a test of intelligence; it’s an iterative game of muscle memory, perspective, and community support. You don't have to struggle through it alone.
If you want to see how feedback accelerates anatomy improvement, you need outside eyes on your work before you spend hours rendering an incorrect pose.
anatomy critique community to check your muscle insertions, or you are looking for general art feedback and critique on your initial gesture sketches, head over to the Artwod Community Hub. Upload your current messy workspace, find your designated path on the Anatomy Road, and let's get those proportions dialed in together!Related Posts