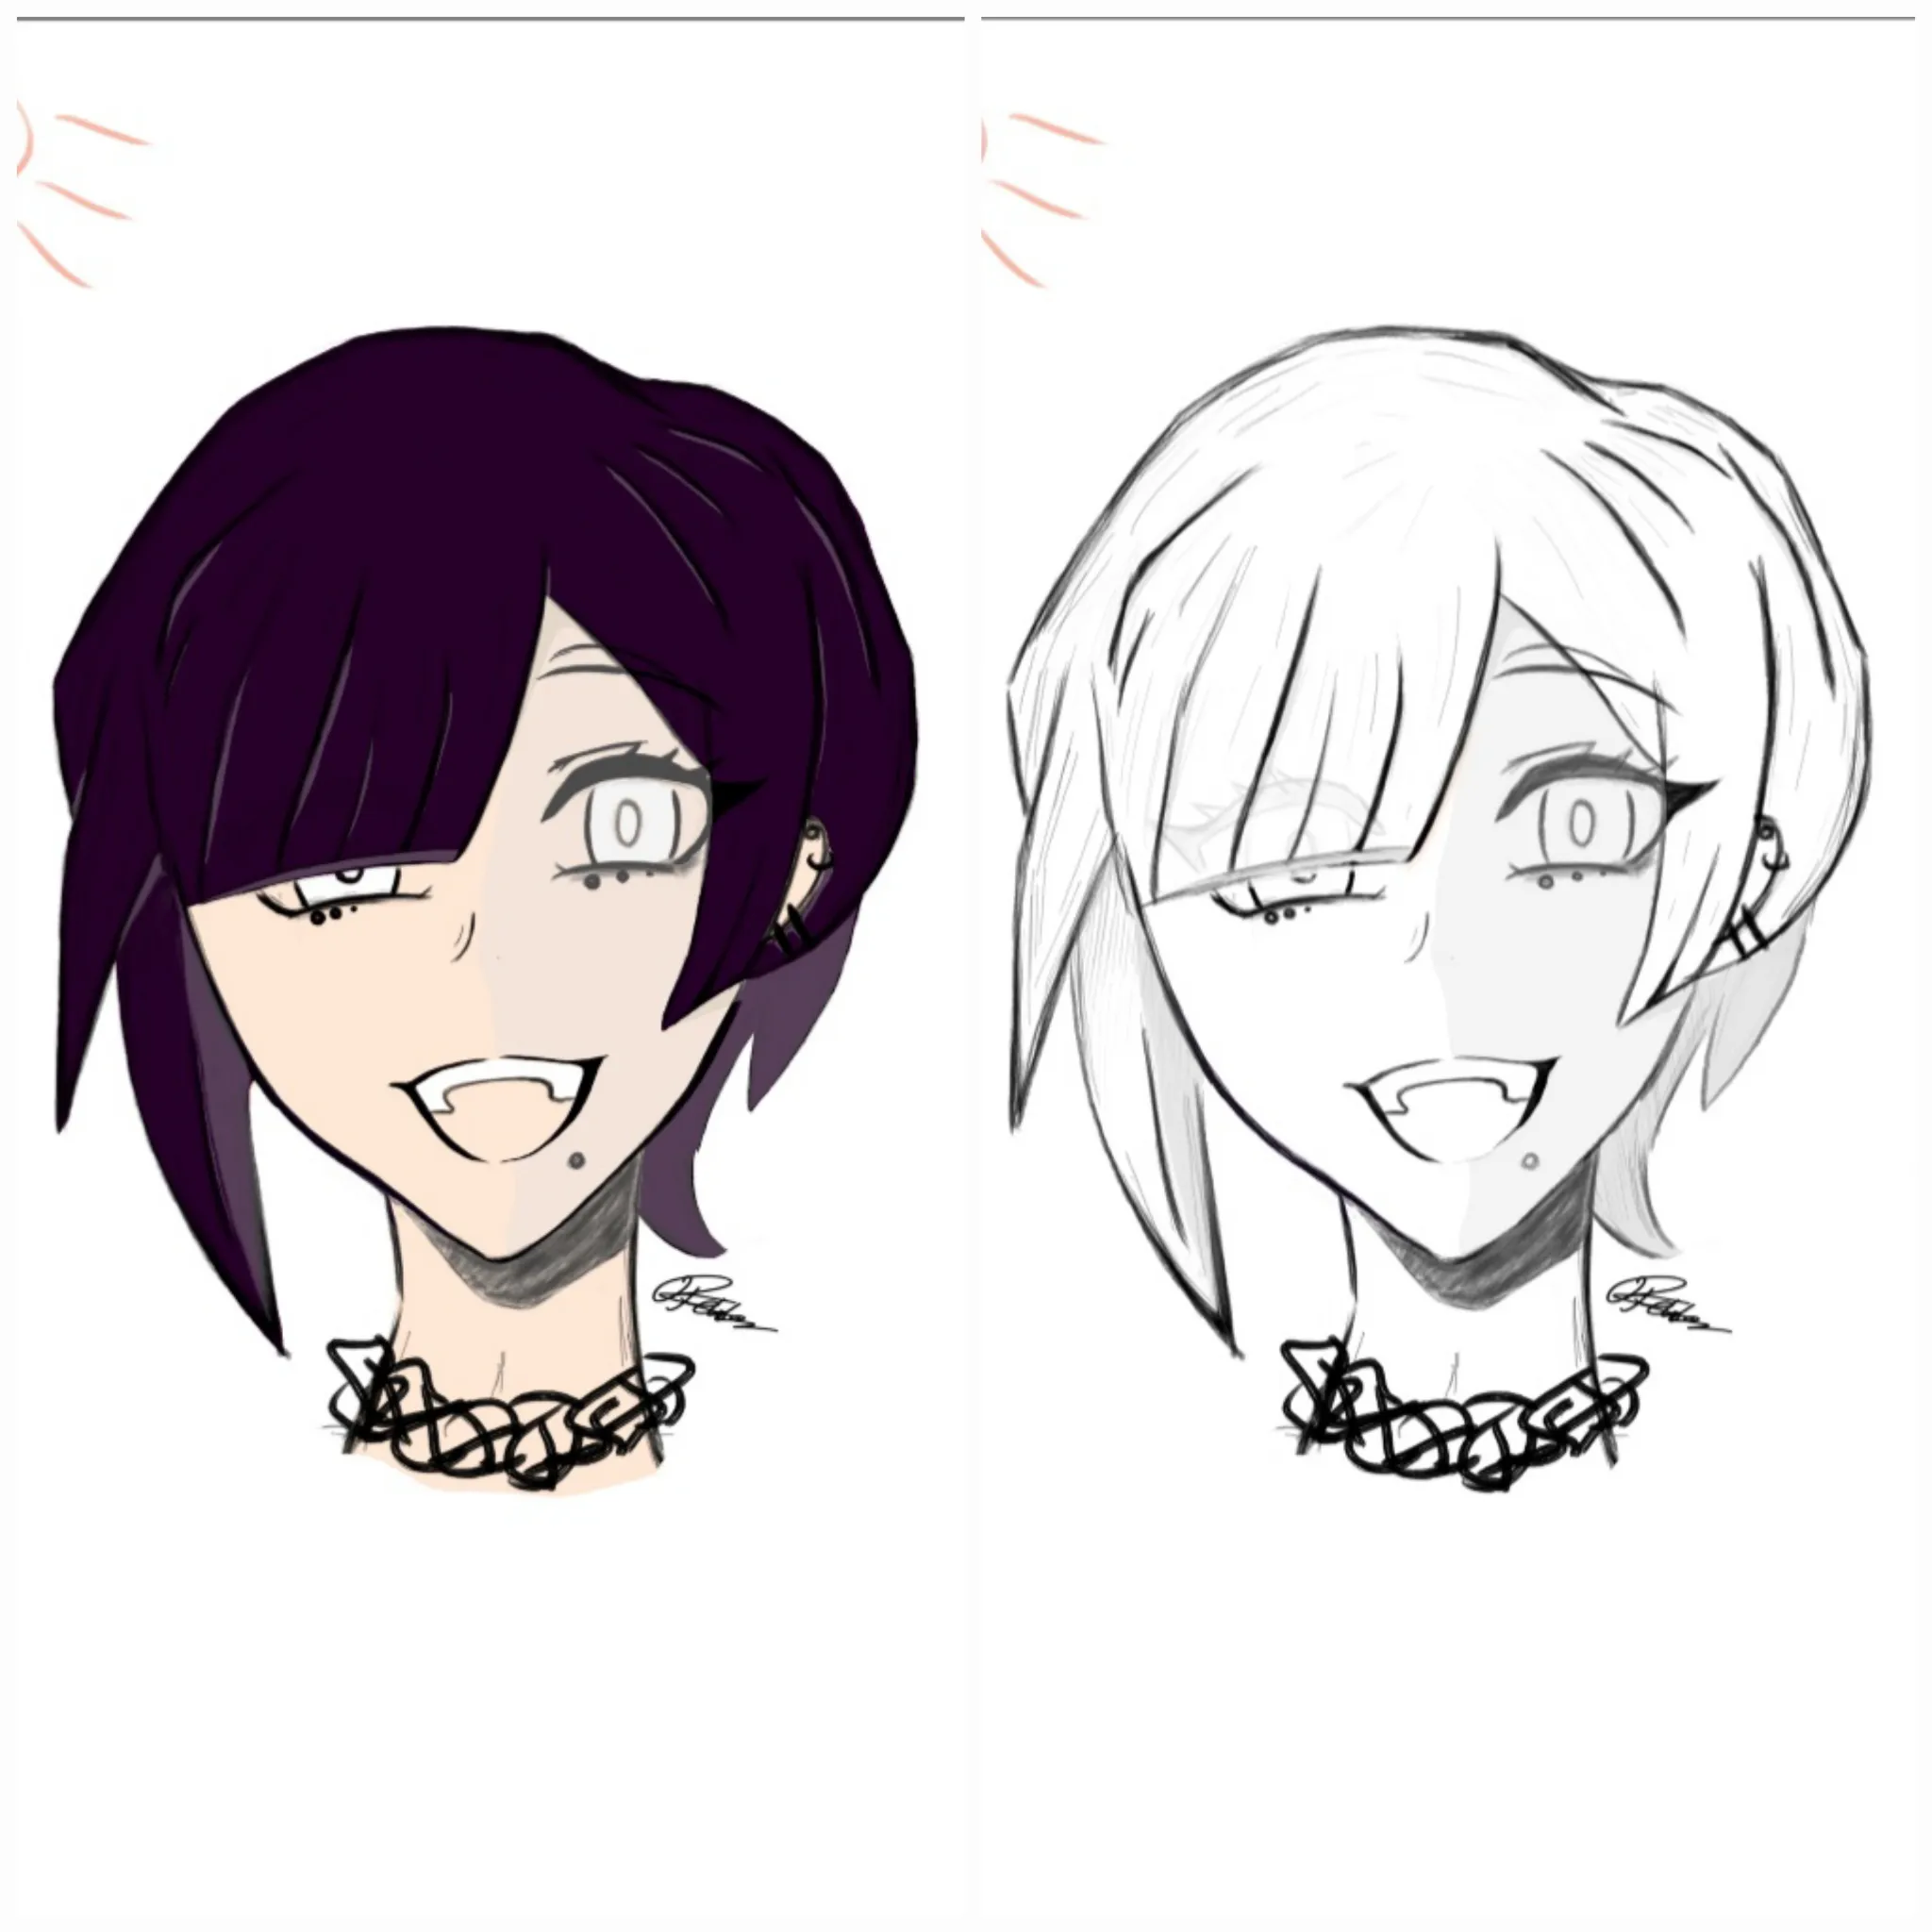
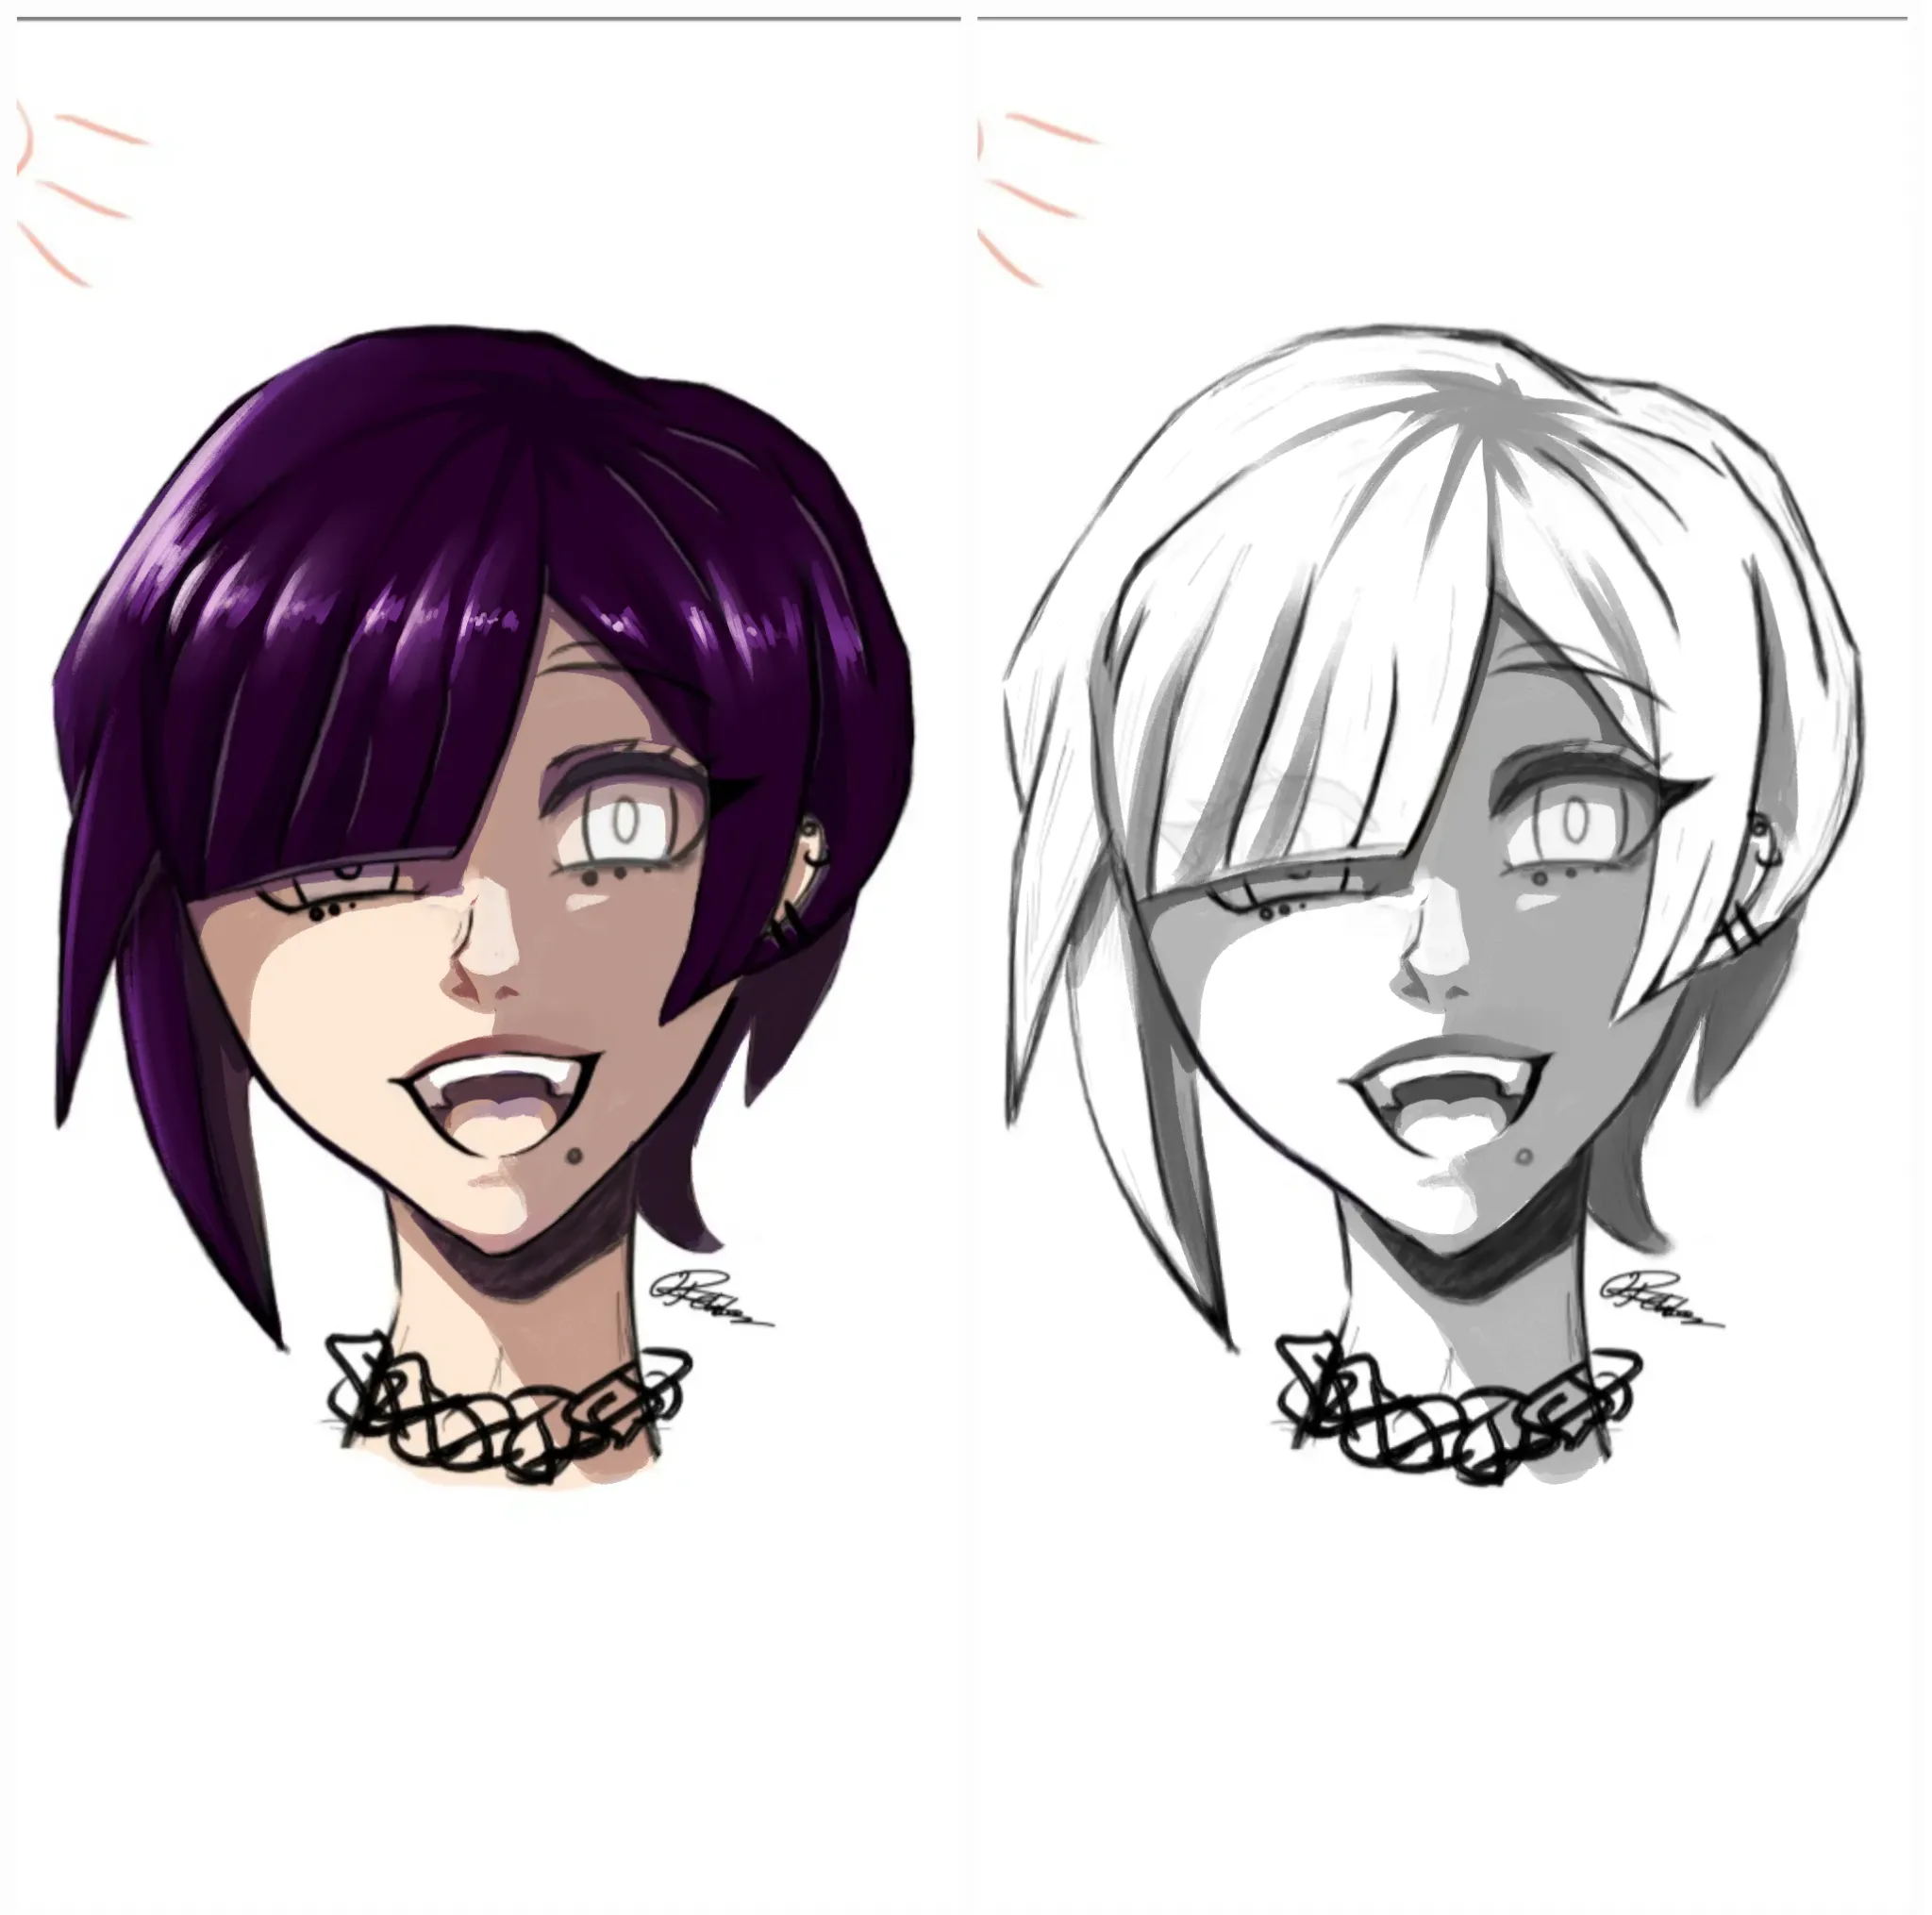

Hello! Great job on your first digital painting. I did a little paintover to place shadows based on your predetermined light source. Here's what I did and some tips for rendering: First, I went to find the Asaro head to use as a reference. You can find free online tools (the one I use is on ArtStation) that let you move a light source around a 3-dimensional model of a human head. The Asari head teaches you how light interacts with the planes of the face and is great for learning lighting. To actually paint your shadows, here's the first tip: avoid using grey. It immediately washes out your image and looks muddy. You can get away with using black for shadows, but only for the absolute deepest, darkest of shadows (otherwise known as ambient occlusion). What I do for shadows is create a new layer above my drawing and set its blending mode to "Multiply." I'll set the opacity of this multiply layer to around 50-60%, but you can go lower or higher depending on the mood of your piece. Then, I'll pick a red color that is roughly in the middle of my color picker (meaning it is medium in its saturation and medium in its brightness). You don't have to always use red, and in fact you should feel free to experiment, but I find a mildly-saturated red is a good, all-around color for shading, especially for anime style art. For human skin especially, red is good for shading, because it gives more life to the character. When it comes to actually putting down your shadows, it can be incredibly complicated, even with the Asaro head. My advice to you is to focus on a few key areas: the brow ridge, the bottom of the nose, the upper lip, and under the jaw. Assuming your light source isn't below the character's head, then putting shadows in those locations immediately adds a lot of depth to the character. Those spots give the most bang for your buck when it comes to making a character look more 3-dimensional. Also, you'll want to look for any cast shadows--shadows created by something overlapping something else. Her hair, in this case, would be casting a deep shadow over her face, which is why I shaded the right side (our left) of her face. For those ambient occlusion shadows I mentioned, look for crevices that don't face the light source at all. These can commonly be found around the eye and at the bottom of the nose and jaw, depending on how the light source is angled. For ambient occlusion shadows, I'll create another layer and once again set it to Multiply, at roughly 60-70% opacity. I'll then use a mildly-saturated magenta or purple color to paint in those deep shadows. Lastly, I didn't put much attention on the hair, but I do have one tip: in anime style, hair highlights are often rendered like a sort of "ring" around the character's head. Our own hair catches this sort of ring of highlights, but there's a lot more going on with our hair. Anime simplifies it. You'll have big chunky shadows and a ring of highlights, so that's what I did. I put some deep shadows at her parting point and a ring of highlights, which I made brighter on the side facing the light source. To achieve this, I made another new layer, and I set it to "Add (glow)". Normally, I'll use "Color Dodge" or "Dodge Glow," but "Add" and "Add (Glow)" are good in some situations. Play around with those four blending modes for your highlights. I set them to roughly 80% opacity, and I will use a color that is similar to the color of my light source. Usually, this is a very bright, very desaturated yellow, but again, play around with what works. Highlighting with solid white can work (like for eye shine and hair shine), but usually you'll want something with a bit of color in it. Highlights can be finicky, so adjust your color as needed until you find something you like. I hope this was helpful. If you have any questions, let me know!
Hello Varmun! Thank you so much for your reply and the time u took to help me out. I will defenitly try to use your tips. Thanks again, I really apreciate it! Have a wonderfull day!