How to Draw Hands for Complete Beginners: A Simple 4-Step Process
How to Draw Hands: A Beginner-Friendly 4-Step Guide
Drawing hands can seem tricky, but it doesn’t have to be! In this beginner-friendly guide, we’ll break it down into 4 easy steps that anyone can follow. You’ll start with the mittens method to simplify the shape of the hand, then move on to building mannequin hands using simple forms.
From there, we’ll explore the skeleton structure of the hand and finally bring everything together by drawing hands from reference or imagination. By the end of this guide, you’ll have the tools you need to confidently draw hands in a variety of angles and poses!
Step 1: Simplify Hands with the Mittens Method
Have you ever worn mittens on a cold day? They’re not just great for keeping your hands warm—they’re also perfect for simplifying hand shapes! When you put on a mitten, your fingers and thumb merge into one basic shape, making it much easier to draw. This clever trick helps us break down the complexity of drawing hands into something simple and manageable.
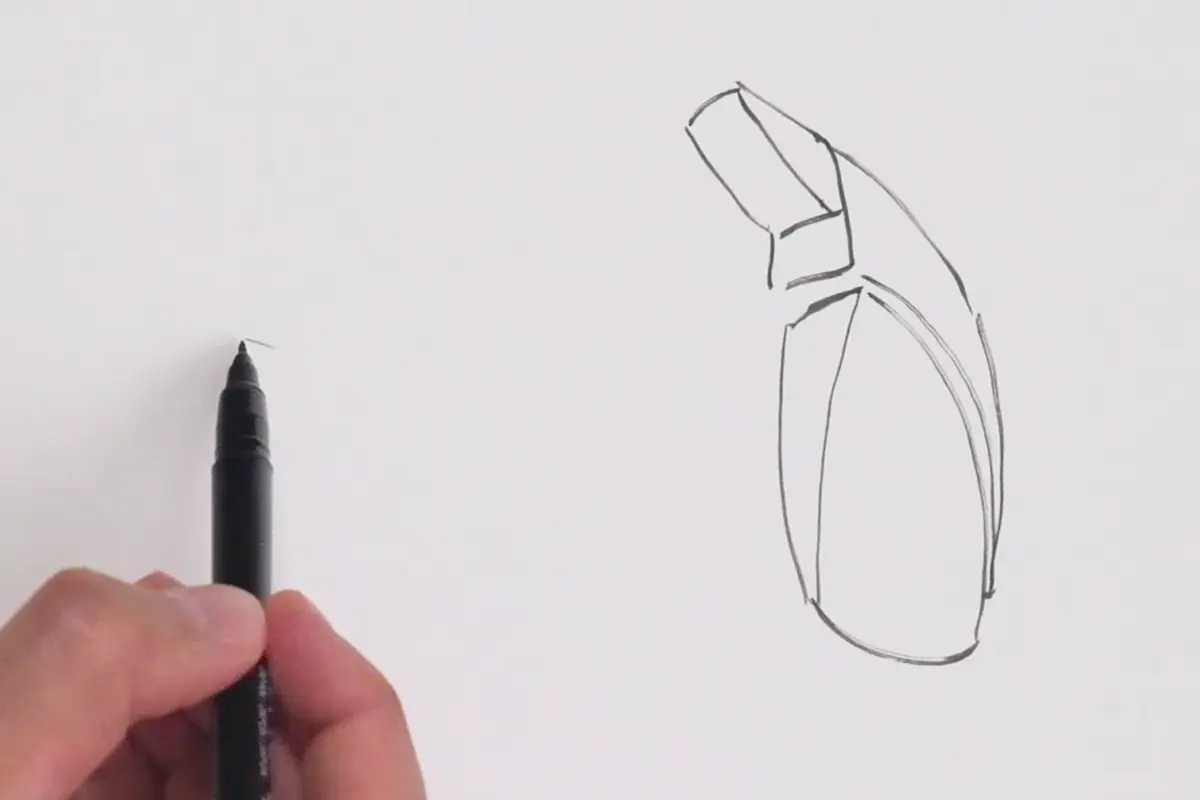
Grab your pencil and sketchbook, and let’s start drawing mittens! Fill an entire page with mitten shapes—use your own hand for reference, look up images online, or dig into that reference pack you’ve been meaning to use. This exercise is all about practicing simplification, which is the key to learning how to draw anything!
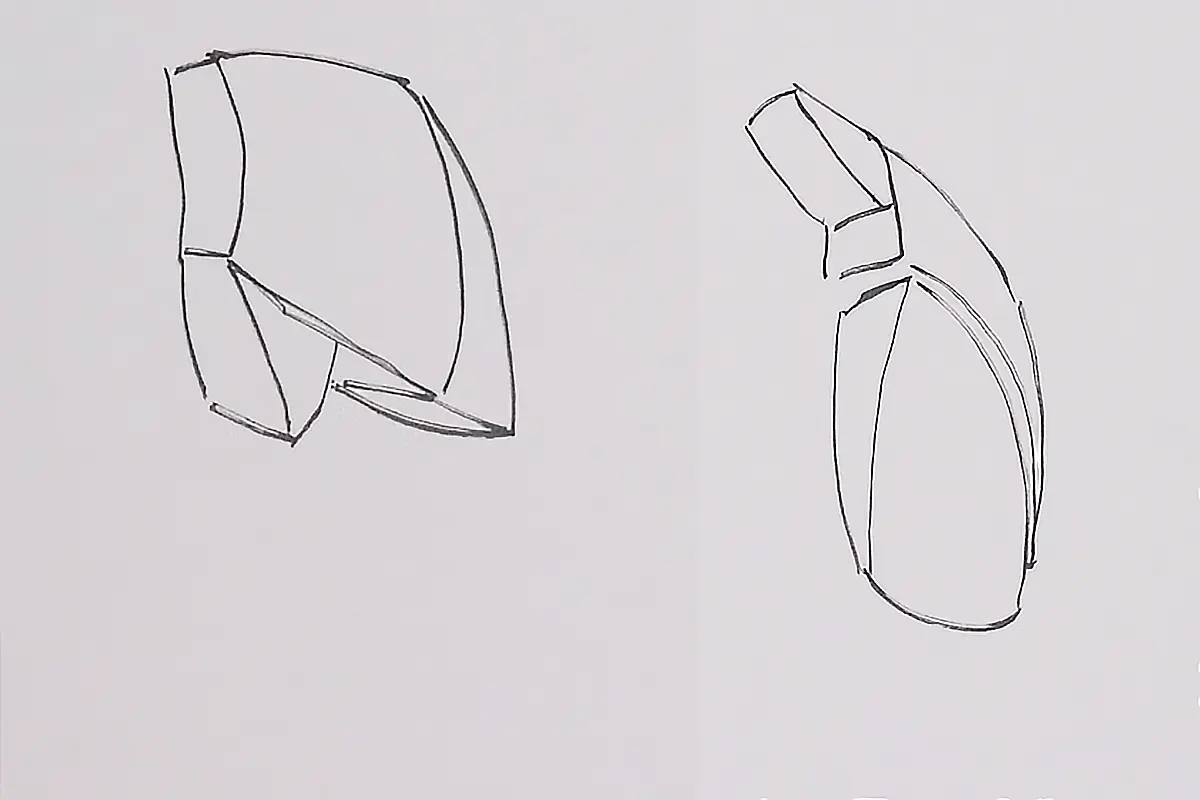
Step 2: Build Mannequin Hands Using Simple Forms
Now that you’ve mastered the mittens method, it’s time to take things up a notch by creating mannequin hands. Don’t worry—it’s not as scary as it sounds! You can use the mitten shape as your base and build on it step by step.
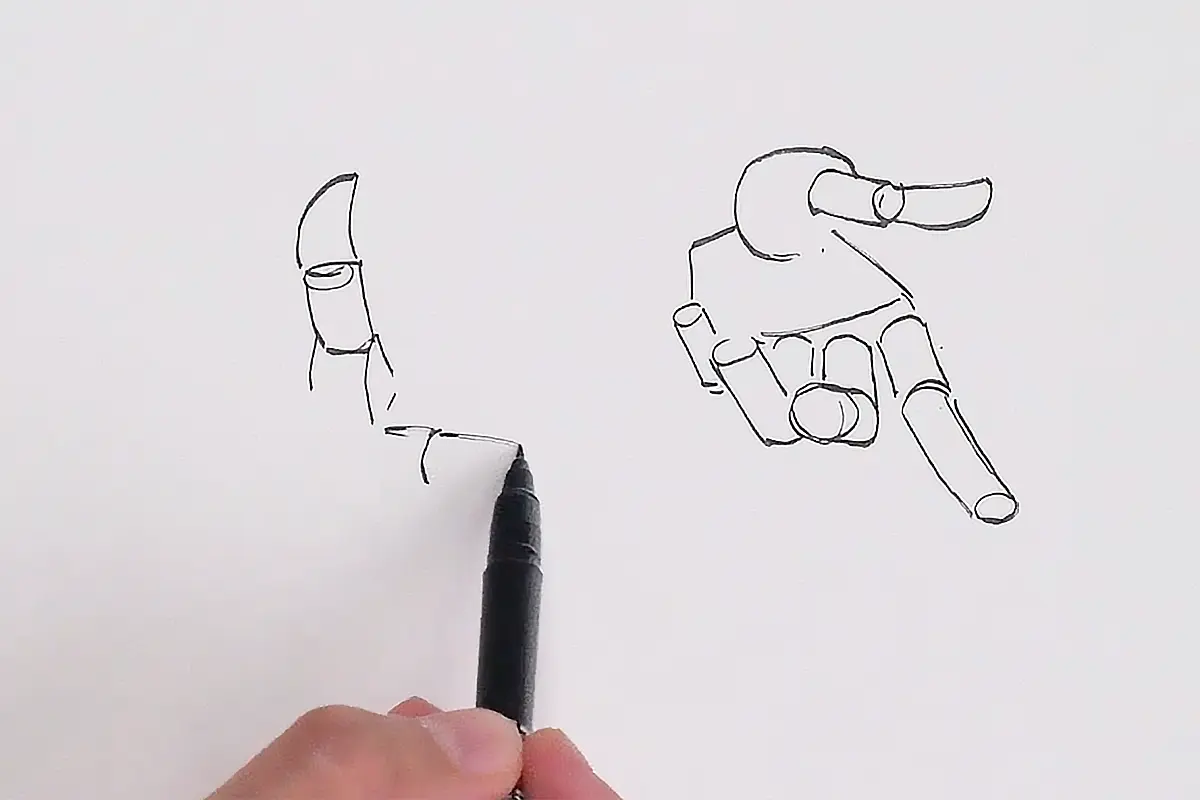
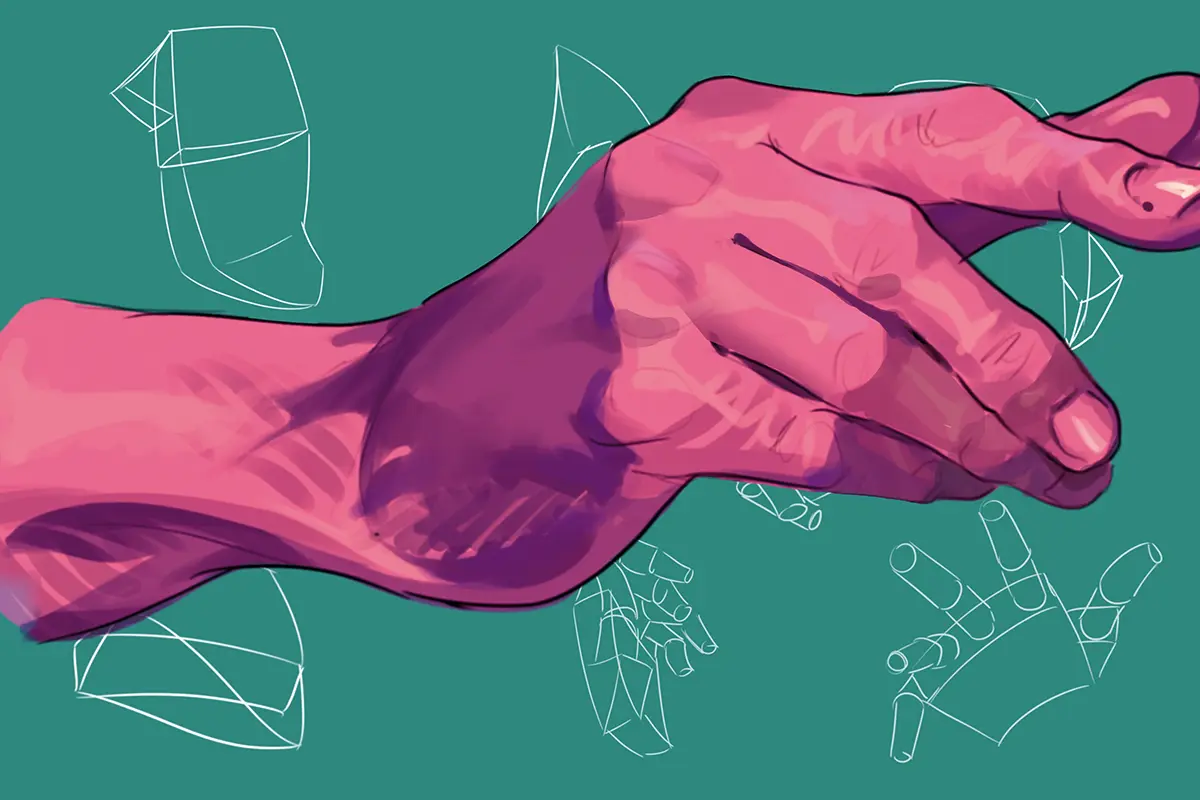
Start by sketching a simple box to set the angle of the hand. Then, add a sphere to represent the thumb region. Finally, use cylinders to create the fingers. These basic forms will help you understand perspective and structure. Remember, your first attempt might look a little rough—and that’s okay! Keep practicing, refining, and repeating until you feel confident. Drawing mannequin hands is all about persistence and progress!
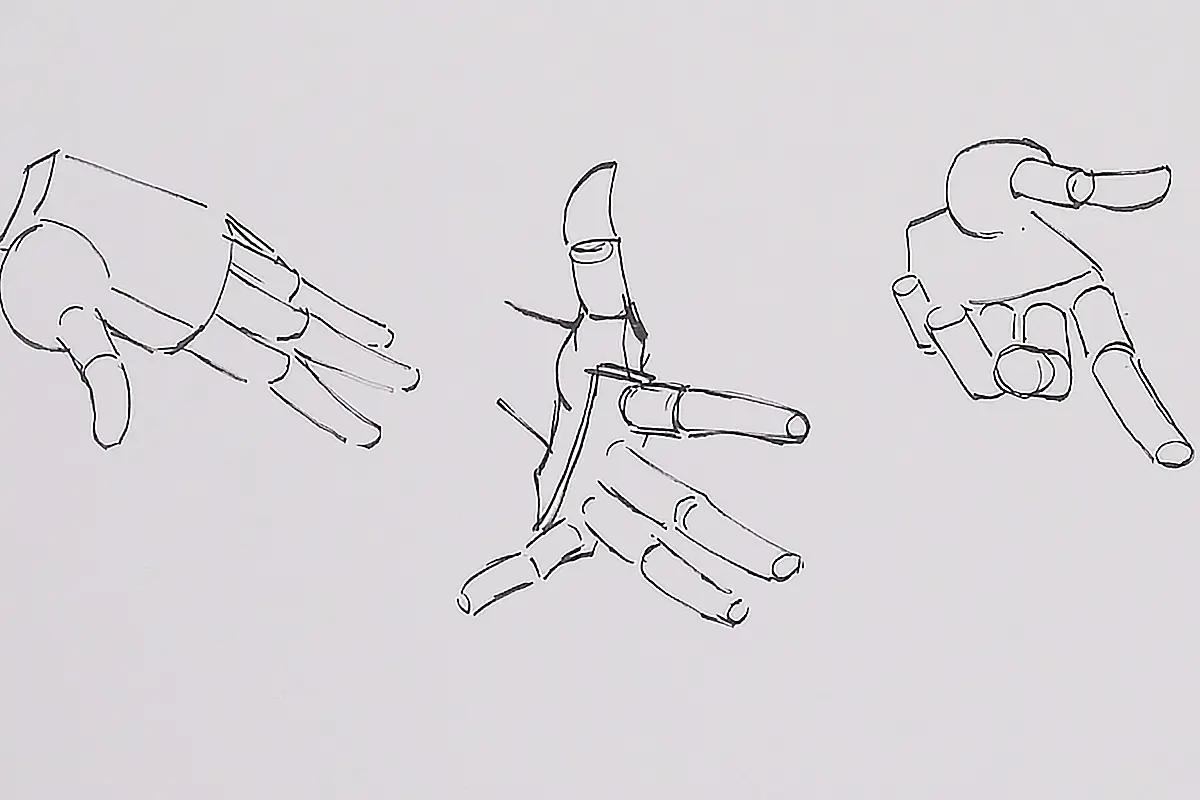
Step 3: Explore the Skeleton Structure of Hands
Now we’re diving into the fascinating world of anatomy—or is it skeletal structure? (Spoiler: skeletal structure is part of anatomy!) Don’t worry, this step is easier than it sounds. To start, we’ll stick with the mitten shape you’ve already mastered. This simple shape will help you orient yourself as you explore the bones of the hand.
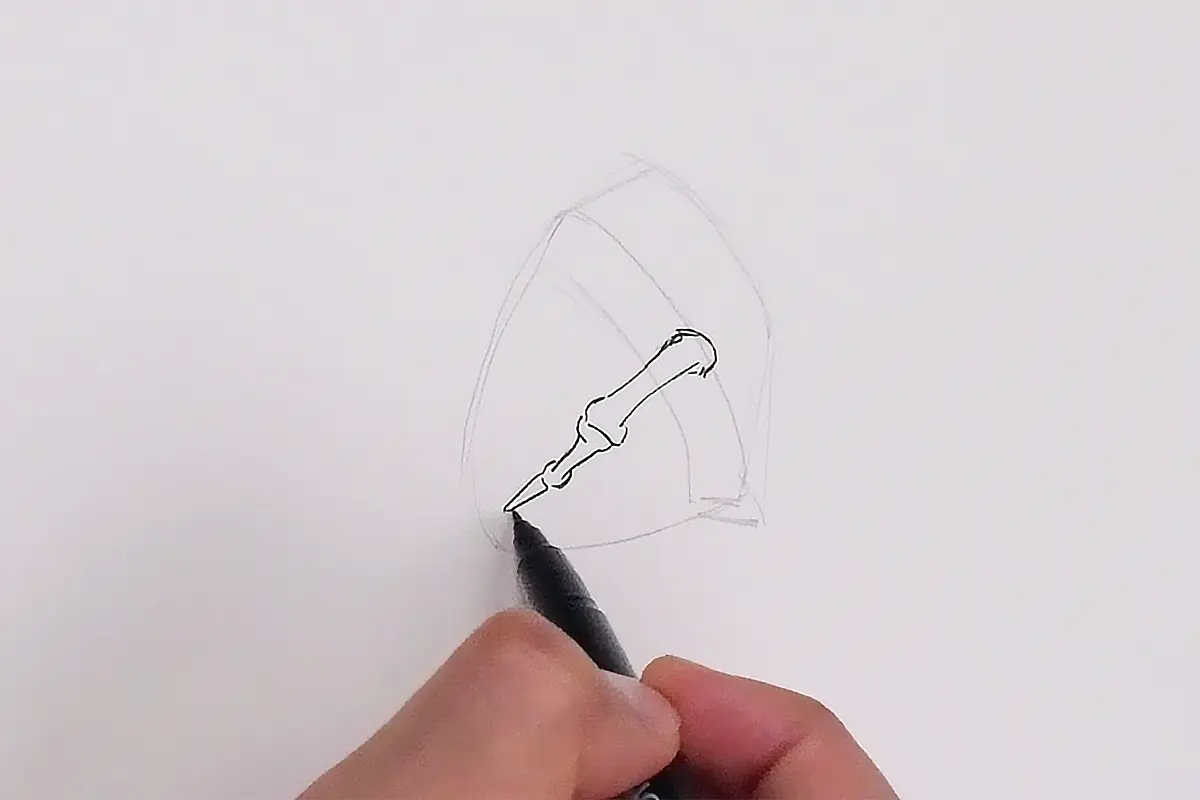
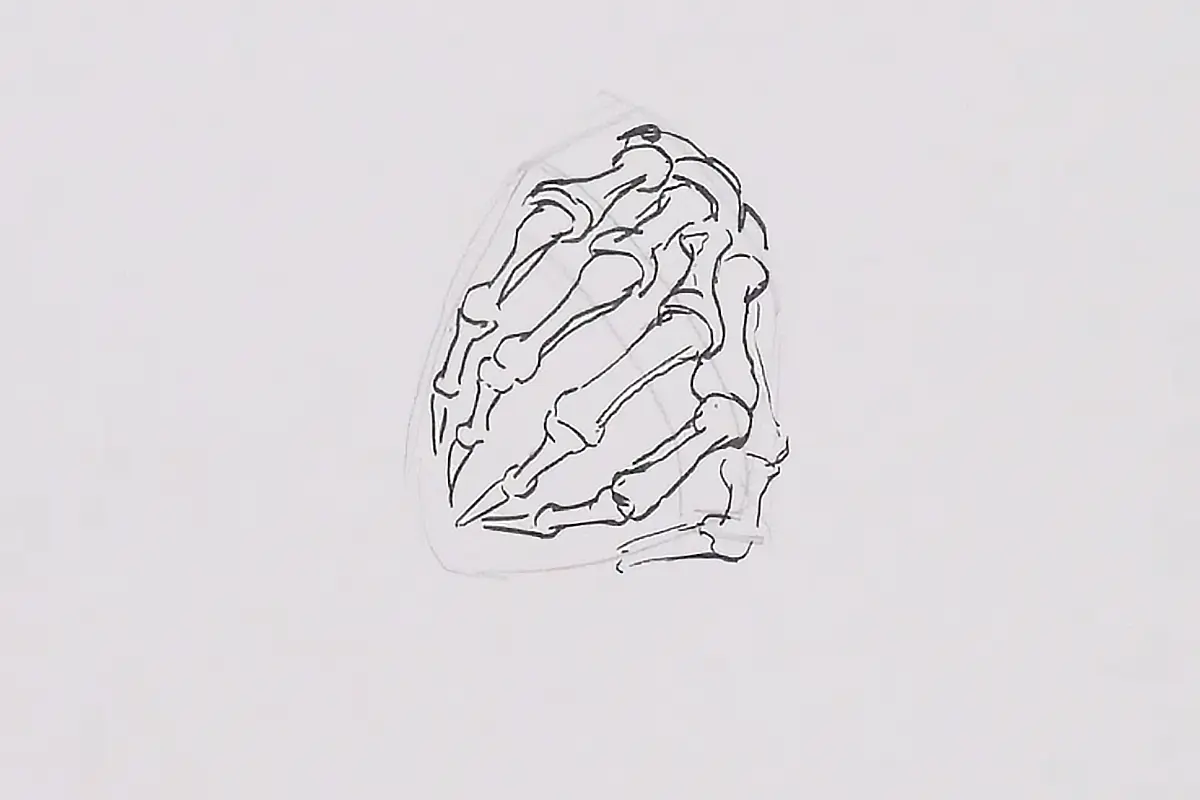
Step 4: Bring It All Together with Reference and Imagination
Begin with a light outline of the hand’s overall shape. Don’t hesitate to use the mitten or mannequin techniques from earlier steps to help you here. Even professional artists rely on these methods!

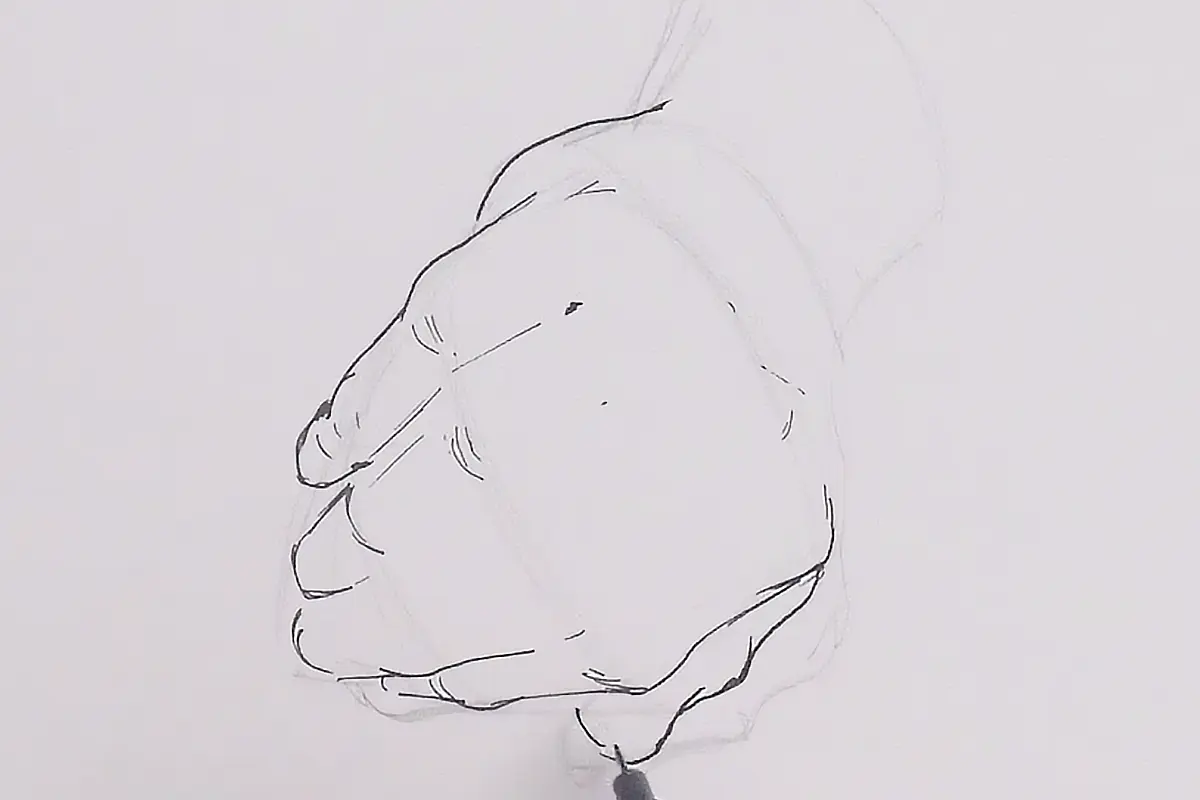
For an extra challenge, try adding some simple form indications to solidify your shapes further. This step is all about experimentation and having fun while pushing your skills to new levels. Every attempt will help you improve, so keep practicing and enjoy the process!
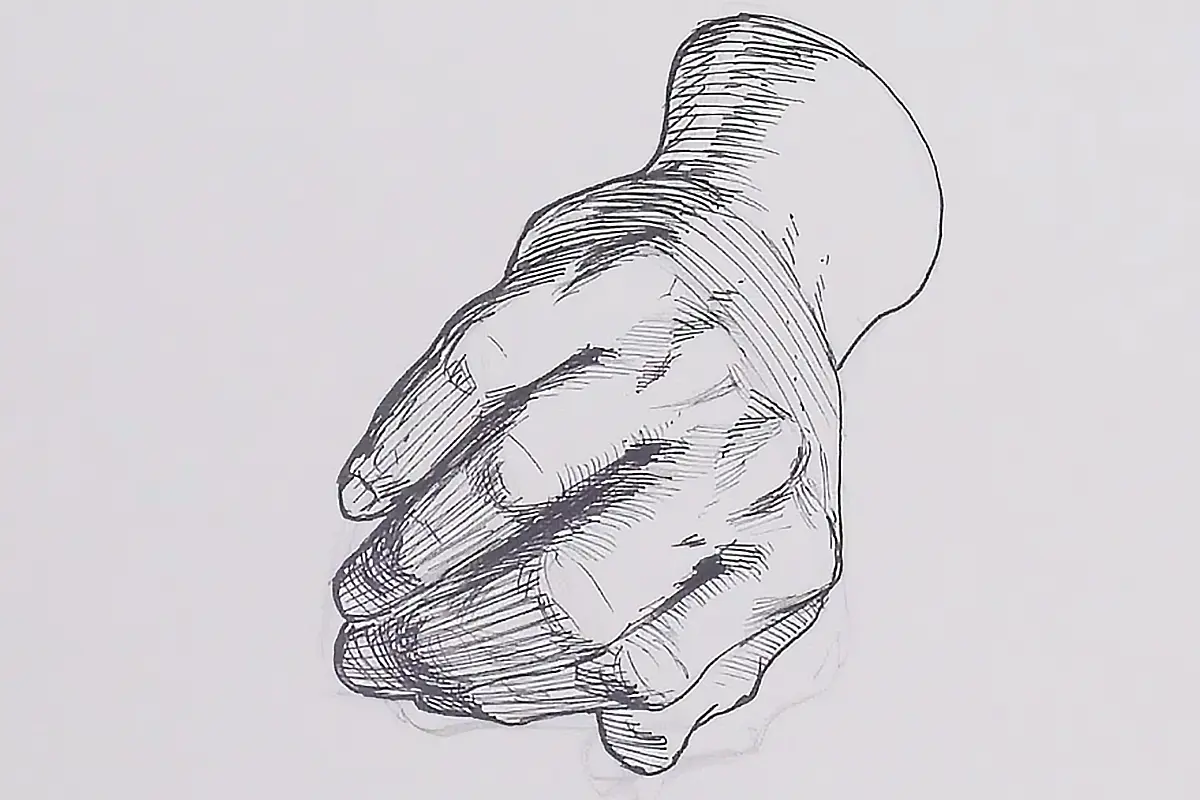
Your Journey to Mastering Hand Drawing
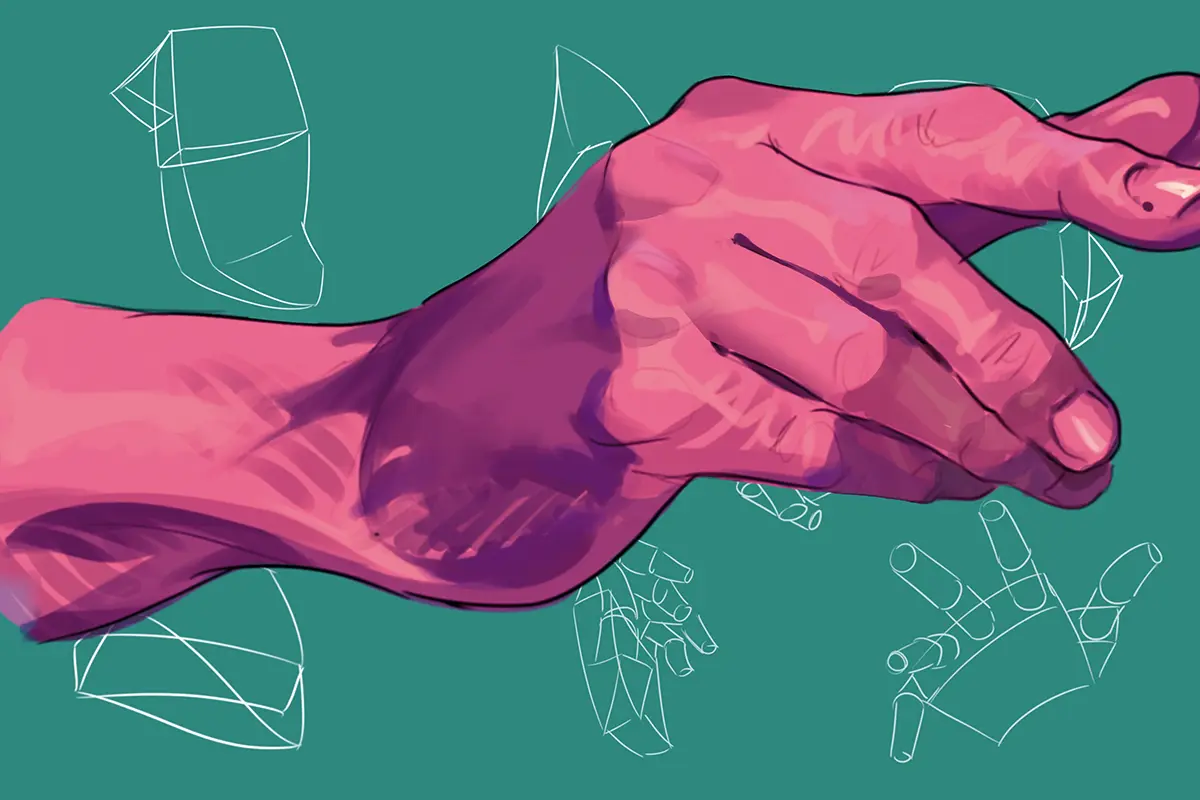
Wow, you've made it! You now know the secret to drawing hands like a pro. Remember, practice is key, so don't be afraid to try drawing hands from different angles and poses. The more you practice, the more confident you'll become. And don't worry if your first attempts don't turn out perfectly—every artist starts somewhere. If you want to gain experience and level up check out our roadmaps!
Keep drawing, stay creative, and most importantly, have fun! Who knows, maybe one day you'll be drawing hands that look so real, people will think they're jumping off the page!

