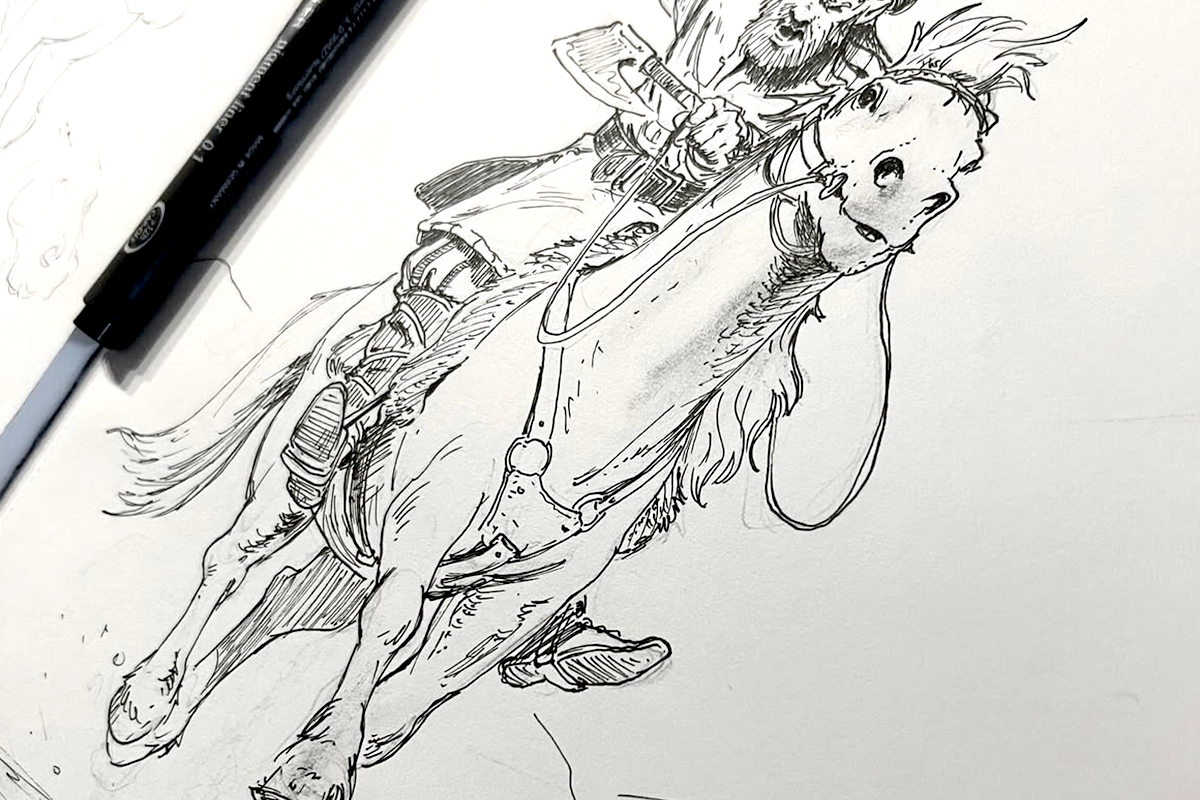
✏️🐎 How to Draw Horses in 4 Easy Steps: A Beginner’s Guide
Drawing, Organic
Drawing Horses in 4 Easy Steps
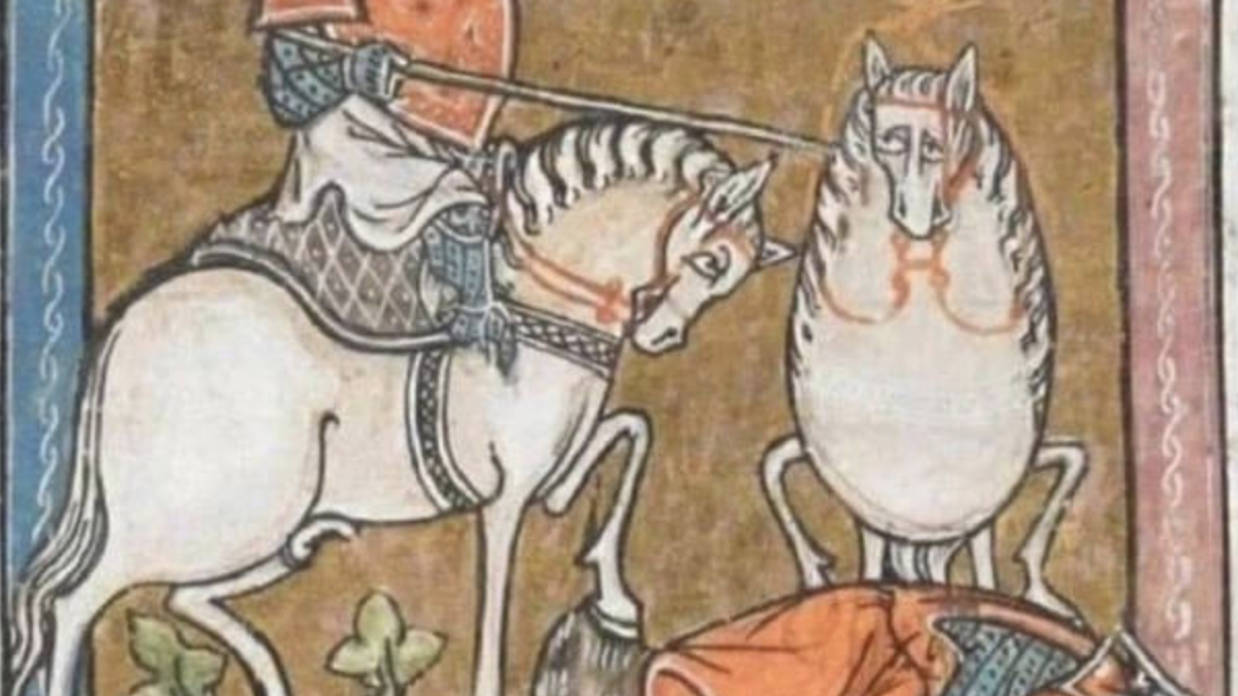
ouch...
Horses have shared the podium of 'hardest to draw' along with feet and hands for artists for the longest time.
But today we'll share some easy to follow steps that will turn your wonkey 4-legged egg-monsters into proper looking horses!
Step 1 - Start Simple
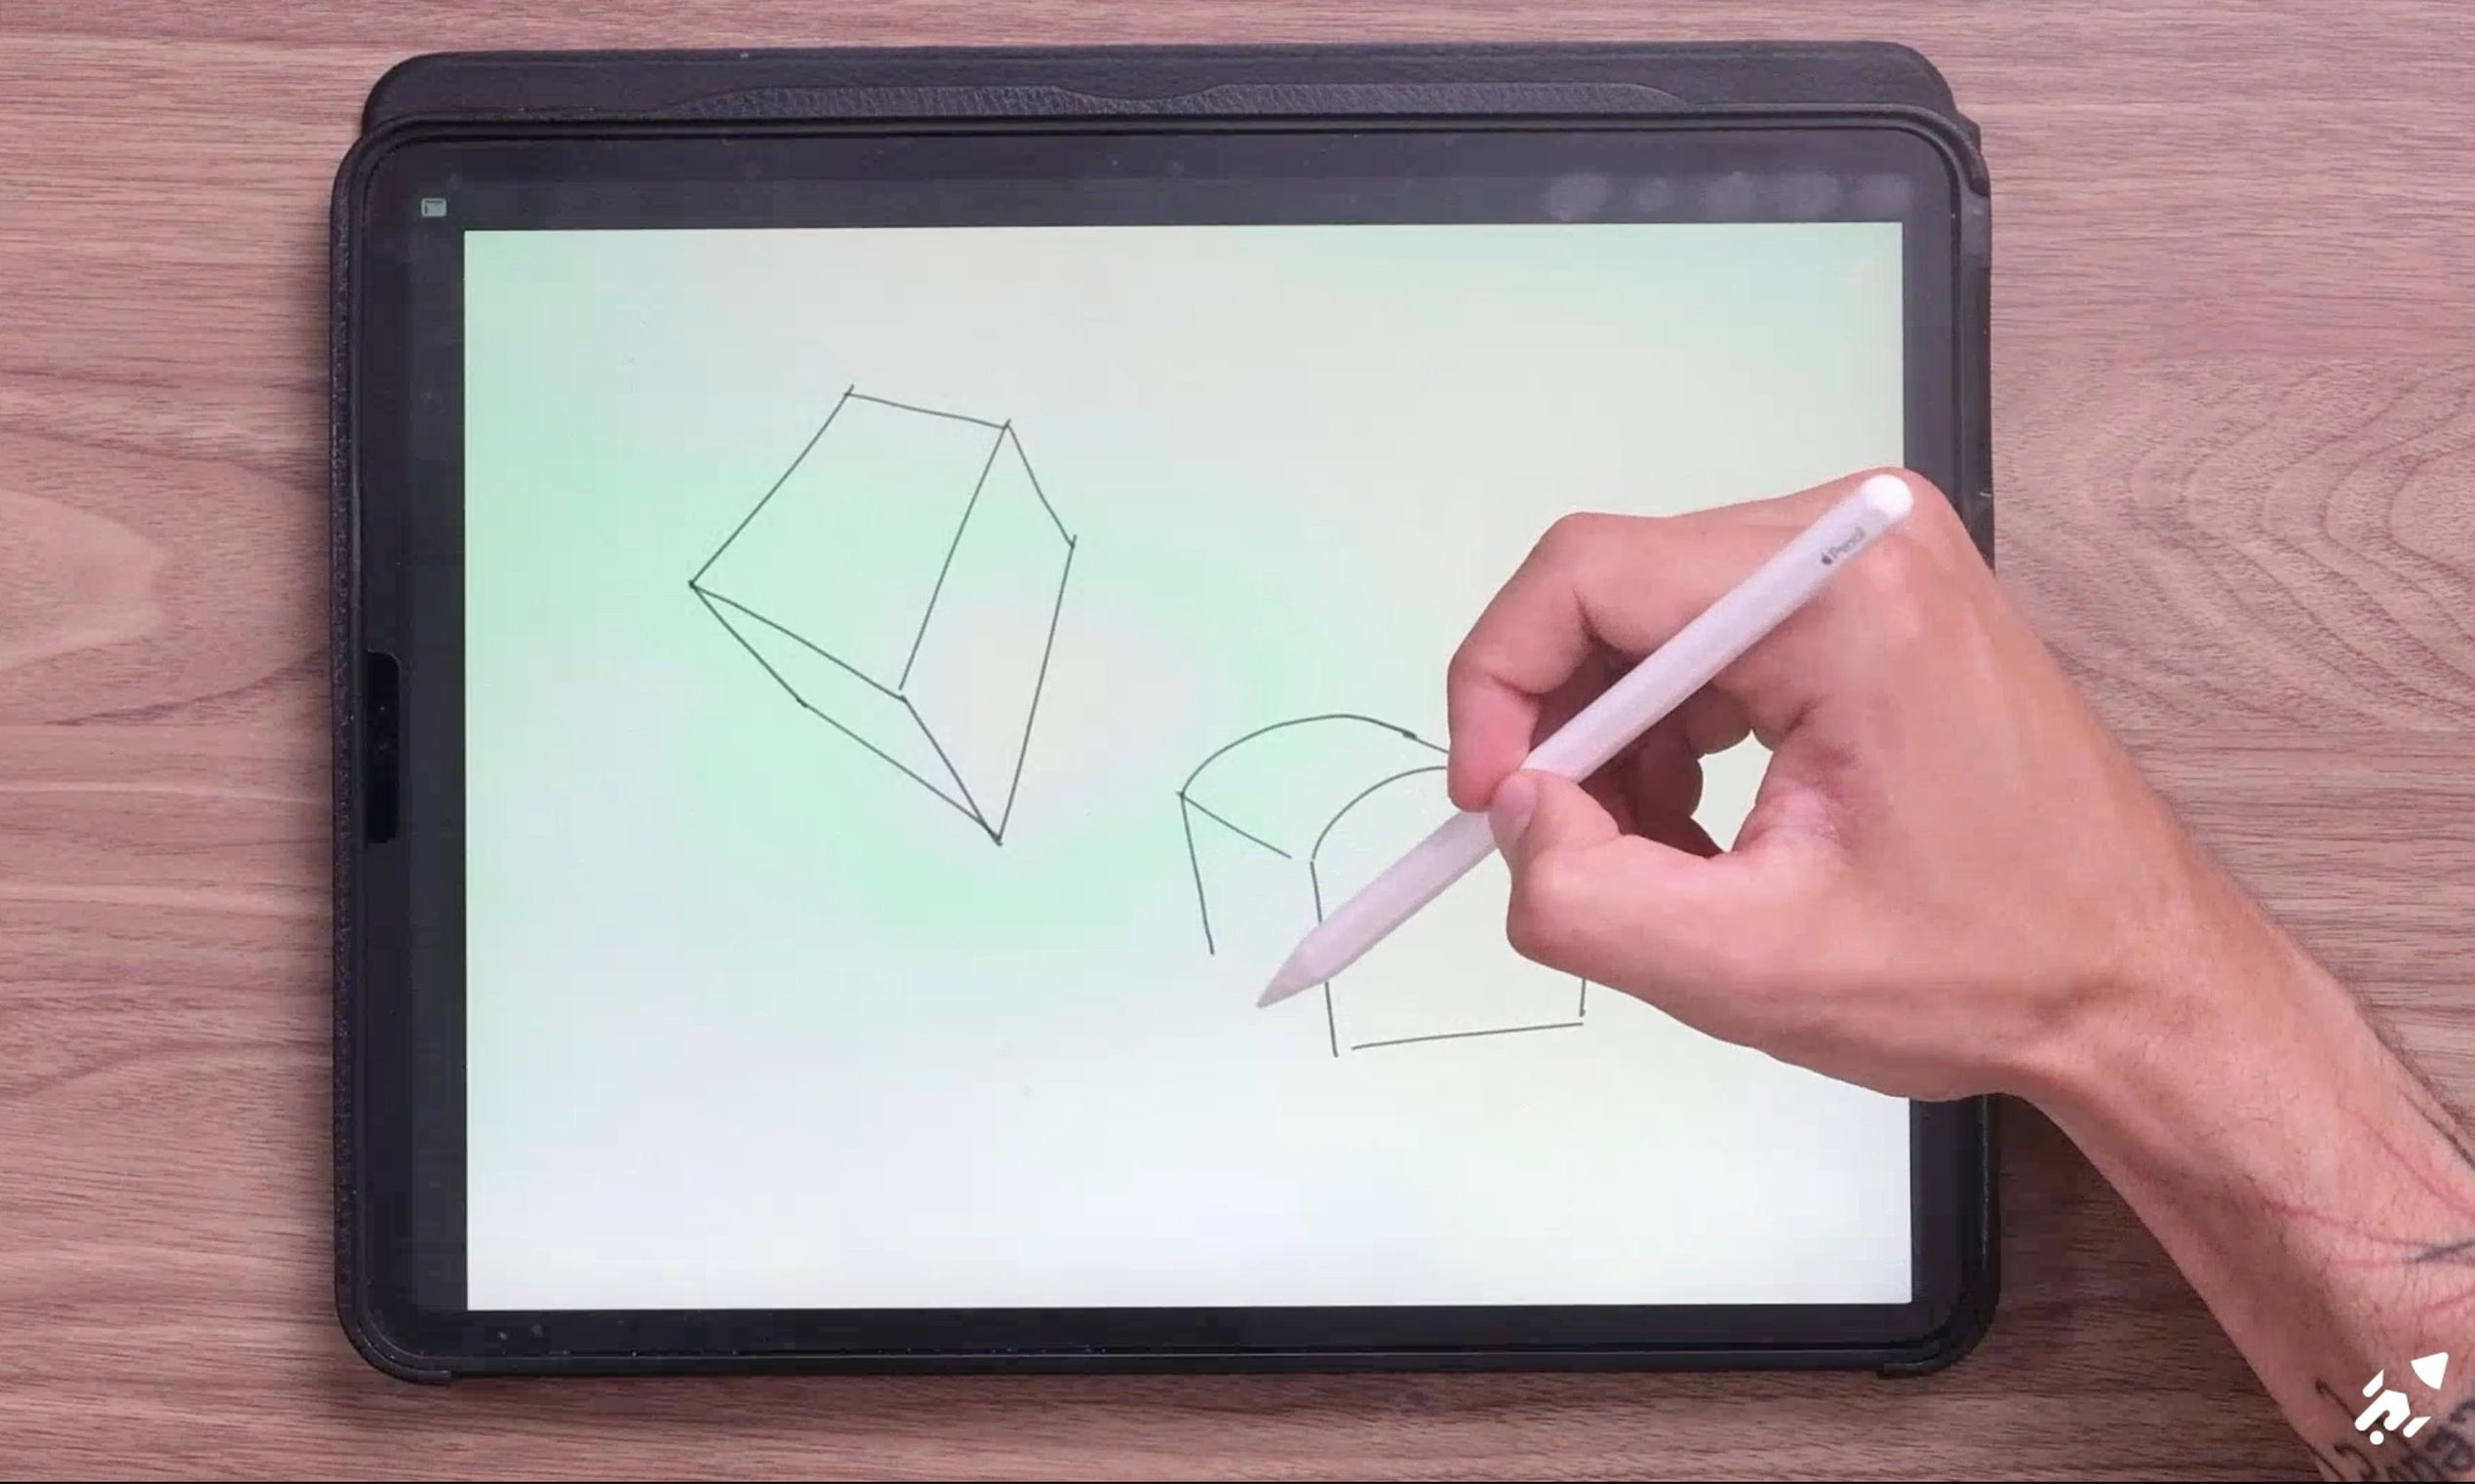
Draw manipulated boxes and cylinders in space
The biggest mistake we make when wanting to draw horses is that we start by drawing horses...
Confused? Don't worry.
The best course of action when we want to start drawing anything accurately, is by starting with building blocks. Simple forms that can later be combined together to form a mannequin of what we eventually want to draw.
So start drawing forms that have some manipulation applied to them.
If you haven't heard of form manipulation yet, I suggest you check out our previous posts.
Step 2 - Draw Mannequins
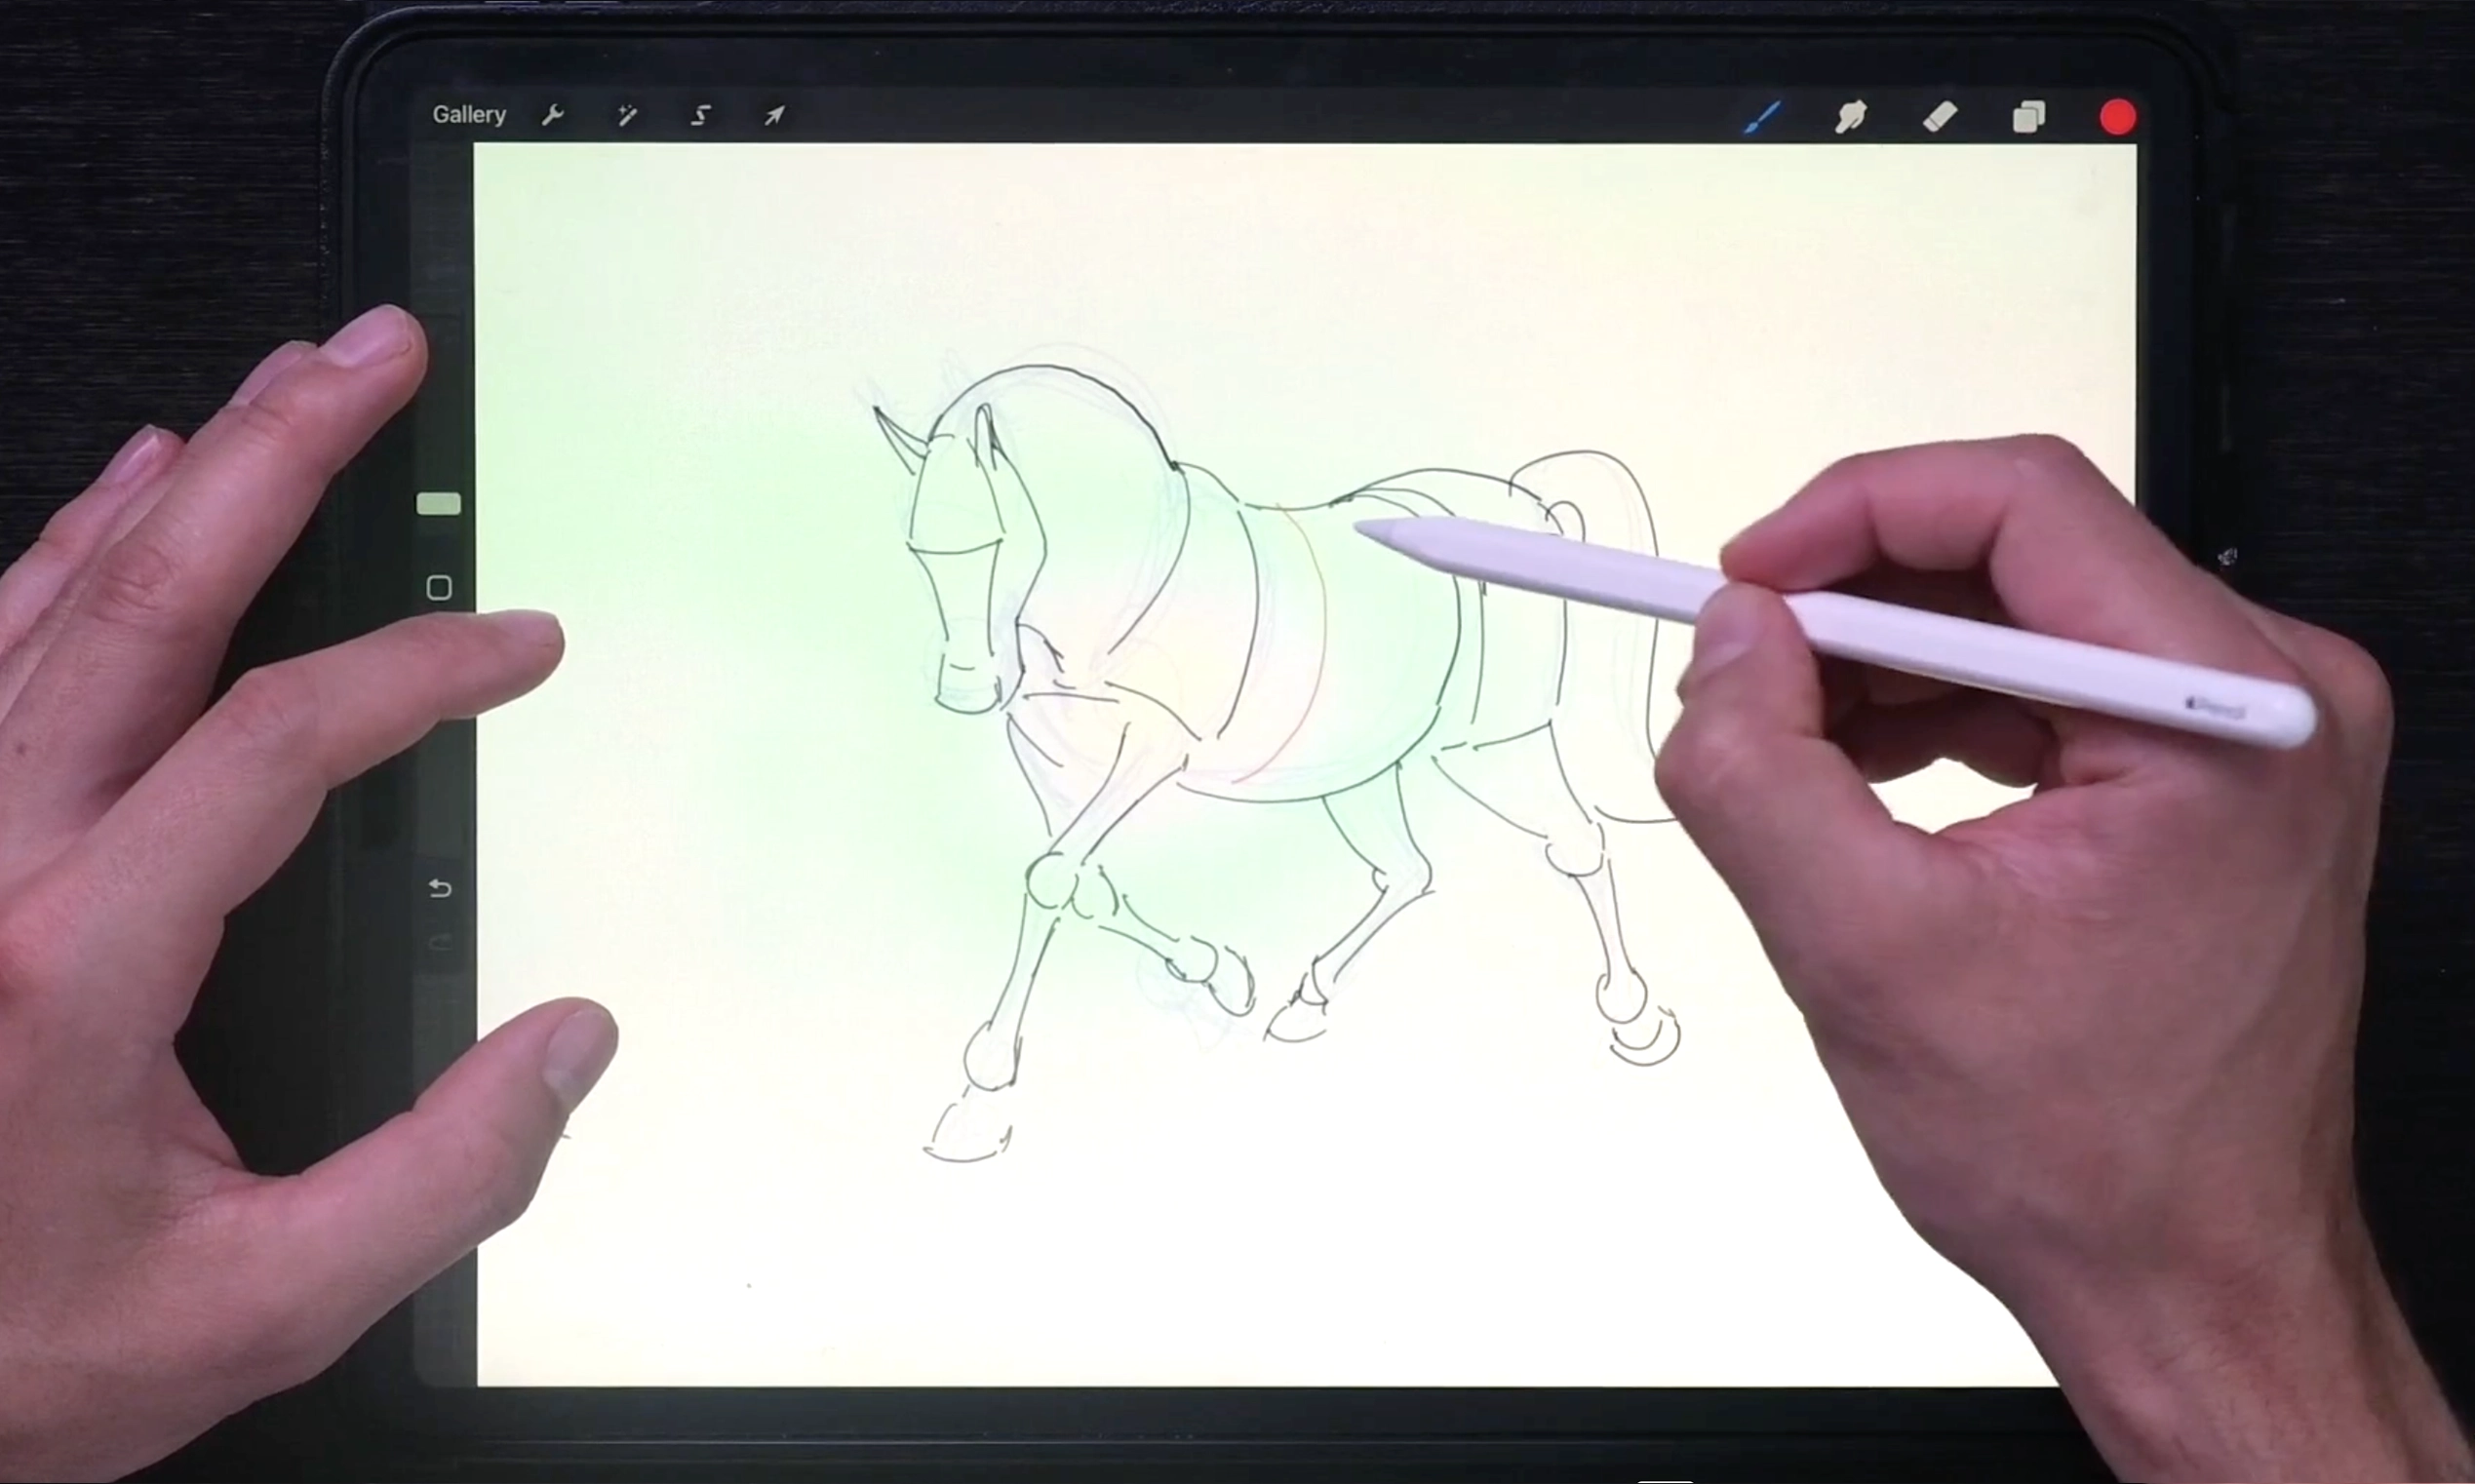
Now that we can draw simple manipulated forms in space, we can start combining them to create mannequins that represent a horse (or any animal we like!).
Start with body parts before trying the entire body.
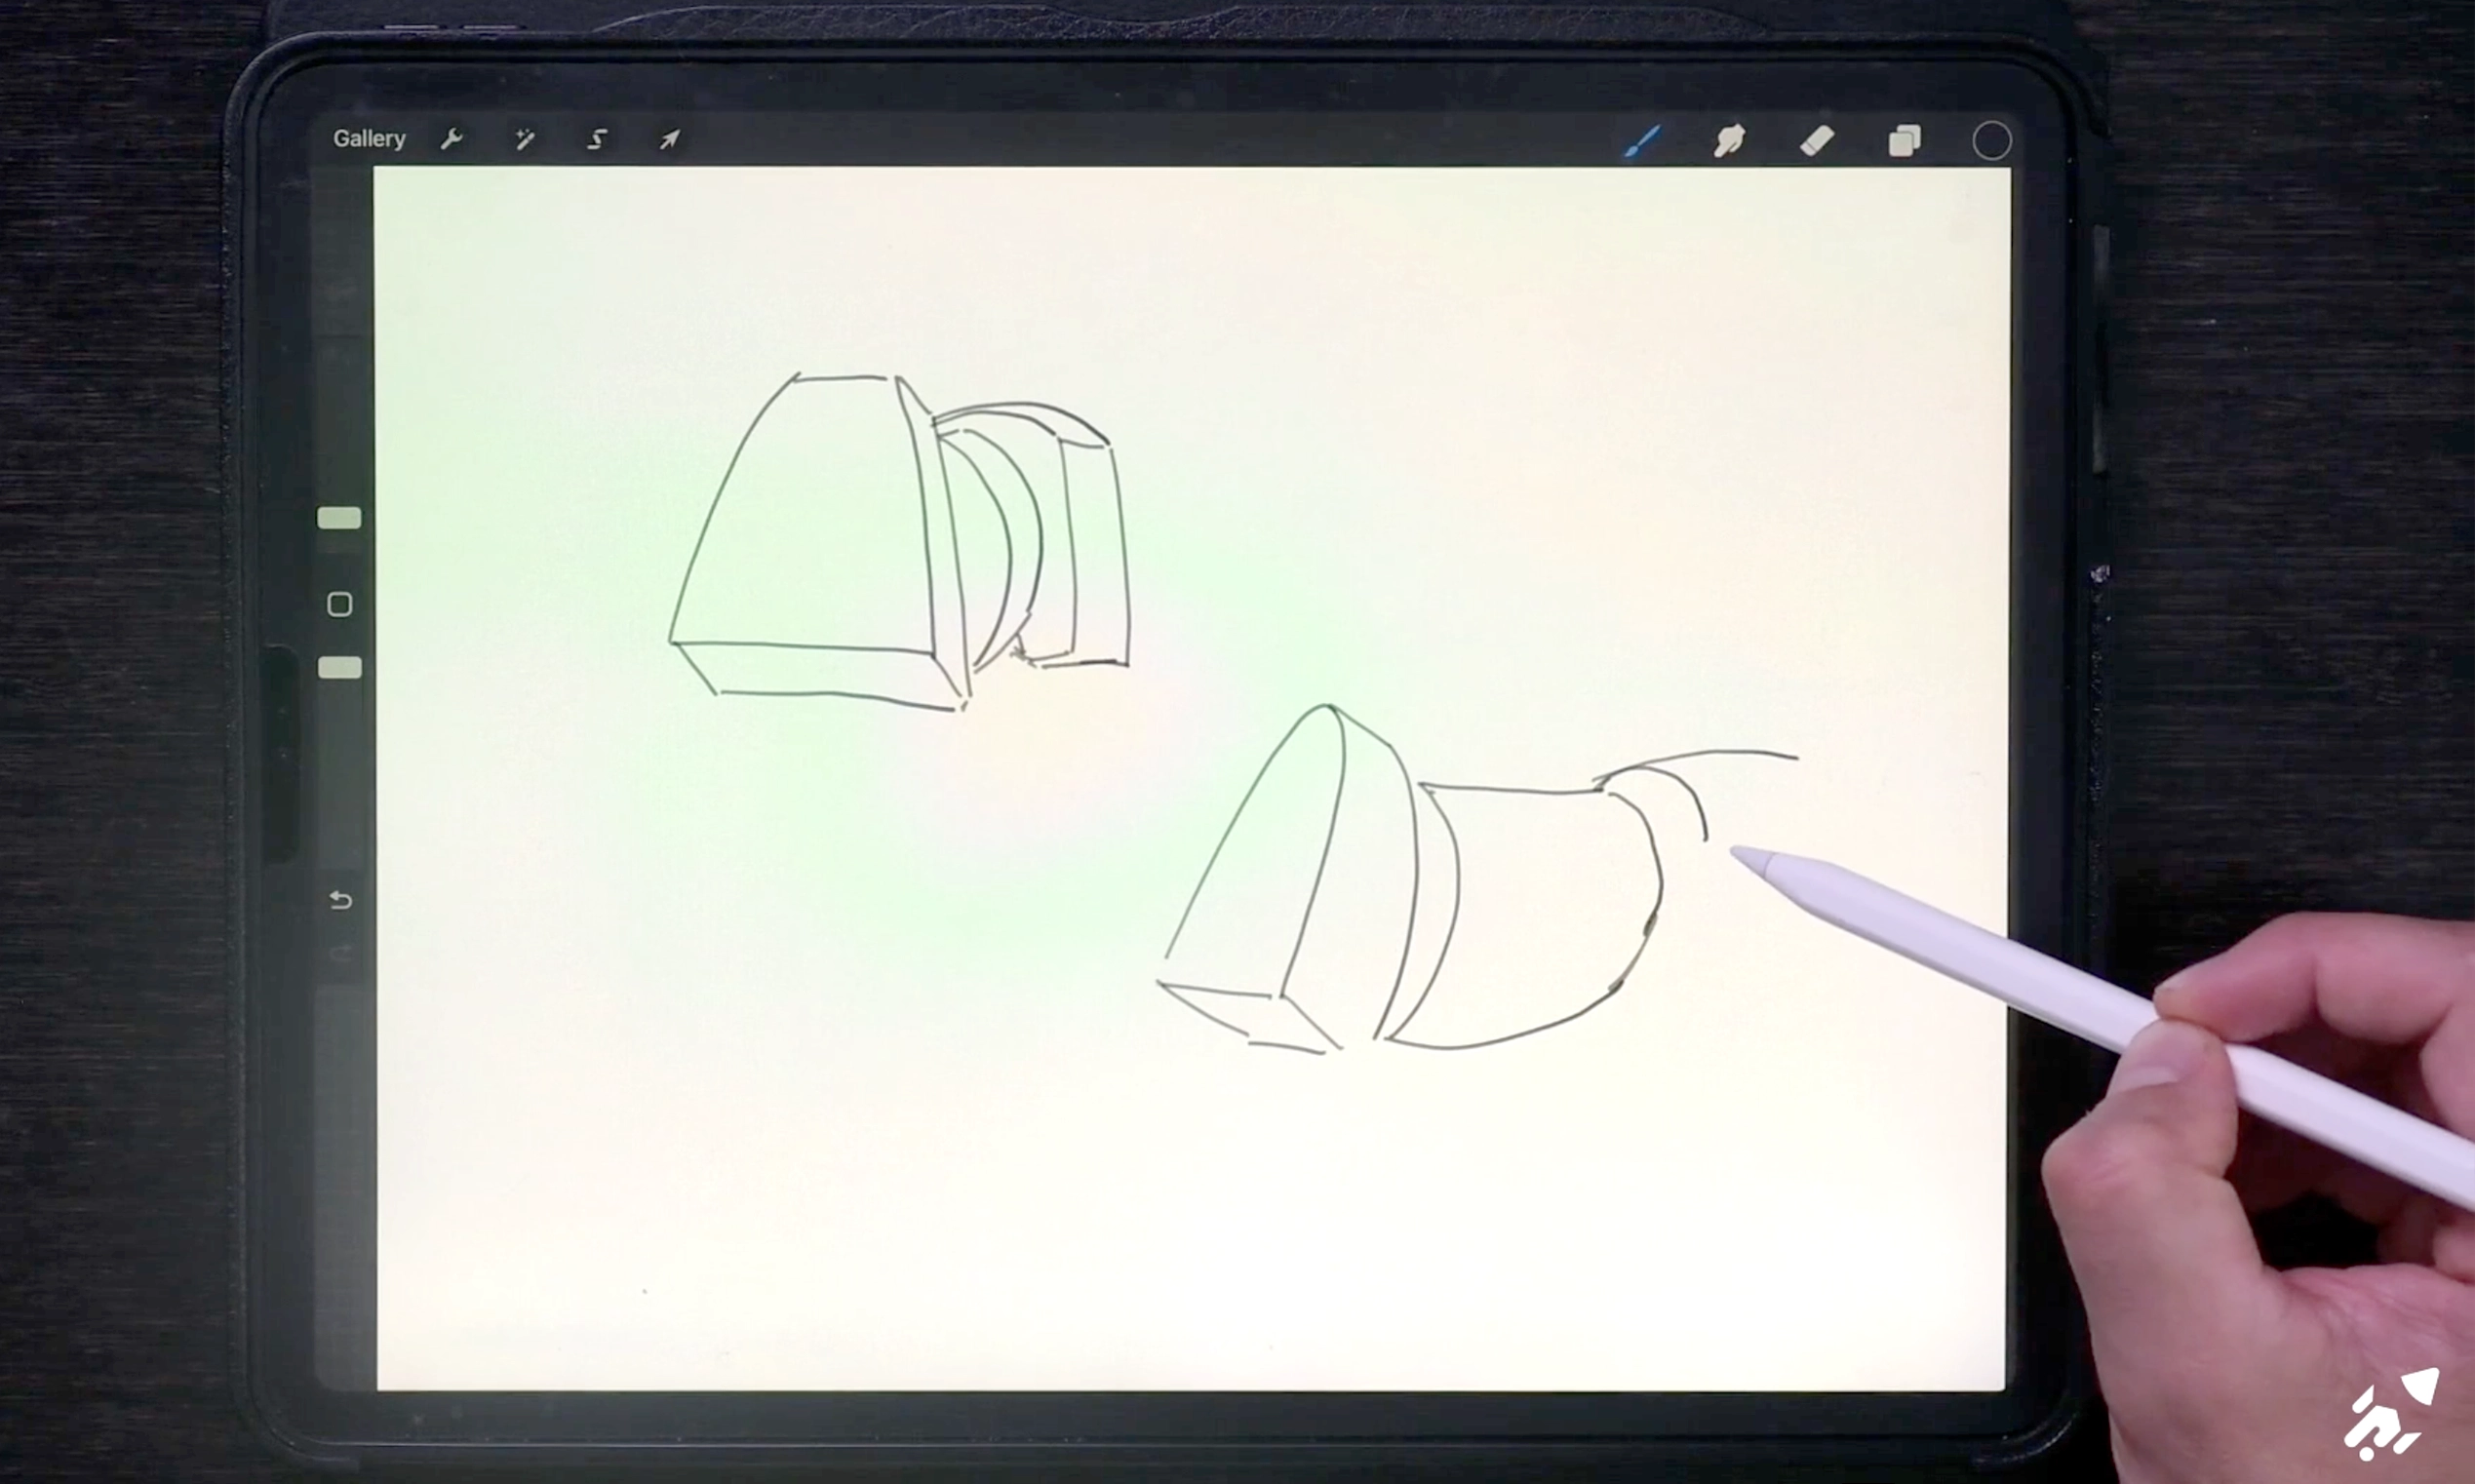
The torso of a horse can be broken down into simple form
To make things easier on yourself, don't rush into drawing the entire body of the horse in a mannquinised manner.
This will often be overwhelming and confusing at first.
Break down the body into small compartments with a maximum of 3 combined forms.
This way you will have an easier time remembering the forms and their proportions.
Look at reference as much as you can during this phase of observation.
If you struggle with drawing from observation we suggest this resource.
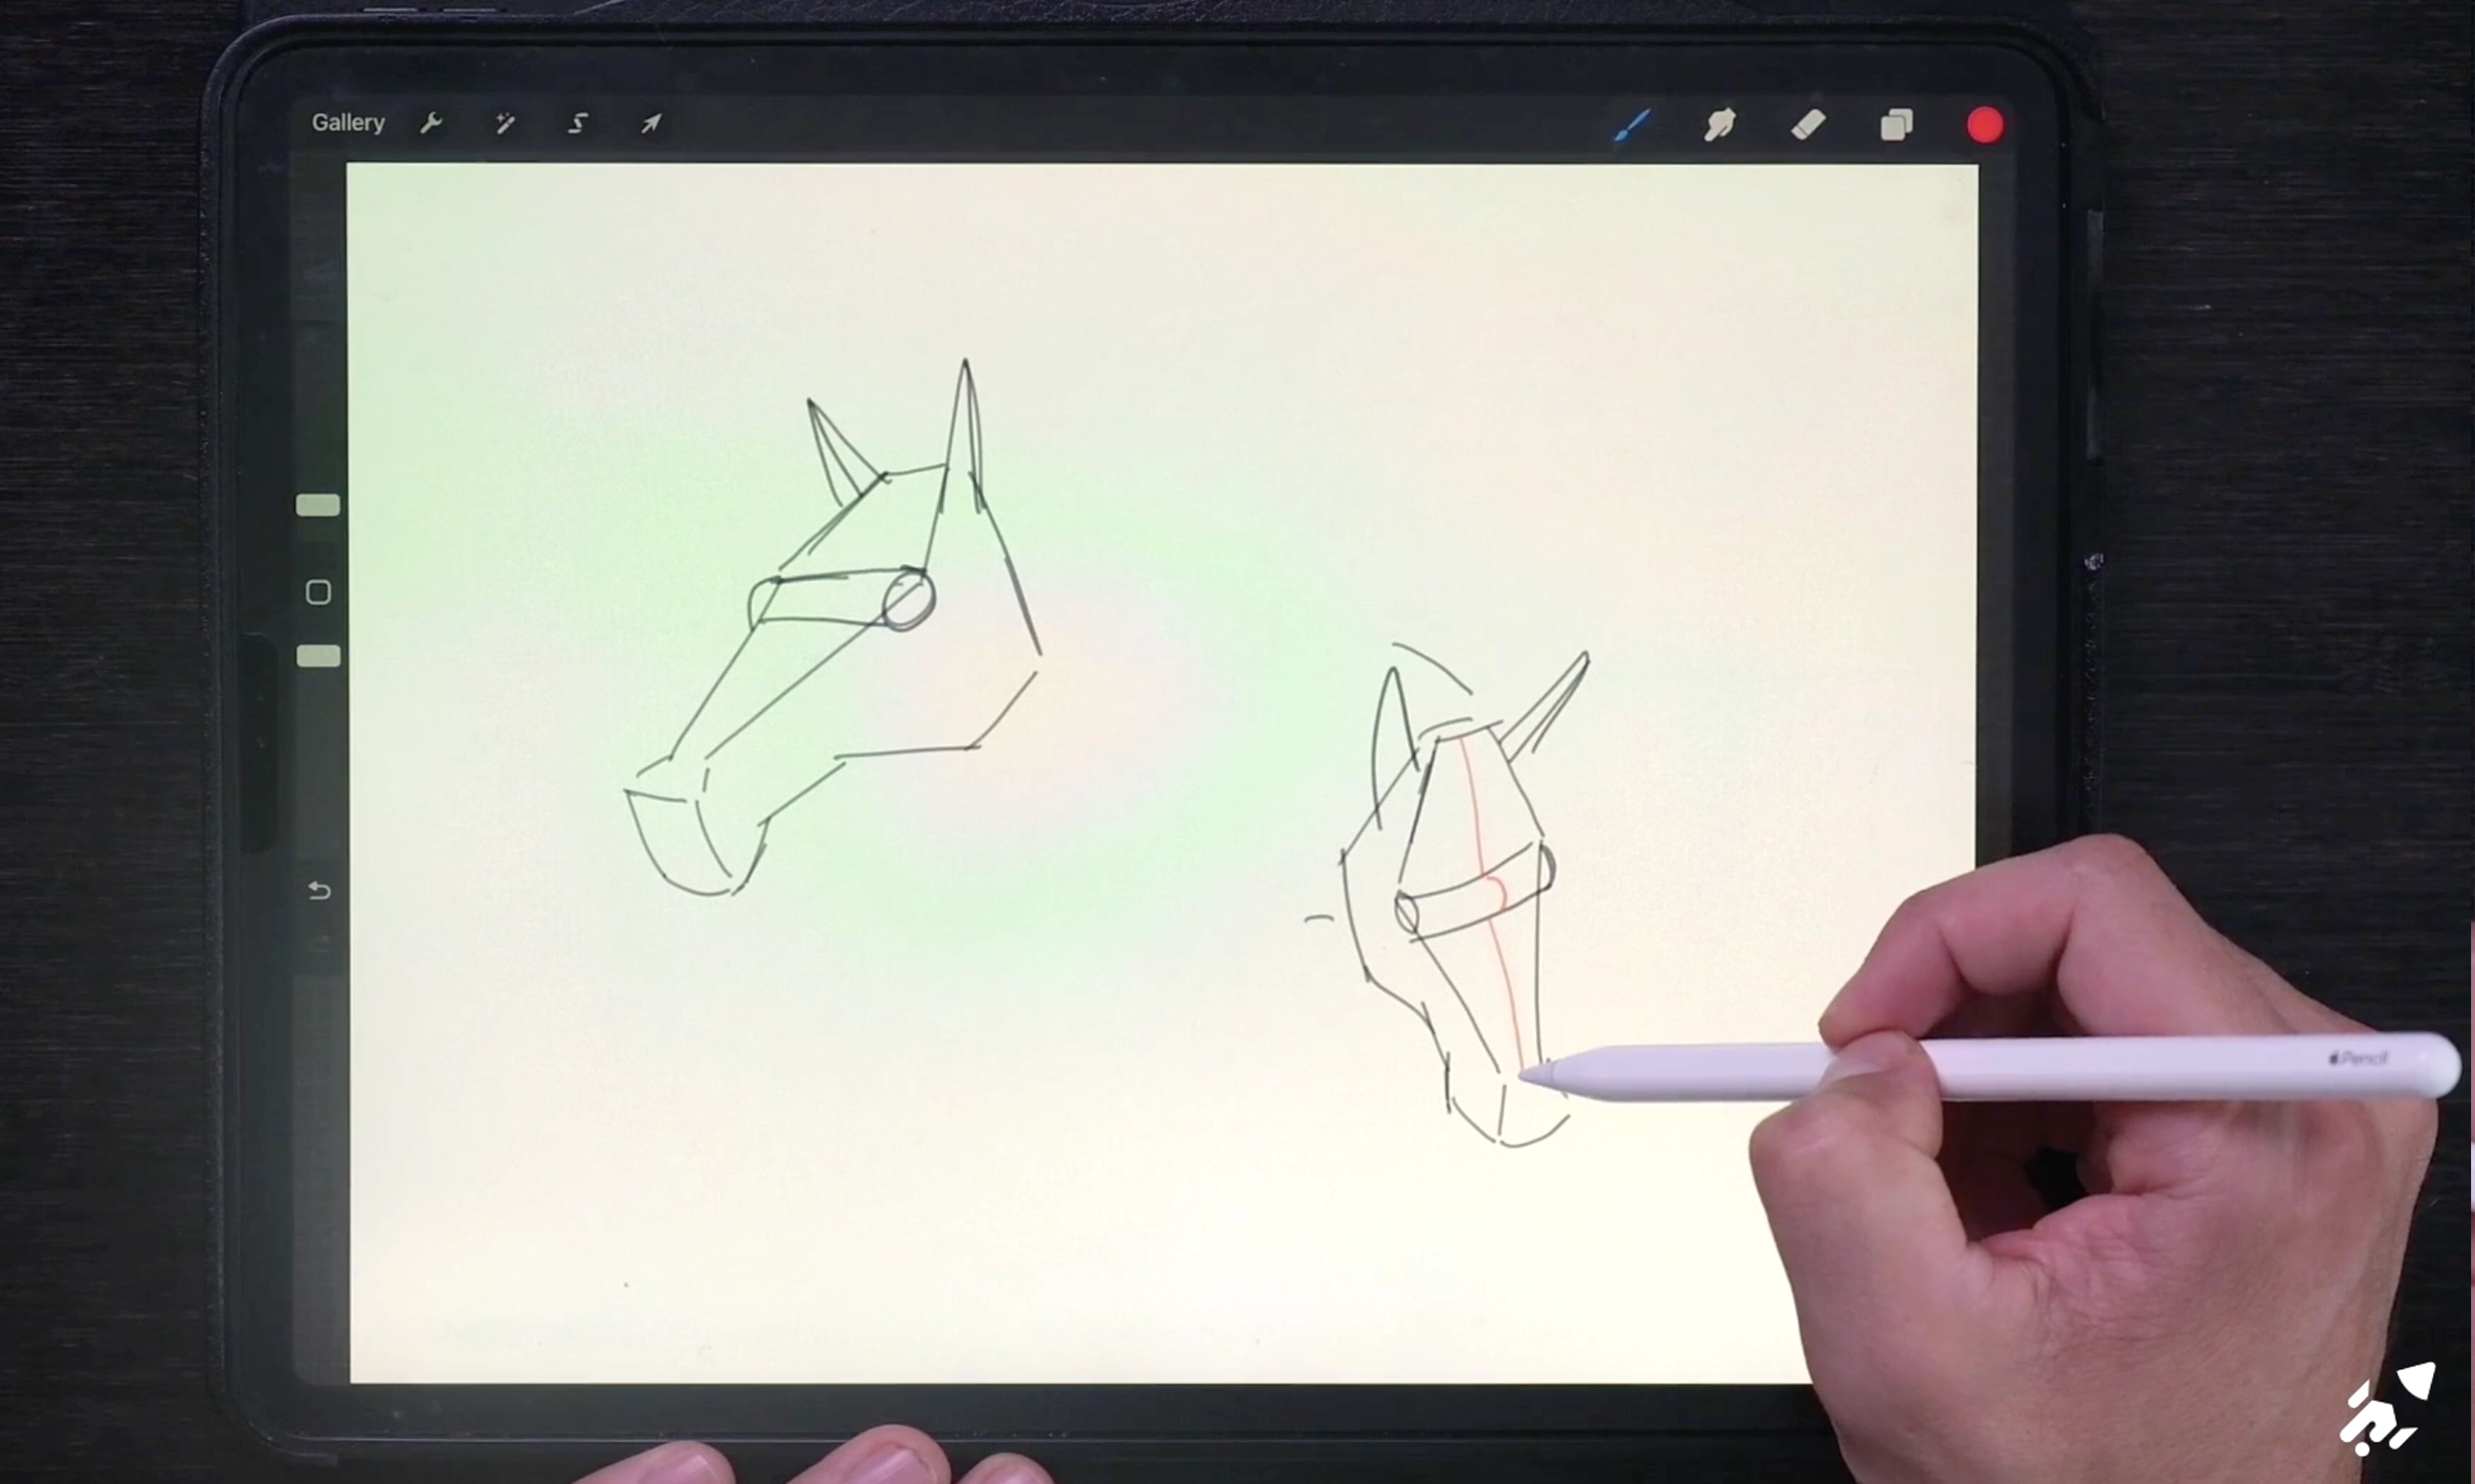
A horse's head is just a combination of manipulated boxes and cylinders
Step 3 - Practice Gesture
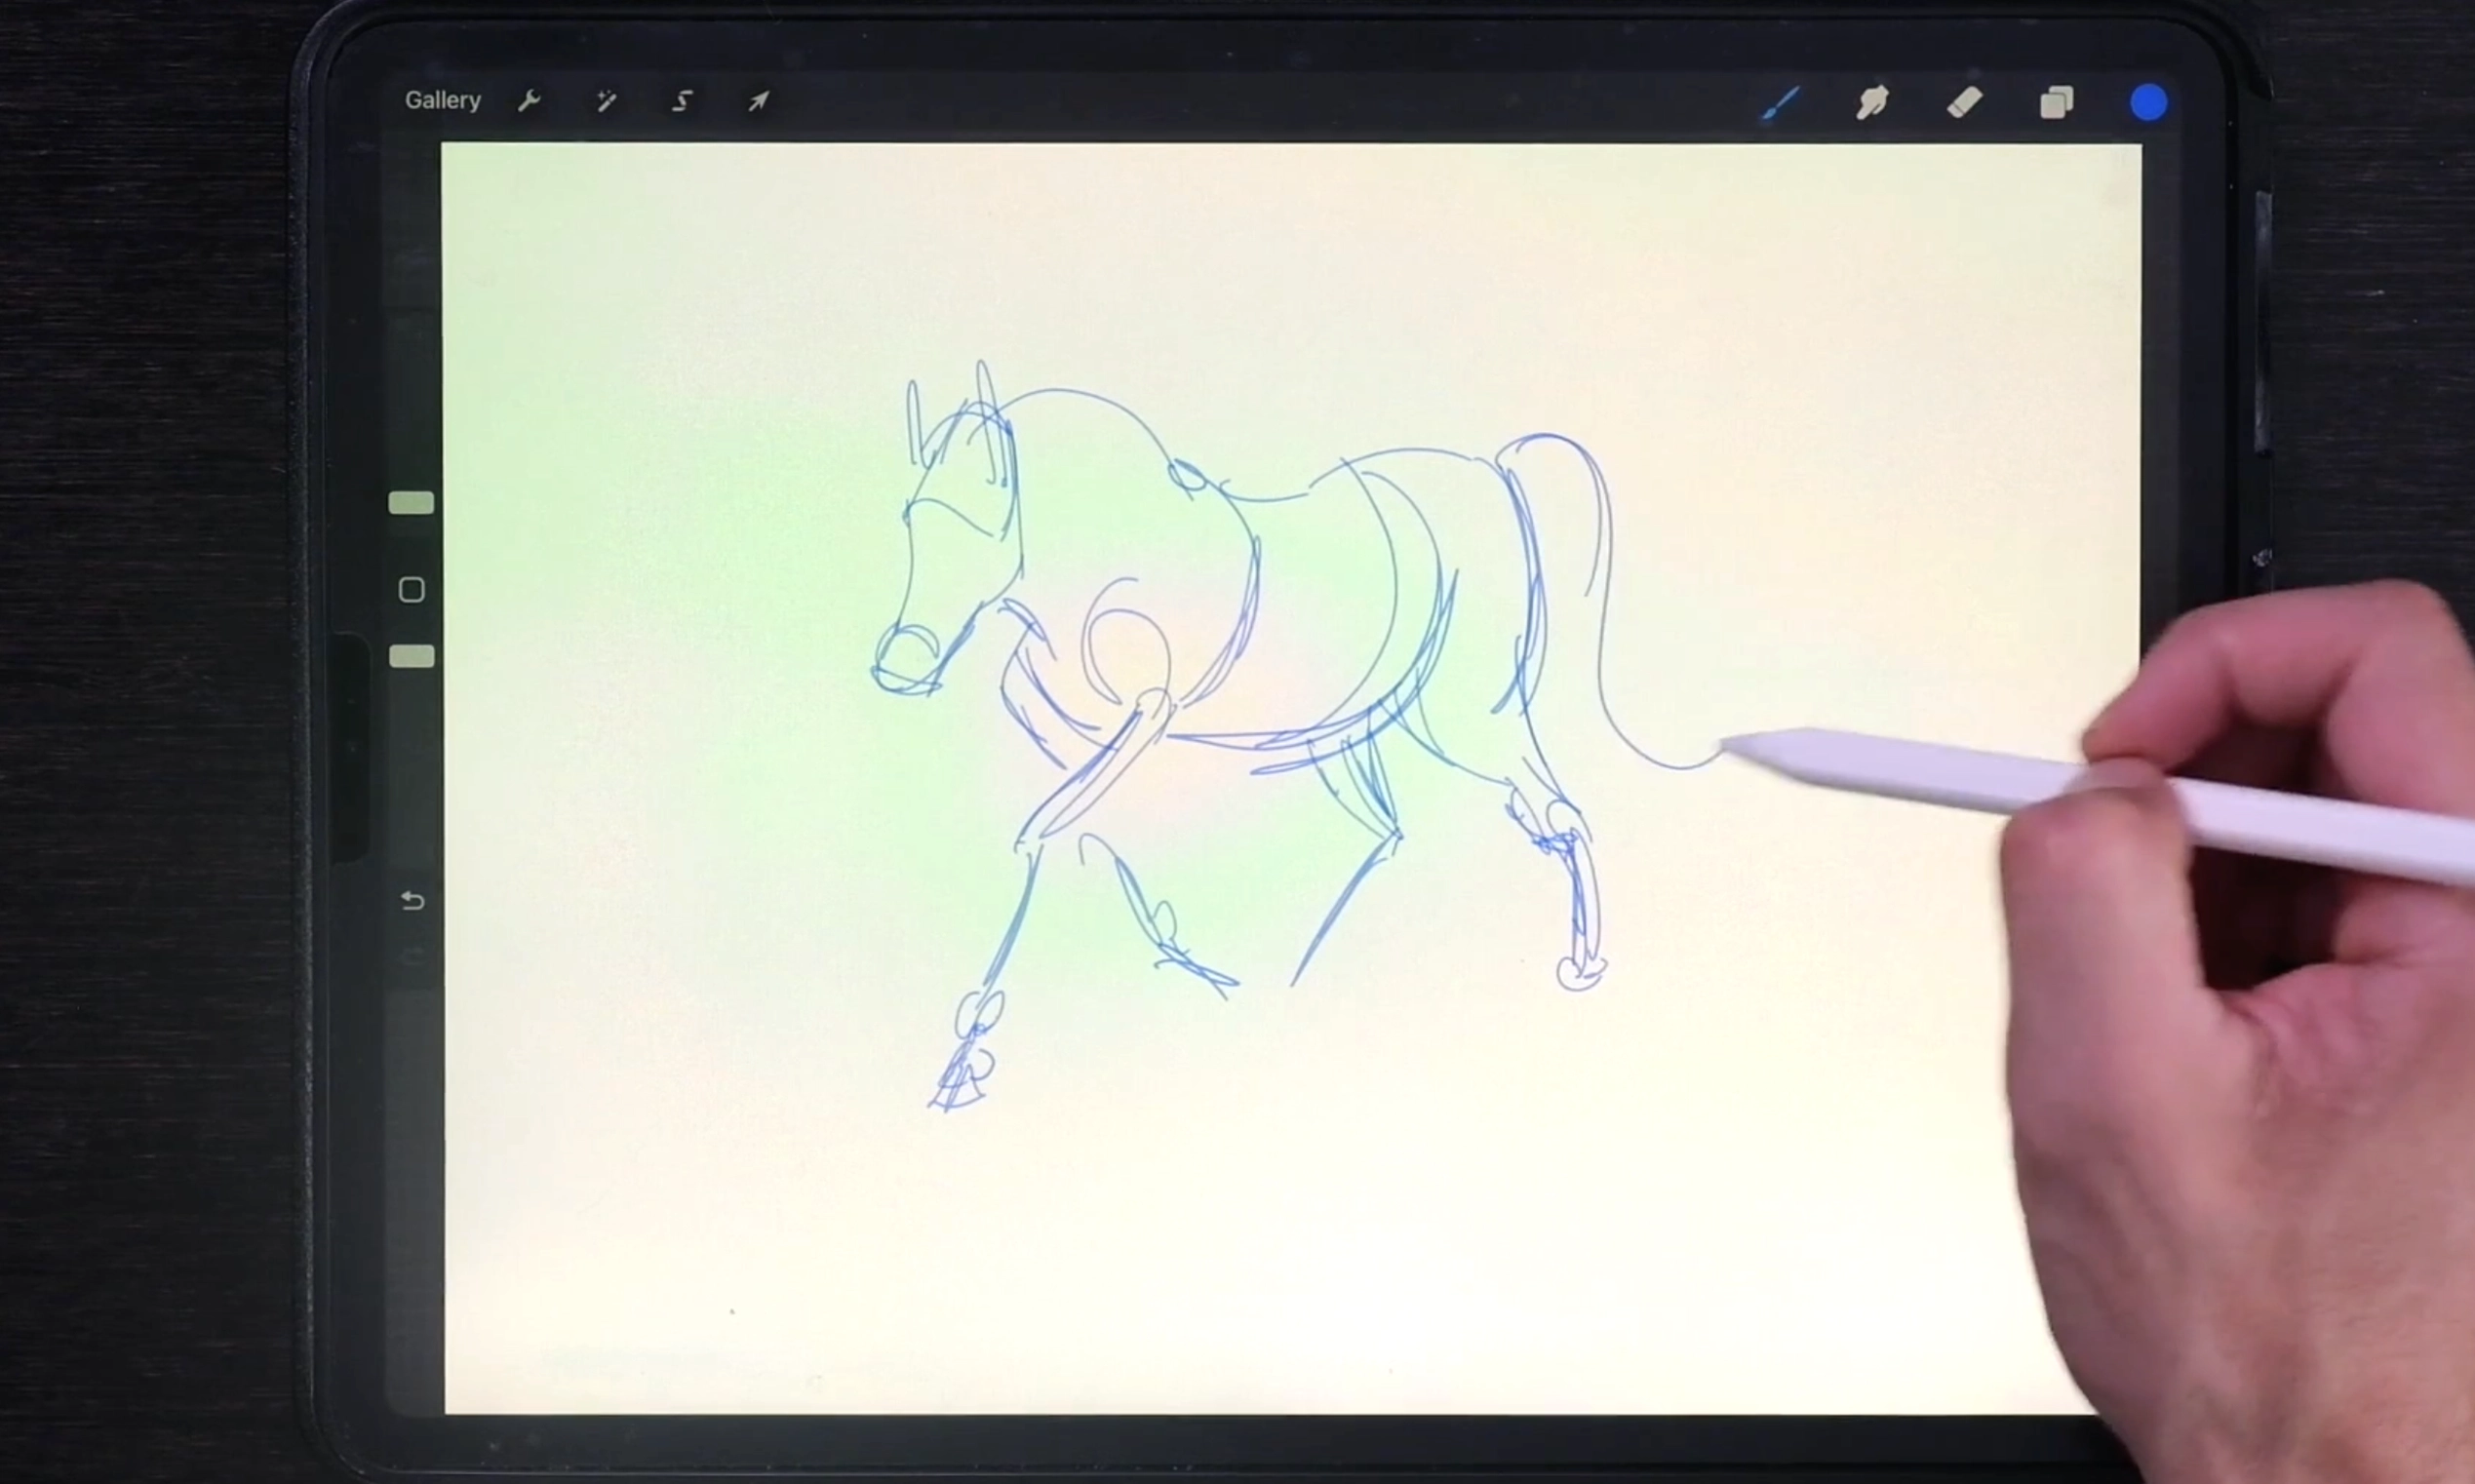
Stepping away from rigid form and perspective, you should now practice drawing the movement of the body (aka gesture).
Gesture is a great way to add life into your drawings. Without it, they might stay stiff and actually look like mannequins...we don't want that!
In animation gesture and line-of-action are incredible techniques to make a character come to life.
But you can easily practice this on your own.
Draw the subject in your reference with elegant lines such as s-curves, straight lines or c-curves.
Try to stay loose and gestural while doing so. There is no right or wrong way of doing this.
Try to capture the essence of the pose with as little lines as possible.
Forget about perspective and form (for now) while doing this.
Step 4 - Bring it all together
In the final step we want to take all the steps we've been practicing and bring them together.
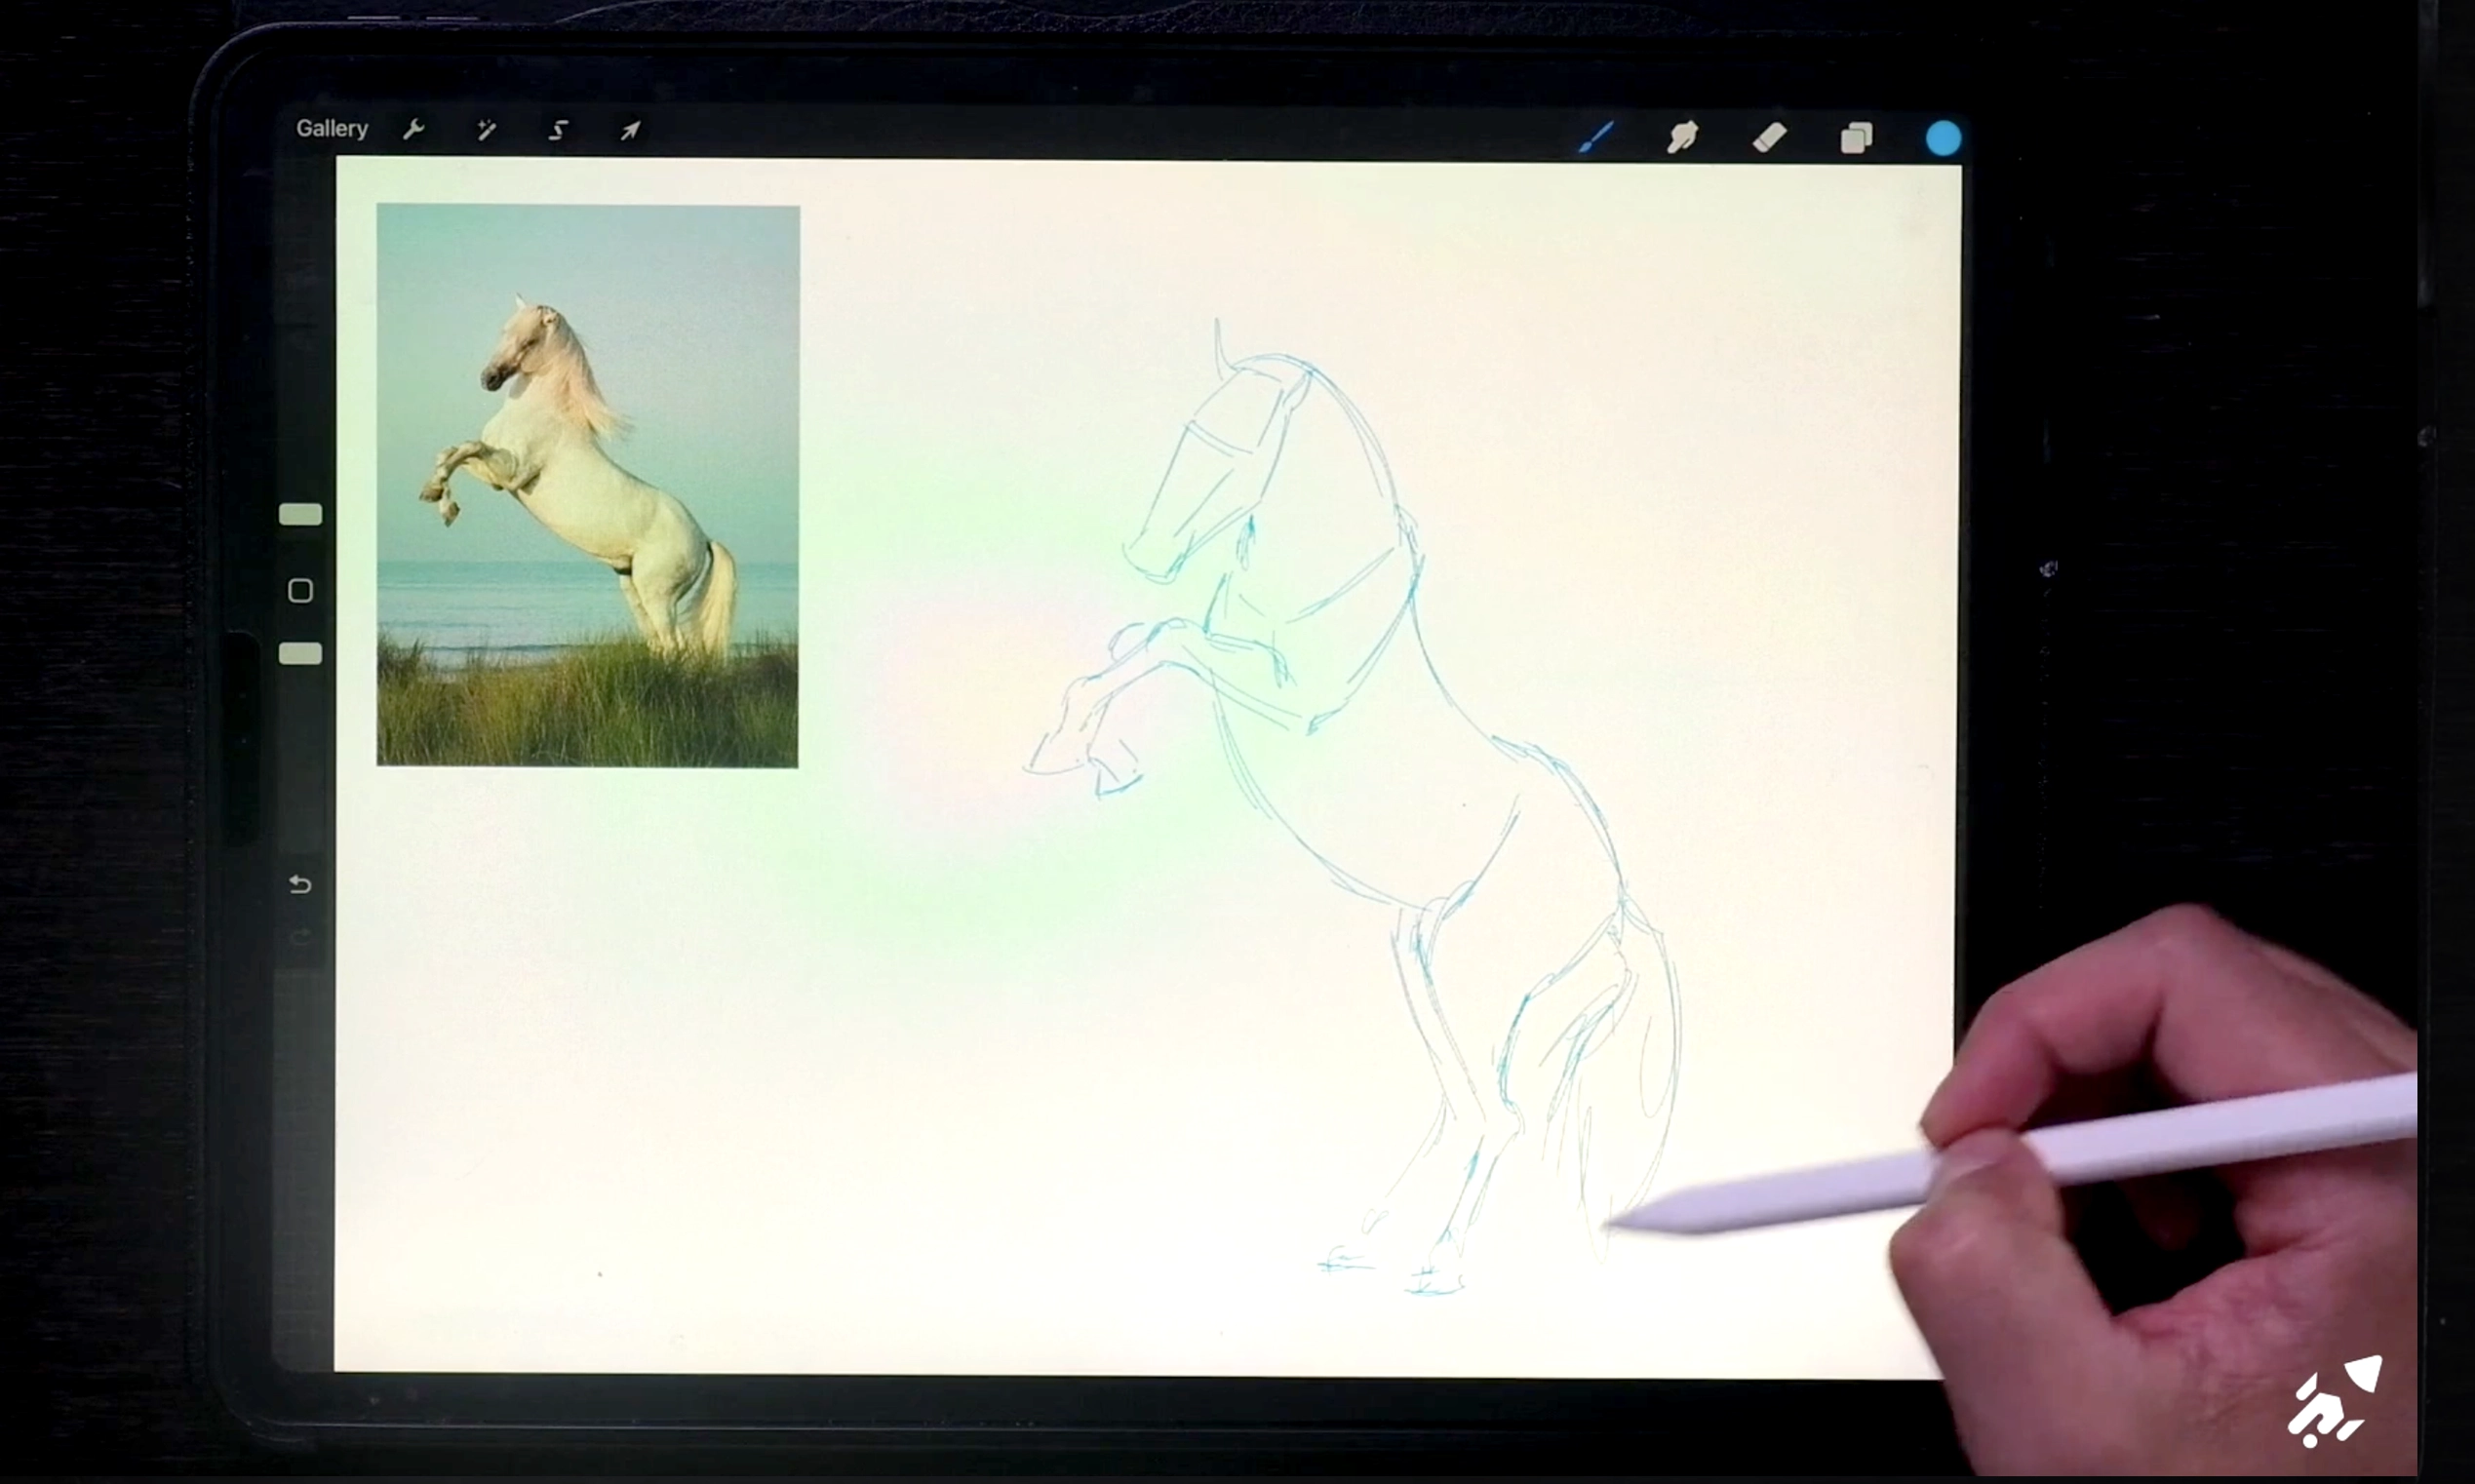
Drawing the reference using mannequin and gesture
When you have practiced the mannequin forms and gesture well, you can now combine these two techniques to created a 'gestural mannequin' for your reference.
This will serve as the base for your drawing. It will inform you about the perspective of your horse, the forms and it's movement.
Once this underdrawing is established, you can use the reference to its full advantage!
Now you can look at the reference and use all the details, texture and anatomy information to create more believability in your drawing.
Note: Understanding anatomy or anatomy informed shapes will add an extra layer of understanding for your drawings.
More about that here
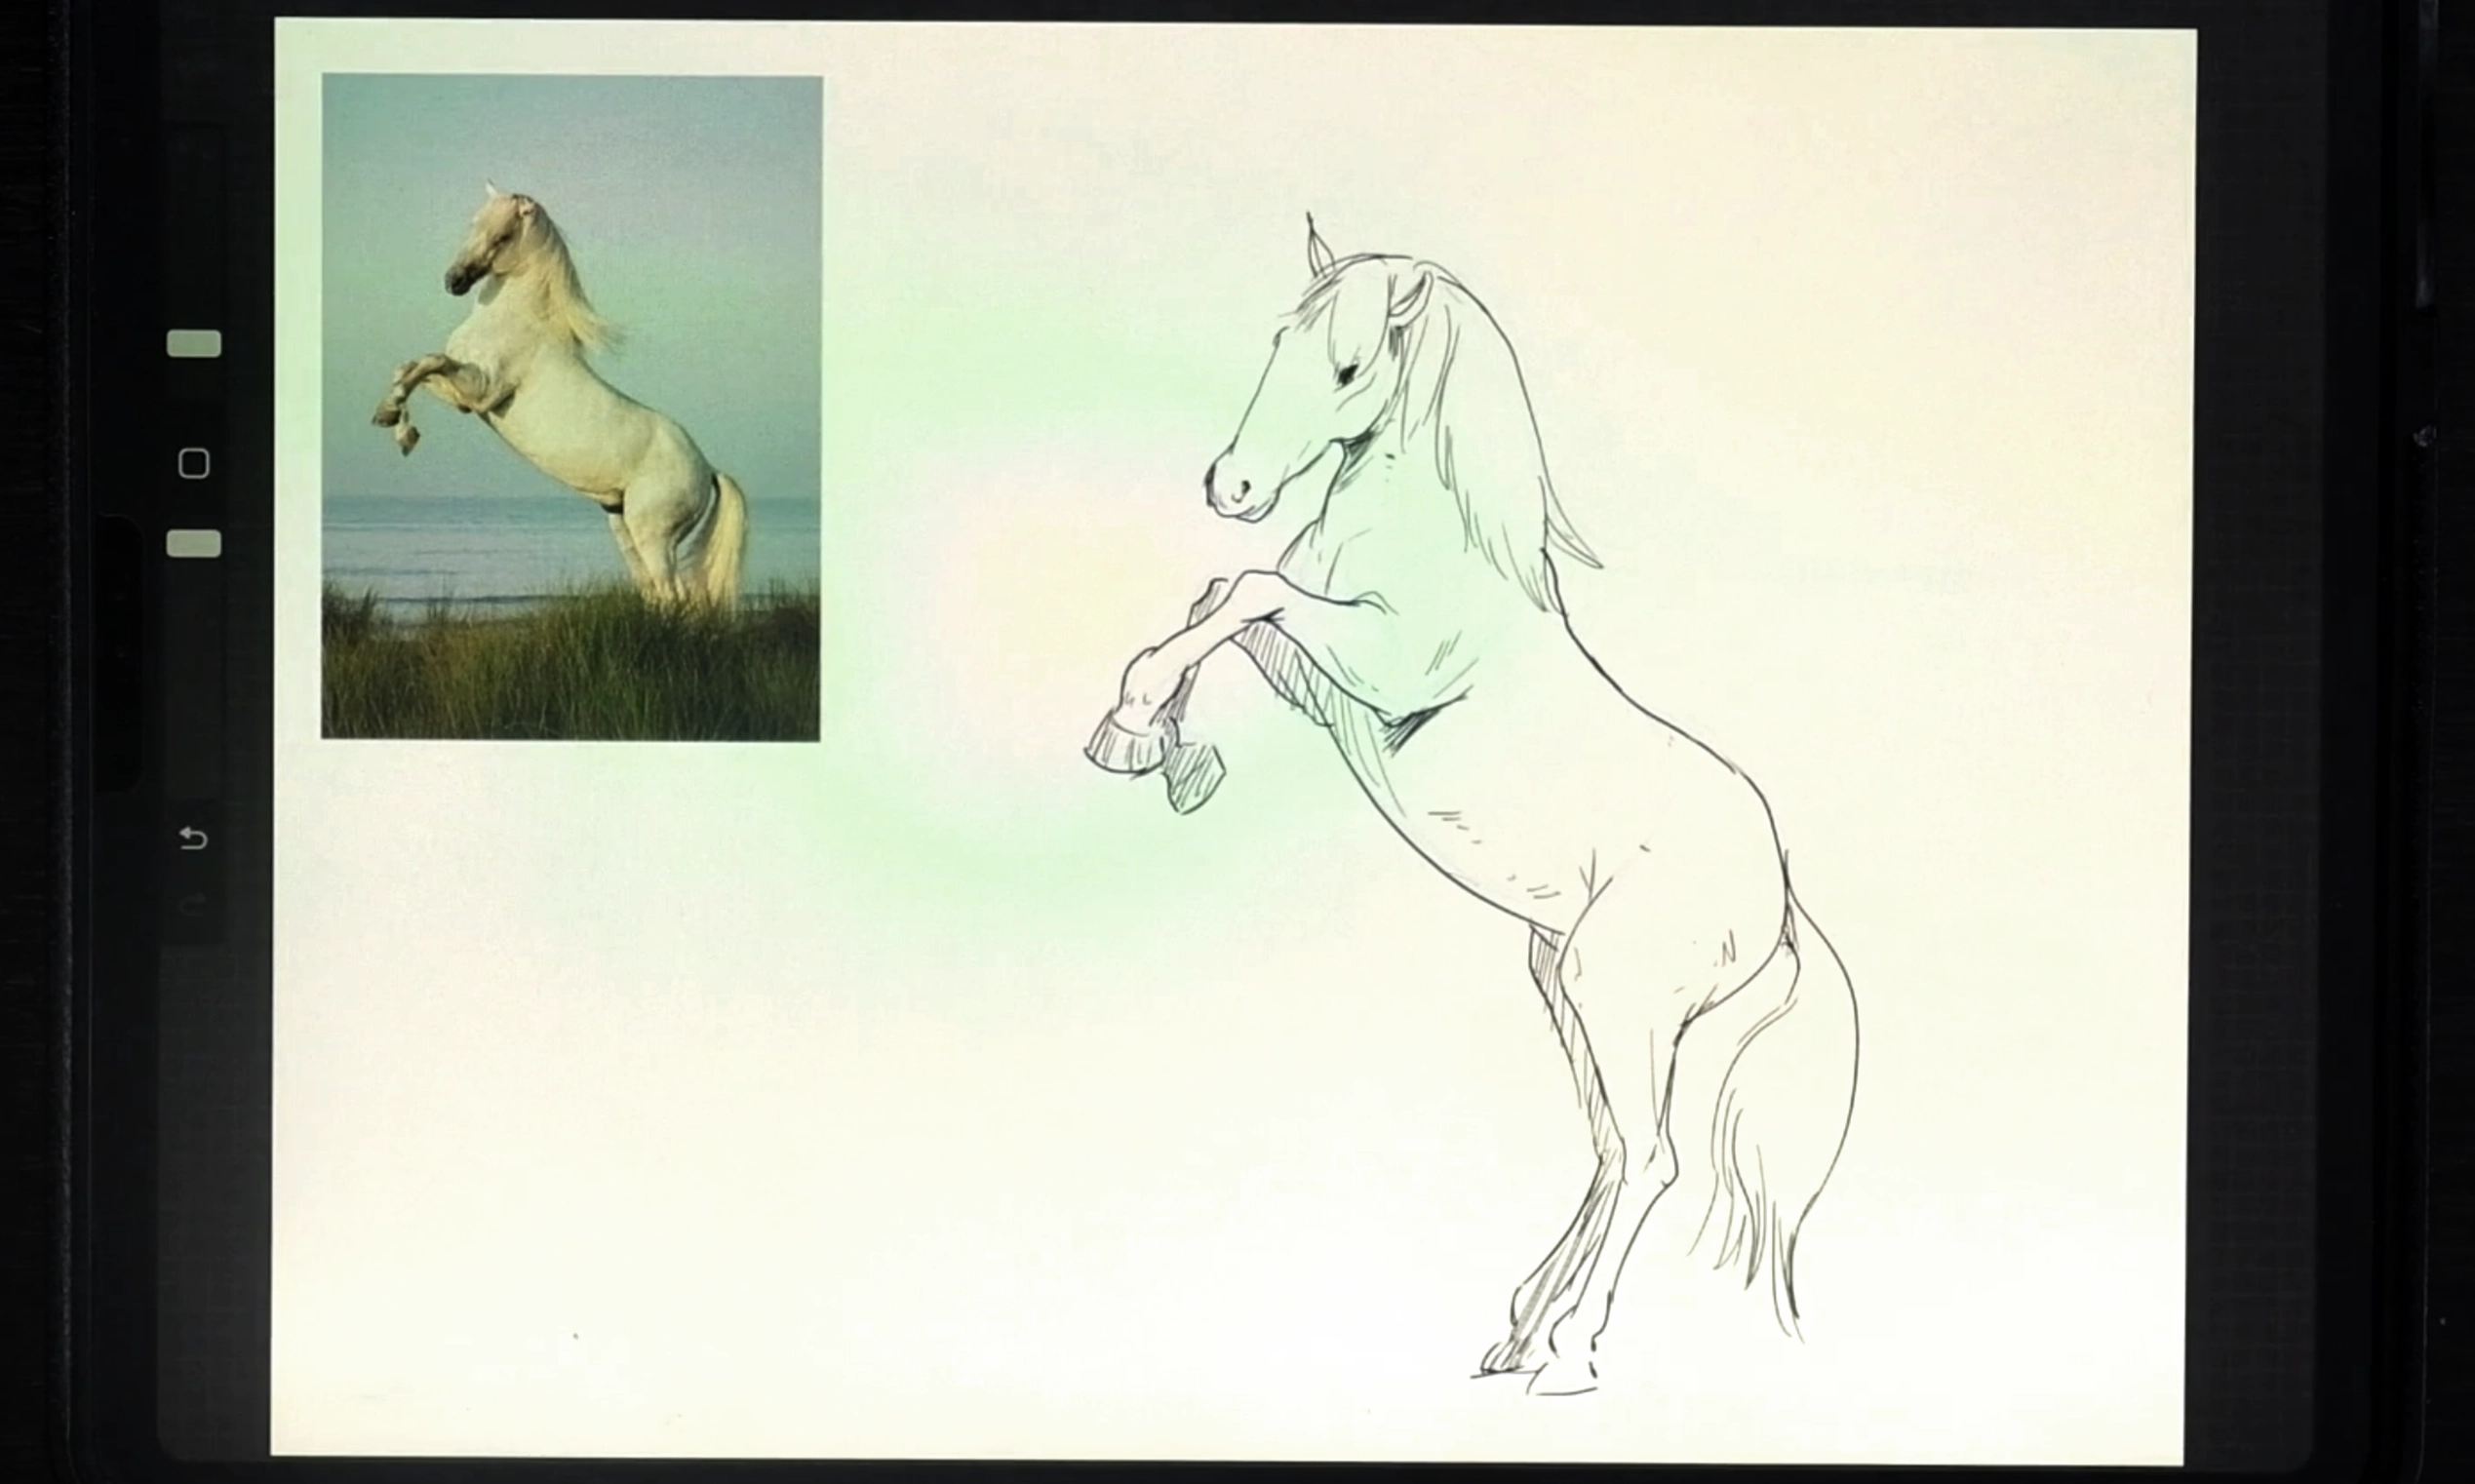
And there you go, you've taking your first literal steps to drawing horses. Great job!
I hope you enjoyed this post and continue drawing horses.
Author: Axel V.
Published: Jan 24, 2025
