Product Design Workout: 5 Steps to Better Drawing in 2 Weeks
Product Design Workout: Draw and Shade Like a Designer in 2 Weeks
Welcome to Your Product Design Challenge!
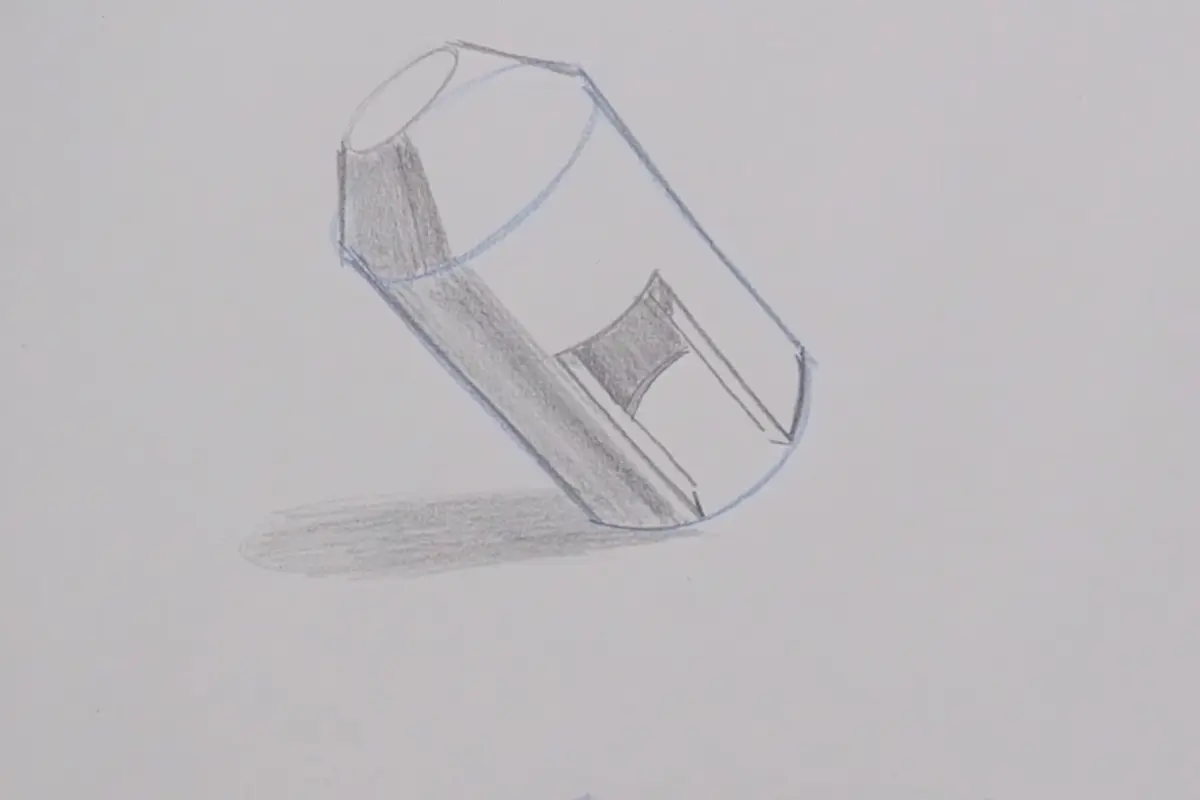
Step 1: Draw 5 Simple Forms by Adding or Subtracting Shapes
Start with the basics—boxes, cylinders, spheres, or cones.
For each one, either cut a piece out or add a new piece (think of slicing off a corner, or gluing on a smaller cylinder).
Play with how shapes stick out or recede. Imagine building with playdough or blocks!
This builds your understanding of form manipulation—a key skill we teach in 6 Steps to Draw Anything.
Step 2: Shade All 5 Forms
Decide where your imaginary light source is (top, side, or front).
Shade each form so the lightest area faces the light, and the darkest parts fall into shadow.
Try soft transitions for rounded areas and sharp edges for corners.
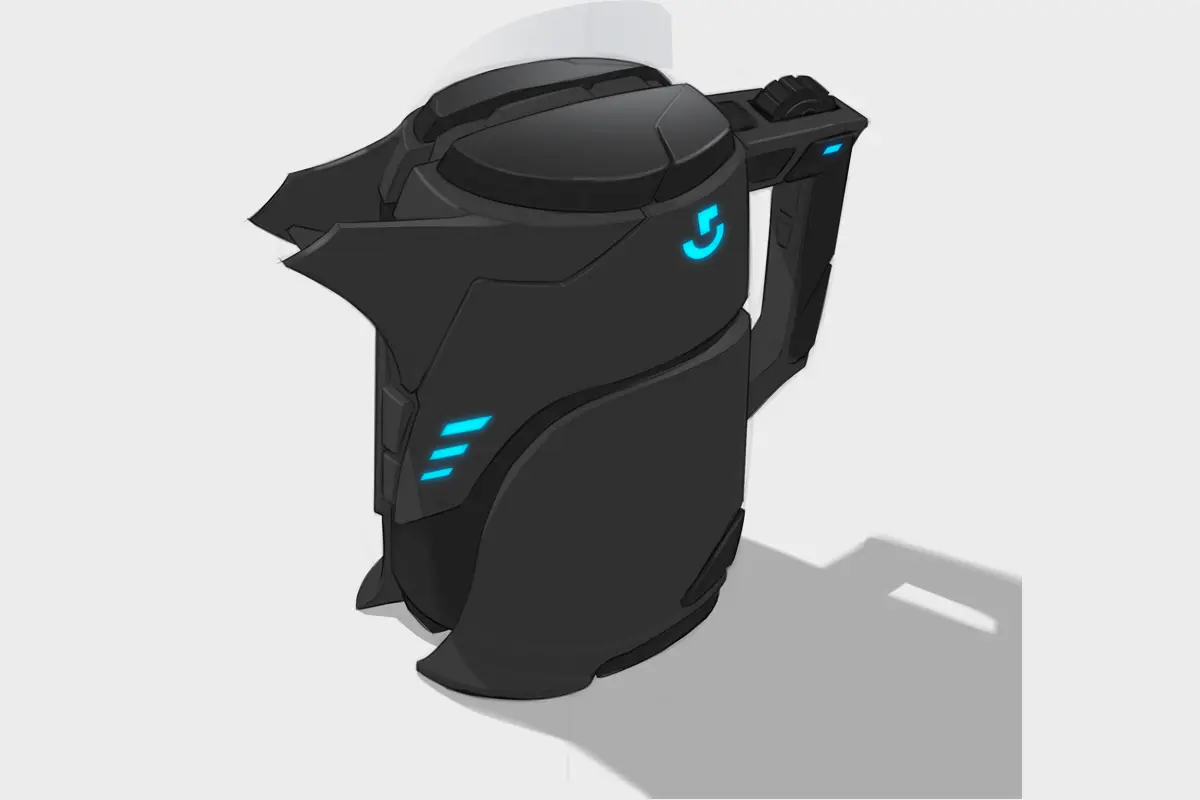
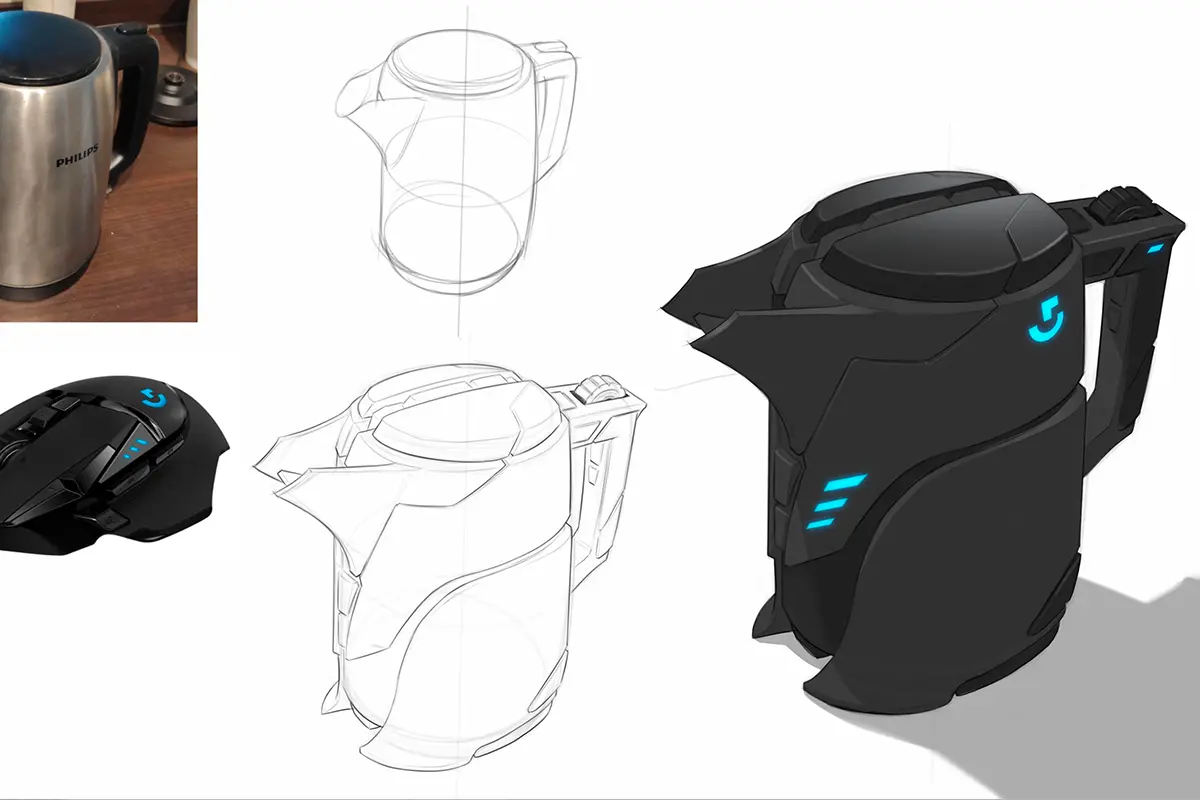
Step 3: Pick a Household Object & Block Out Its Simple Form
Choose something nearby—a mug, stapler, remote, or even a tube of toothpaste.
Ignore the tiny details at first. Just draw the basic, manipulated form that contains the whole object (it might be a squished box with a handle, or a chunky cylinder with a dip).
Use your form manipulation skills to think like a designer and see the “big picture” before adding small parts.

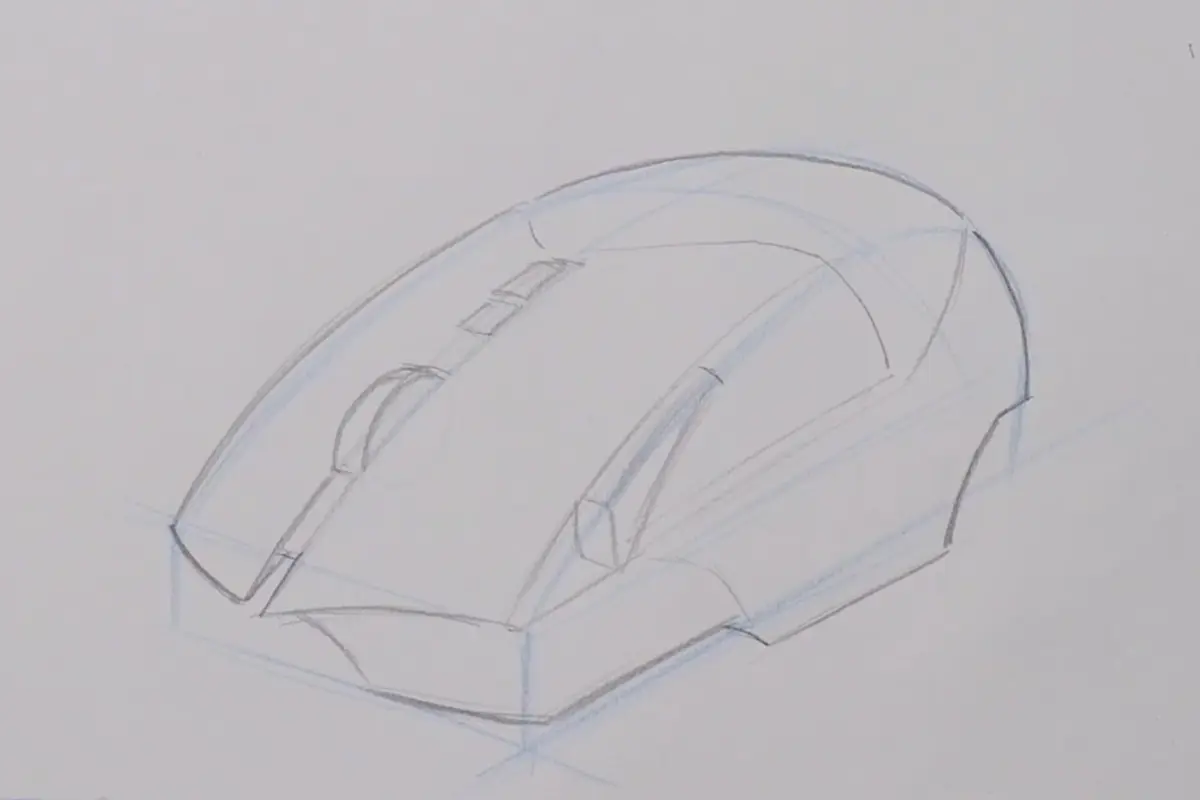
Step 4: Add Internal Details—Cut Lines, Rounded Corners, Subtracted Forms
Go back to your object and fill in what makes it unique.
Look for lines that show separate pieces (cut lines), edges that are rounded instead of sharp, or areas where parts were removed or added.
Keep your drawing loose and focus on the major design features before you worry about little text or texture.
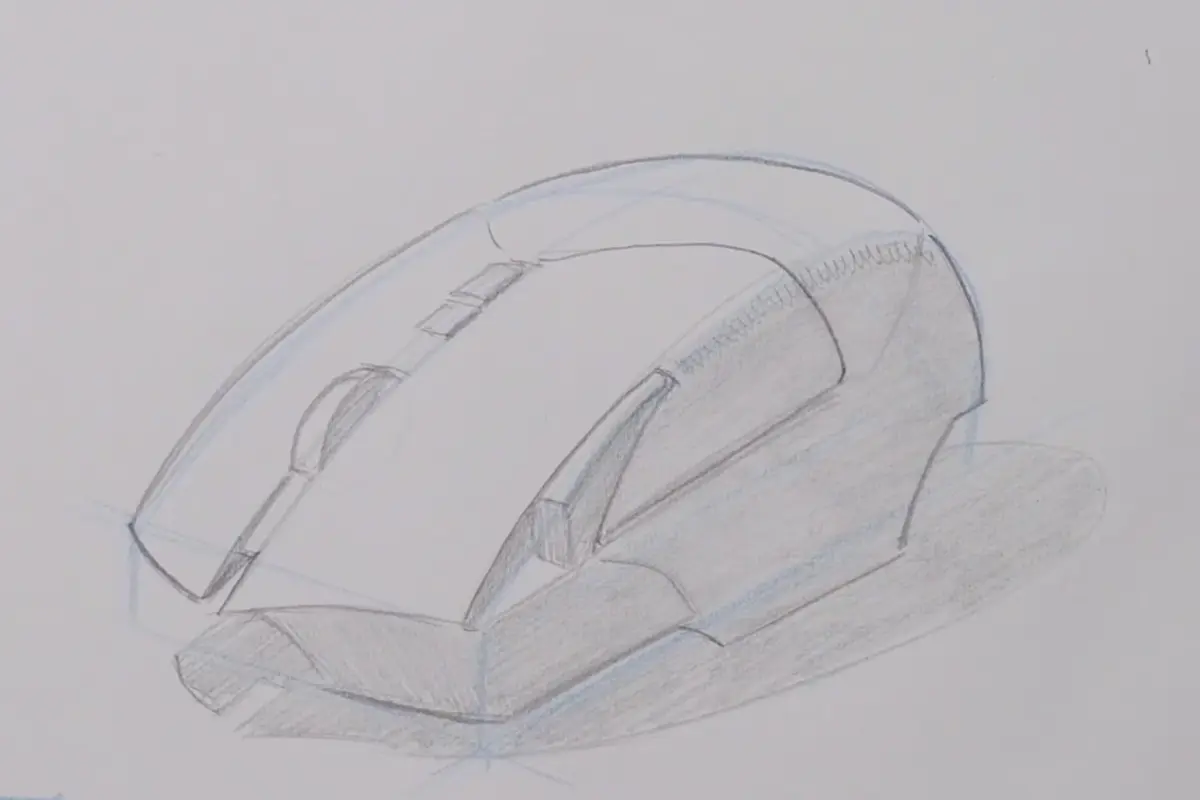
Step 5: Shade the Final Object Using Real or Imagined Light
Finish strong by shading your design!
If you’re using a reference, pay attention to where the light is coming from—copy the brightest highlights and softest shadows.
If you’re imagining, pick a spot for your “key light” and make sure all the forms are shaded consistently.
Keep Pushing Your Creativity
Related Posts