Plein Air Painting: Outdoor Techniques for Landscapes and Nature Scenes
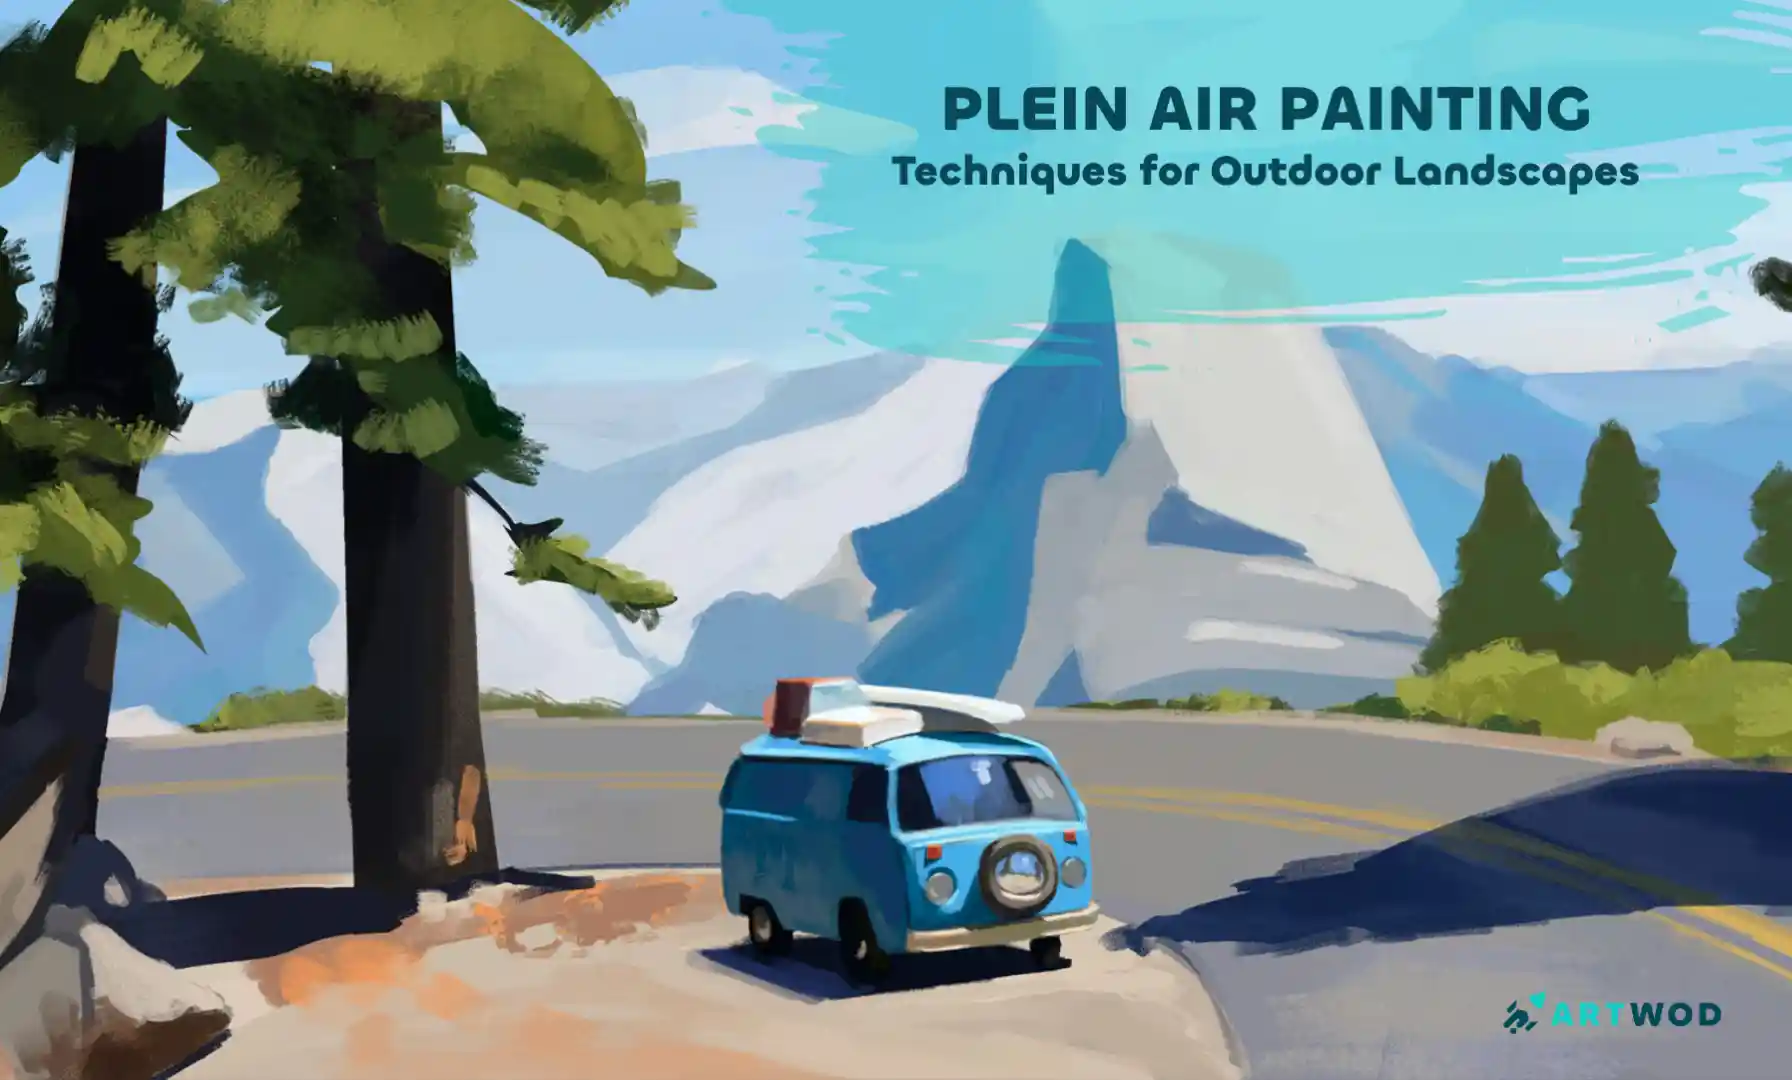
Plein Air Painting: Techniques for Outdoor Landscapes
Environment painting isn’t just about drawing buildings, trees, or landscapes - it’s about guiding the viewer’s eye. Strong environments feel immersive because they have clear flow, believable space, and thoughtful use of light and color. In this exercise, you’ll combine observation, composition, and rendering to create an environment painting that feels alive.
Whether you’re interested in concept art, illustration, or just want to improve your painting skills, this process will help you better understand how real places translate into compelling artwork.
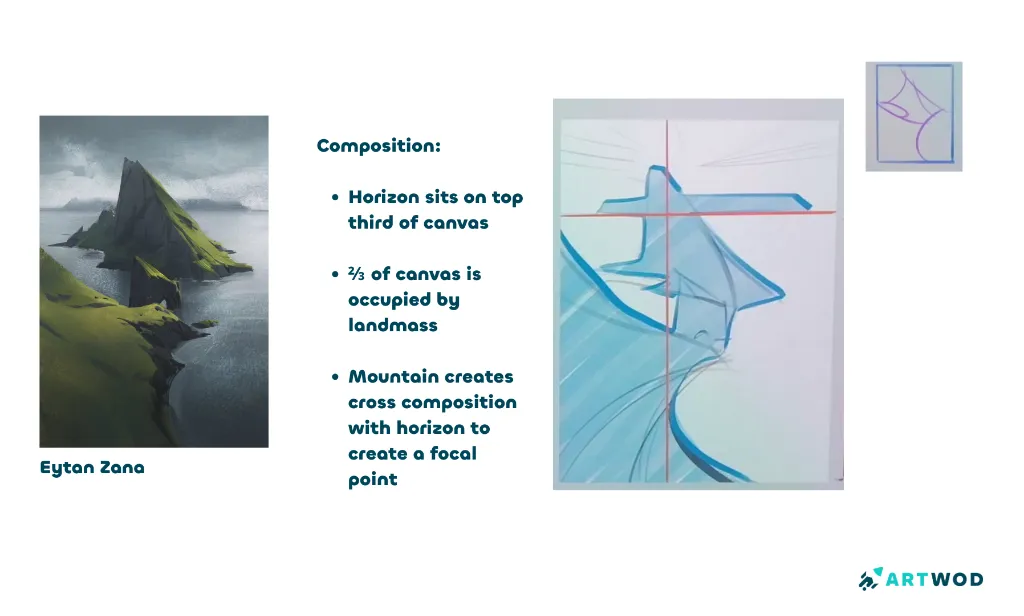
Step 1: Study an environment painting
Start by picking an environment painting you really like. Don’t copy it - analyze it. Look closely at the flow of the composition. Where does your eye travel first? How does the artist use lines, shapes, and contrast to guide attention through the image? This step trains your visual intuition before you even start drawing.
Step 1: Plein Air Painting: Techniques for Outdoor Landscapes
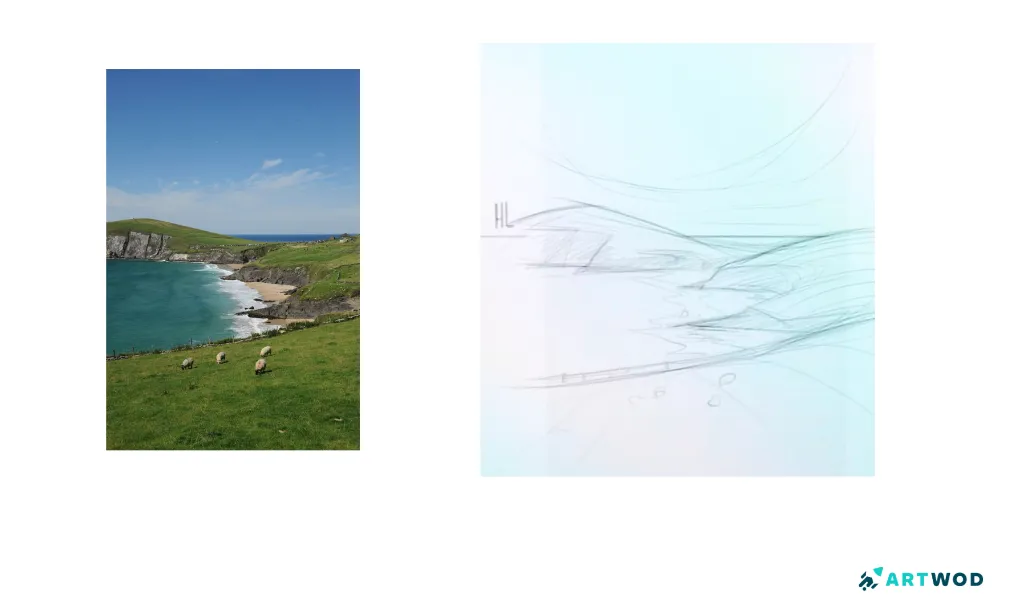
Step 2: Sketch a real environment
Next, choose a real place to work from. You can take a photo yourself (highly recommended, because you need some fresh air) or select one online. Begin your sketch using simple lines only, starting with the horizon line and basic perspective guidelines. Don’t think about details yet.
Step 2: Plein Air Painting: Techniques for Outdoor Landscapes
Step 3: Add contour lines

Step 3: Plein Air Painting: Techniques for Outdoor Landscapes
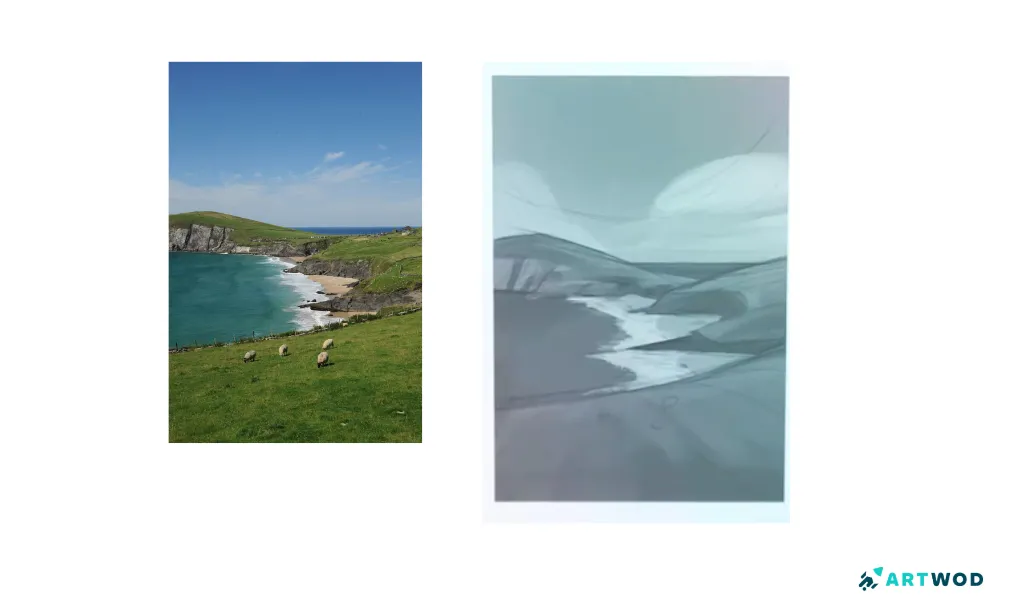
Step 4: Create a quick value study
Try limiting your values to a maximum of 4. Like this you will avoid confusing yourself.
Step 4: Plein Air Painting: Techniques for Outdoor Landscapes
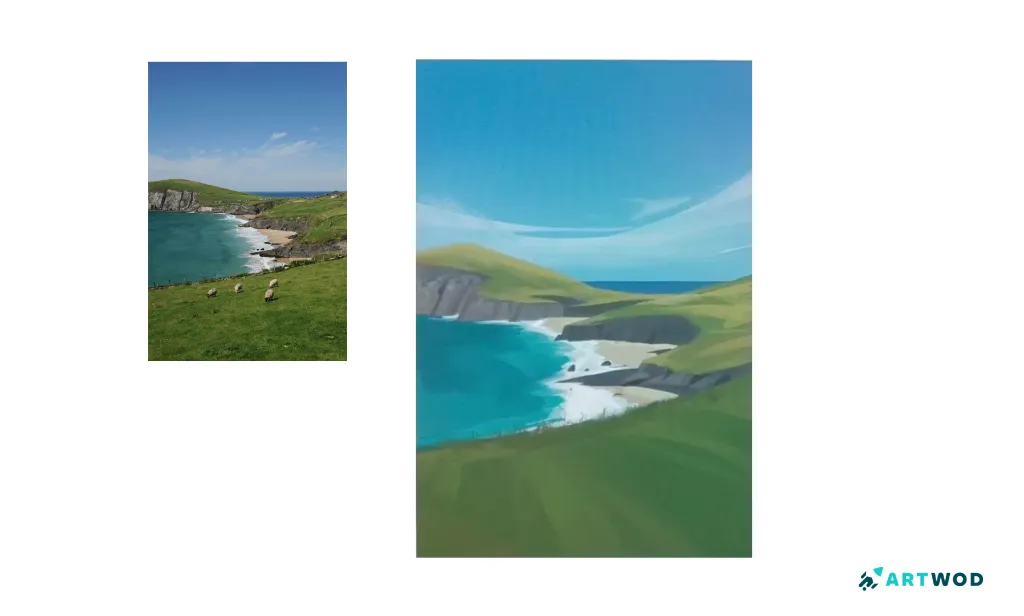
Step 5: Refine with color and light
Step 5: Plein Air Painting: Techniques for Outdoor Landscapes
Bonus Step: Style exploration
If you practice this regularly, you’ll develop a stronger sense of space and flow in your environment paintings. Repeating this process often will sharpen your eye and make your environments feel more immersive and confident. Remember: great environment art isn’t about copying reality - it’s about interpreting it with intention.
If you try this exercise, share your results with the Artwod community - we’d love to see your plein airs!