Master Drawing Birds: Techniques & Tips for Realistic and Stylized Birds
How to Draw Birds: Realistic and Stylized Techniques
Have you ever watched a bird fly by and thought, "I wish I could draw that"? Drawing birds might seem tricky at first, but with the right steps, anyone can learn to capture these amazing creatures on paper! Birds come in all shapes and sizes—from tiny hummingbirds to majestic eagles—and each one has its own special features that make it unique.
In this interactive workout, you'll learn how to break down any bird into simple shapes, study their coolest features, and then draw them from your imagination. Whether you want to draw realistic birds or create your own fantasy creatures with wings, these four steps will help you soar to new heights in your art!
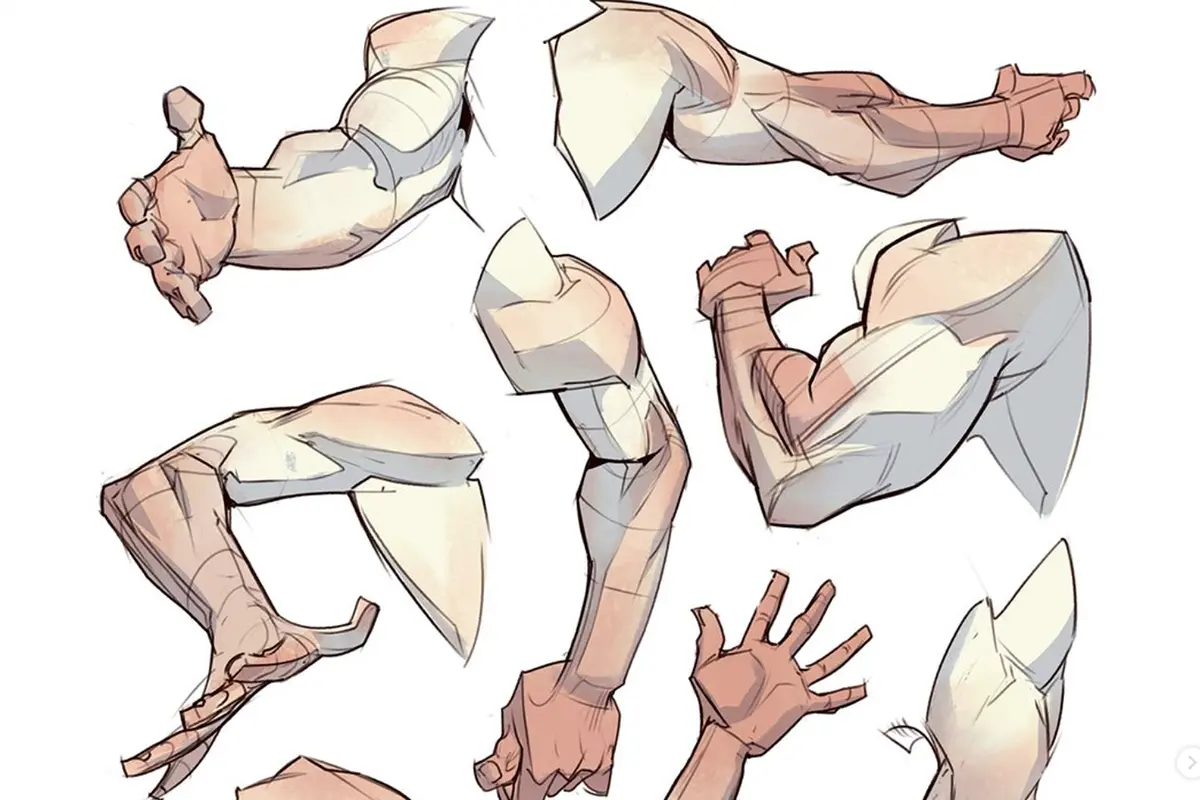
Step 1: Draw the Bird's Basic Shape (Mannequin)
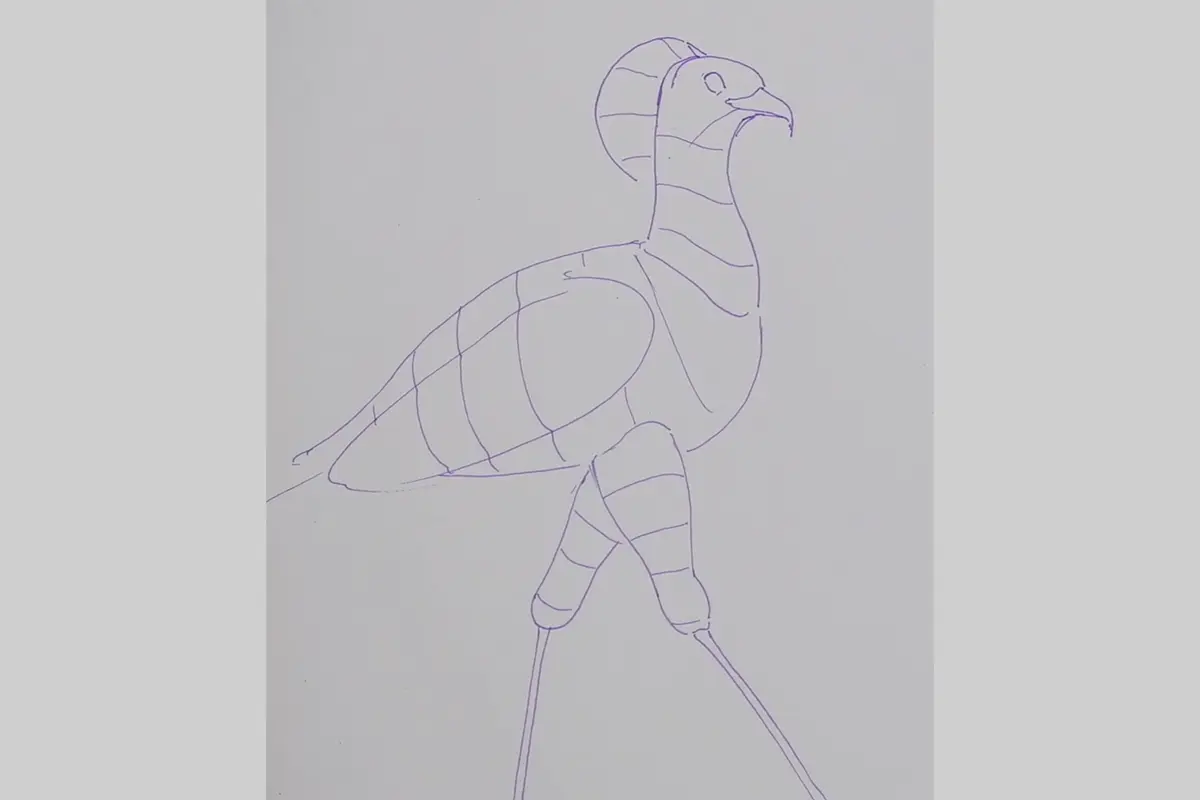
Look at a real bird photo or drawing and imagine it as simple shapes—like boxes, circles, and cylinders put together.
Draw the body as an oval or egg shape
Add a smaller circle or triangle for the head
Use simple lines to show where the wings, tail, and legs go
Keep it blocky if you're just starting, or add more detail if you're ready for a challenge!
Think of this like building with blocks—you're creating the "skeleton" that holds your bird together. Give it a try below!
Step 2: Redraw from a Different Angle
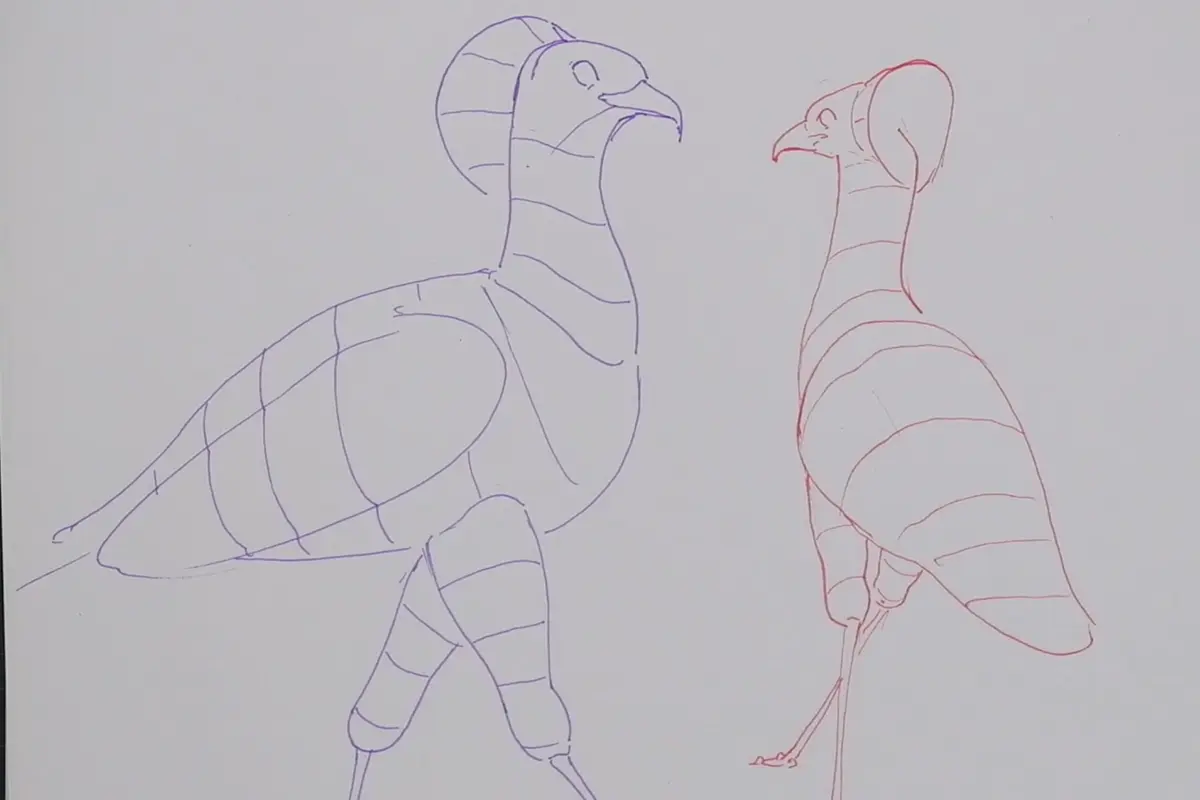
Now comes the fun part! Take that same bird mannequin you just drew, but this time draw it from a completely different angle using only your imagination.
If you drew it from the side, try drawing it from the front
If it was facing left, make it face right
You can even try drawing it from above or below!
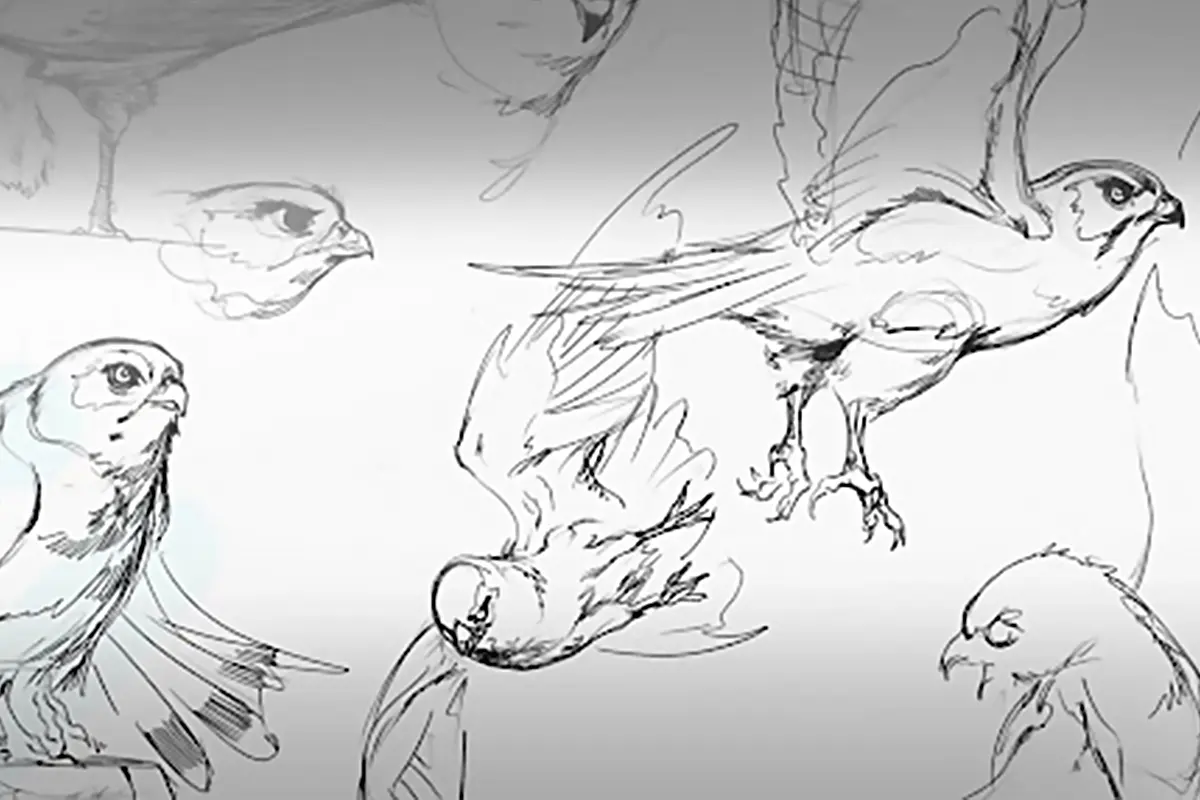
Step 3: Study 3 Cool Bird Features
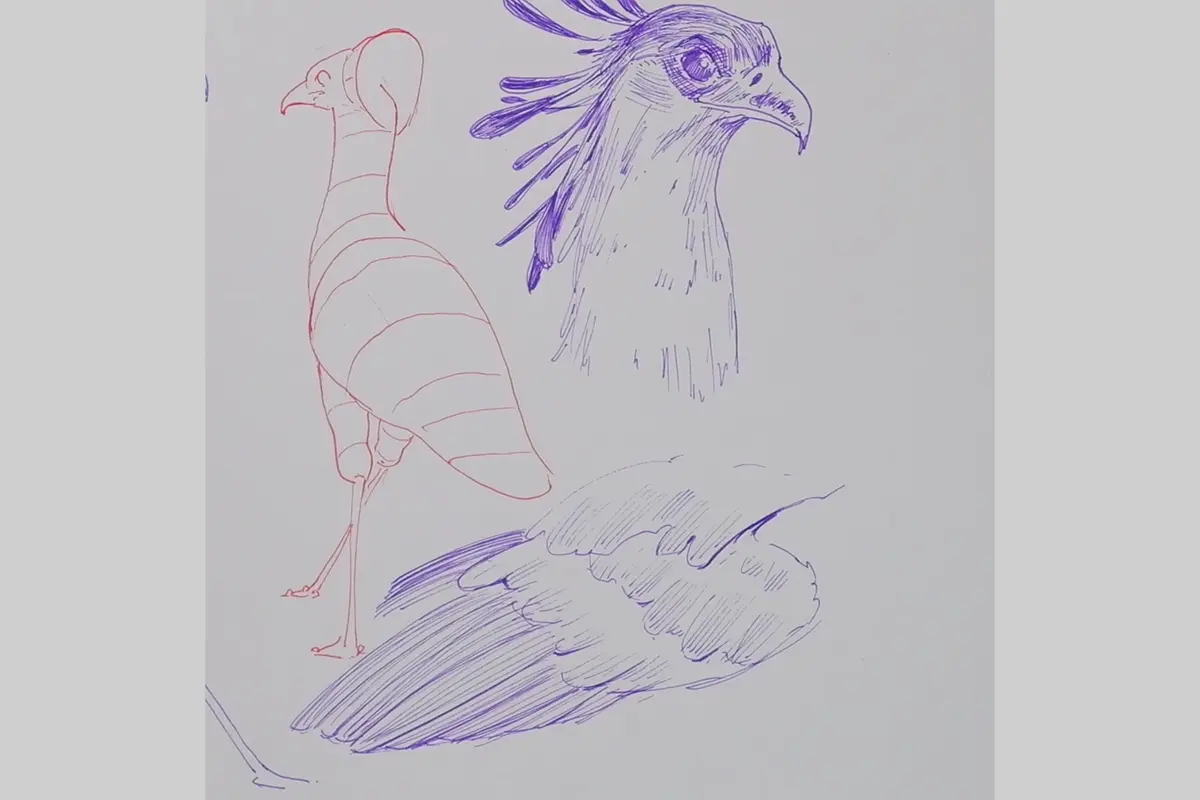
Pick your favorite bird and become a detective! Choose 3 specific features to study by copying them carefully:
The shape and pattern of the beak
How the feathers look on the wings
The bird's feet and claws
The tail feathers and how they fan out
The eyes and how they're positioned
Copy these features multiple times until you understand how they work. This is like collecting puzzle pieces that you'll use in the next step! Pick a feature that intrigues you and give it a go below:
Step 4: Draw Your Bird from Imagination
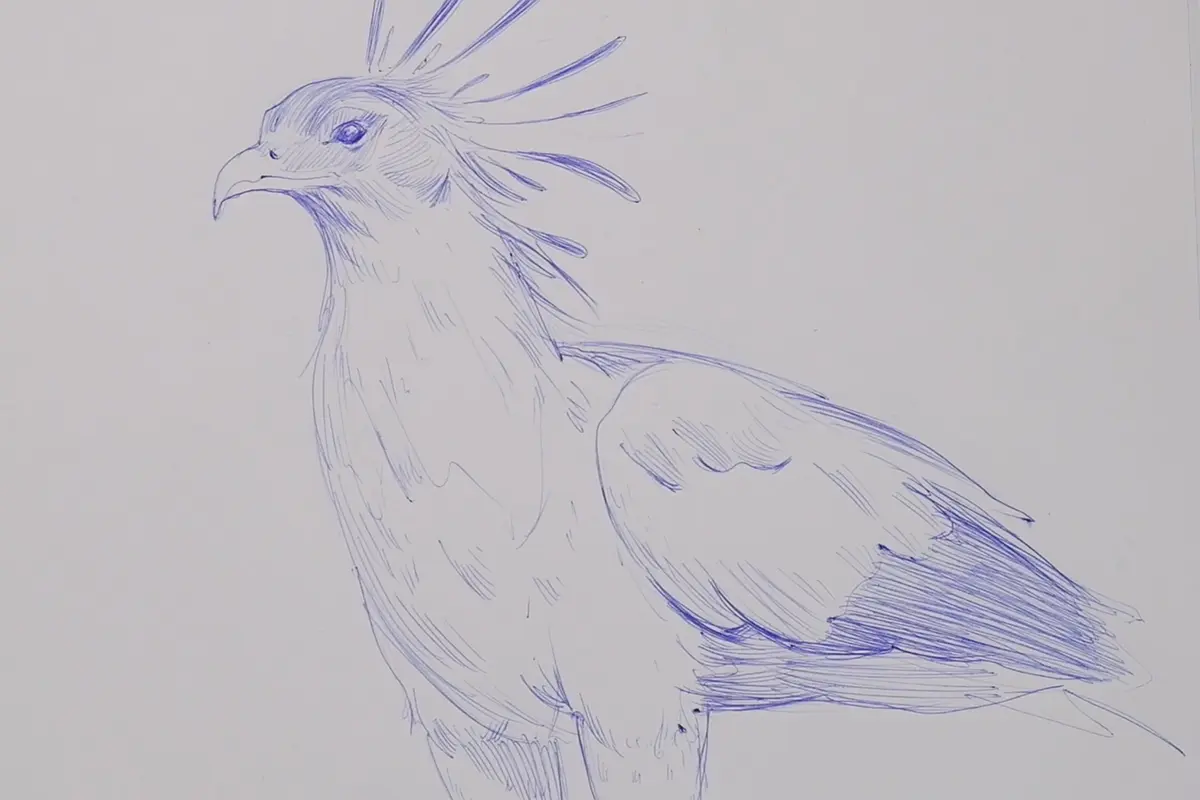
Time to put it all together! Using everything you've learned, draw your bird completely from imagination.
Start with your mannequin (Step 1)
Add the features you studied (Step 3)
Include as much detail as you can—feathers, patterns, textures
Don't worry about making it perfect; focus on making it your own!
Remember, every great artist started with simple drawings that got better with practice.
Conclusion: Keep Flying High with Your Art!
Congratulations! You've just learned a professional method for drawing birds that real concept artists use every day. By breaking down complex creatures into simple shapes, studying their features, and then drawing from imagination, you're building skills that will help you draw anything—not just birds!