How to Start a Sketchbook: Essential Tools, Techniques & Drawing Tips
How to Start a Sketchbook: Essential Tools and Techniques
So, you’ve found some great drawing exercises to practice—now the question is, where do you actually do them?
Most of us have tablets, computers, or loose sheets of paper—but when it comes to daily practice, something feels off. Maybe it’s not the right tool, the right space, or the right mindset. That’s where the sketchbook comes in!
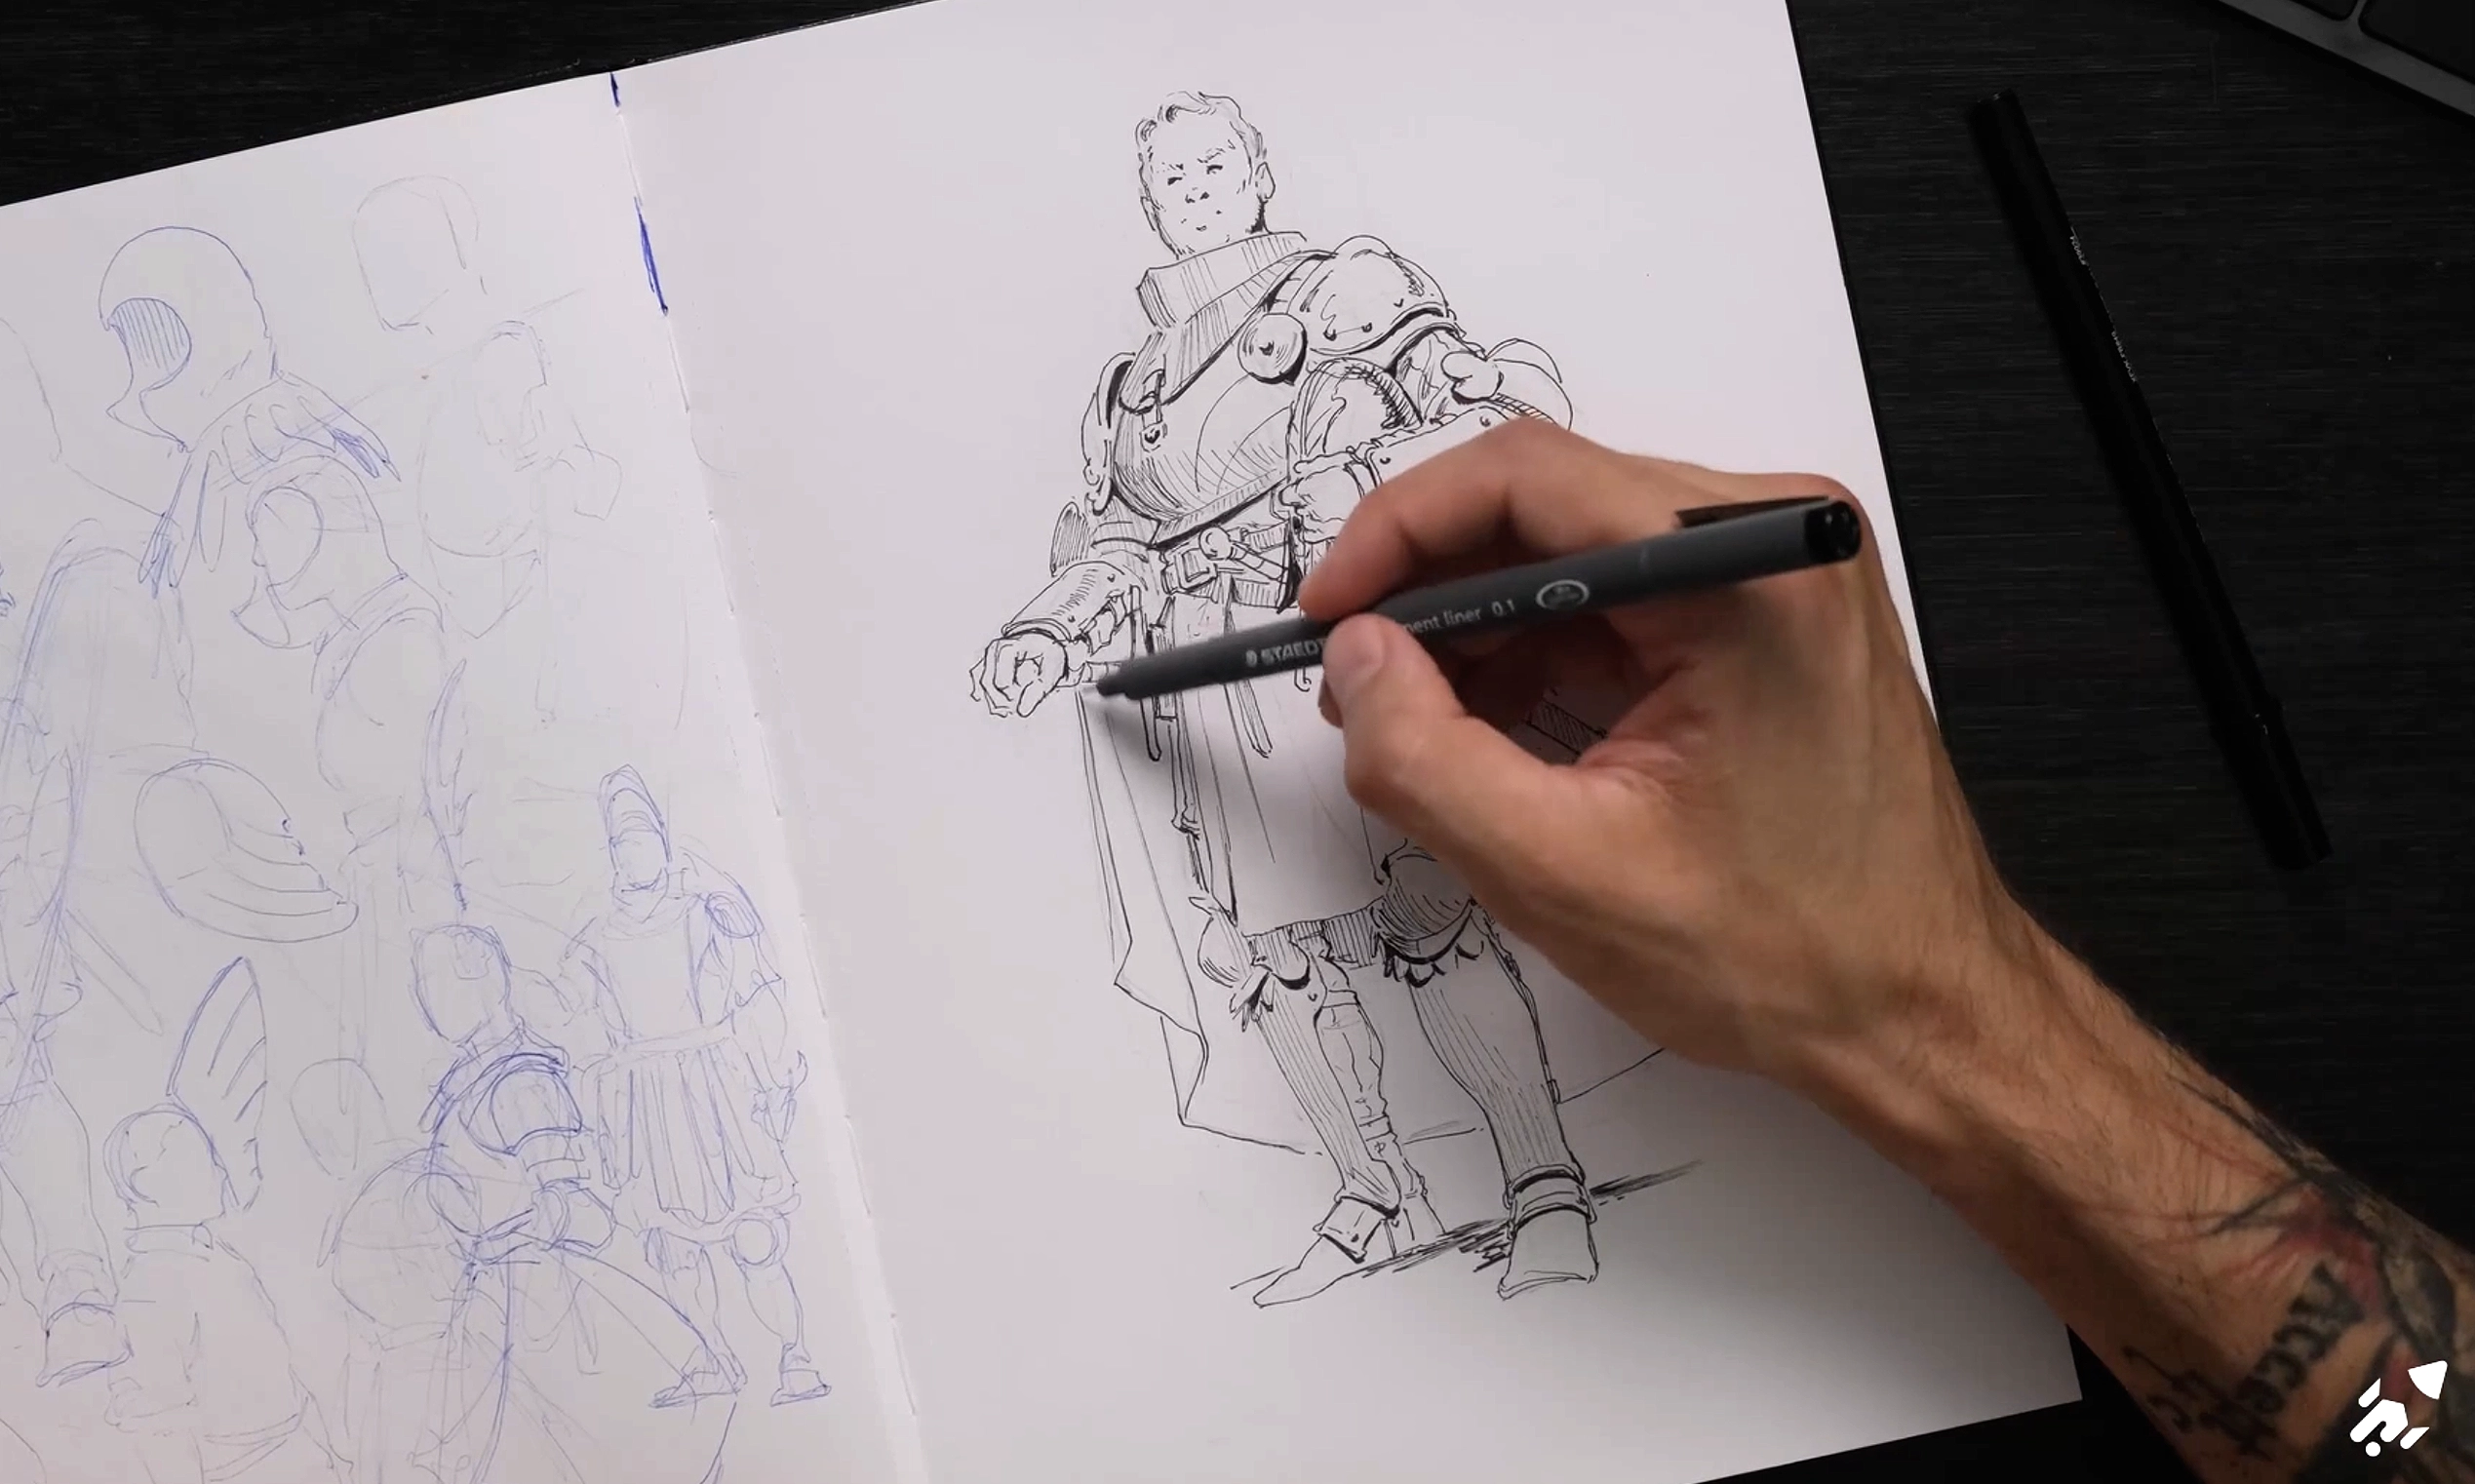
You’ve probably seen those stunning sketchbook pages—full of polished drawings, intricate details, and perfect compositions. They look like finished artworks!

Whoa! Detail!
That level of detail can feel intimidating—I’ve been there too. But sketchbooks aren’t about perfection. They’re about exploration, practice, and growth—and yes, plenty of mistakes. The best part? No one ever has to see them but you.
Choosing the Right Sketchbook and Tools
I know, I know—everyone wants a definitive answer to the age-old question: What sketchbook is right for me? The truth is, the best sketchbook is the one you’ll actually use.
Size, paper quality, and material are not that important. Rather, ask yourself: Will I feel comfortable pulling this out on a train, plane, or in a café? If the answer is yes, that’s the right sketchbook for you.
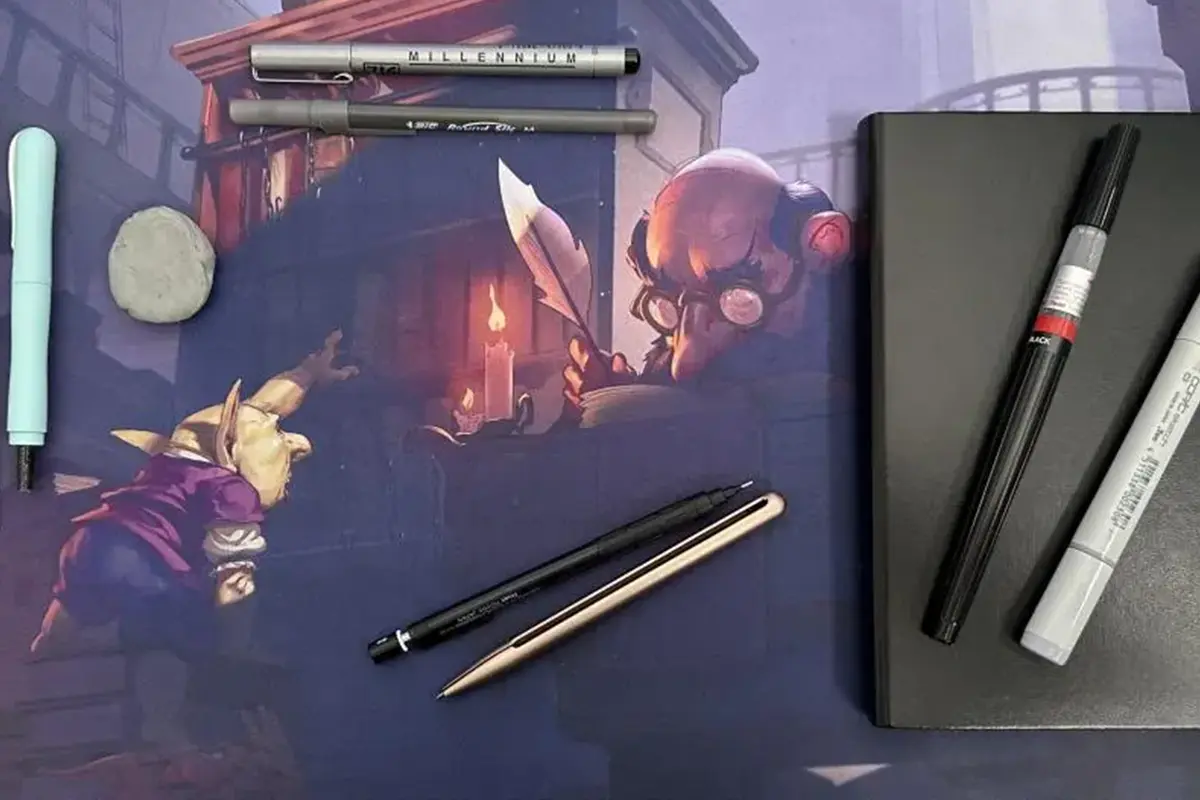
Should you use a specific pen, pencil, or marker? Start with what you already have. Grab a ballpoint pen and sketch a few pages. Try a pencil for a few sessions. Experiment by mixing mediums—pen underdrawings with pencil shading, or vice versa.
Exploration is key. The more you experiment, the more you’ll refine your personal toolkit.
Exploration is key.
Improving Observation Skills: Techniques for Better Sketching
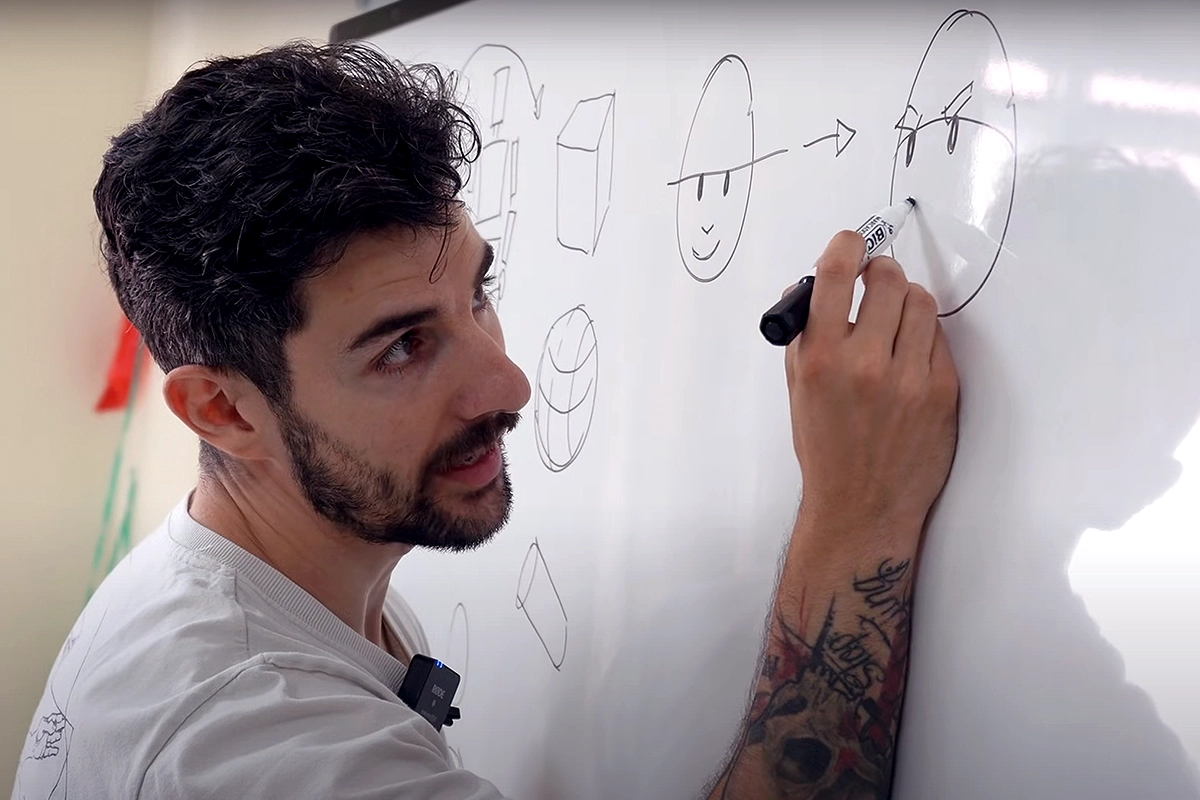
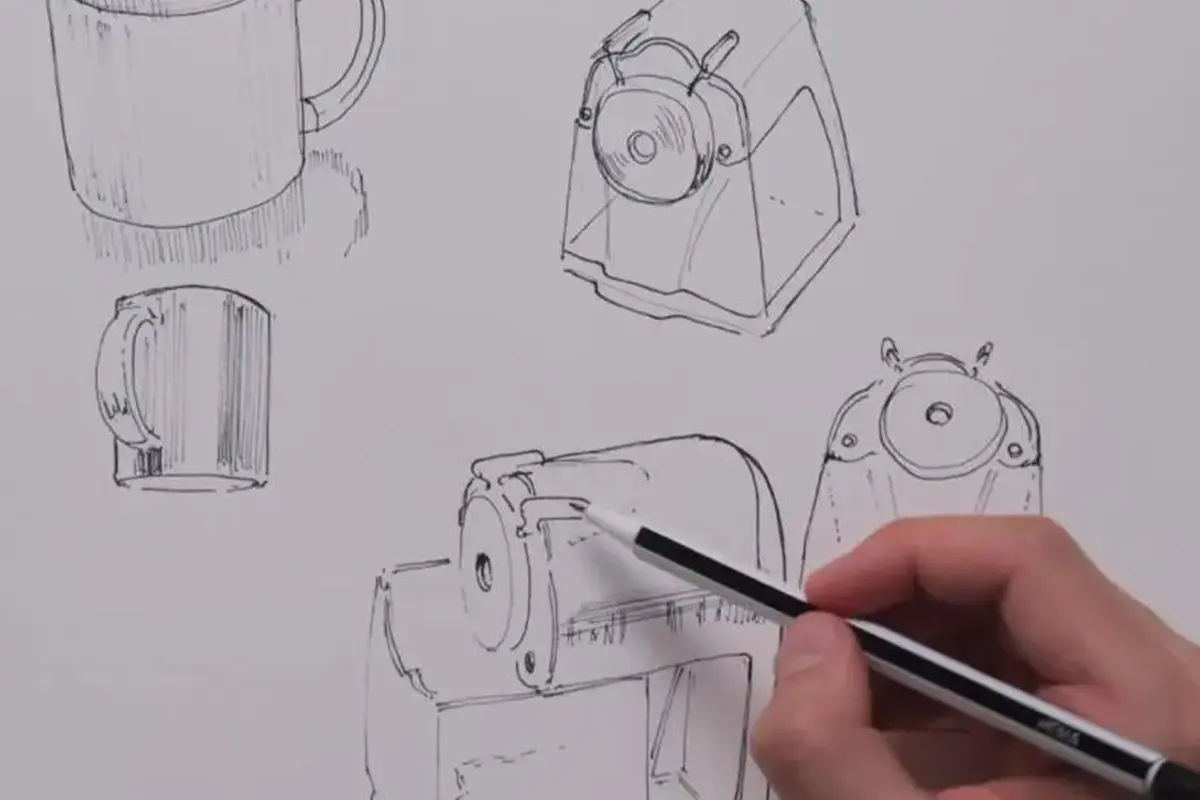
Now that you have a sketchbook and some tools, let’s start with the simplest exercise—drawing something from your surroundings. Grab any object nearby, open your sketchbook, and start sketching. Observation is key.
Once you’ve drawn the object as you see it, challenge yourself: rotate it in your mind and redraw it from a different angle—without looking at the object again. This strengthens your ability to visualize and understand form.
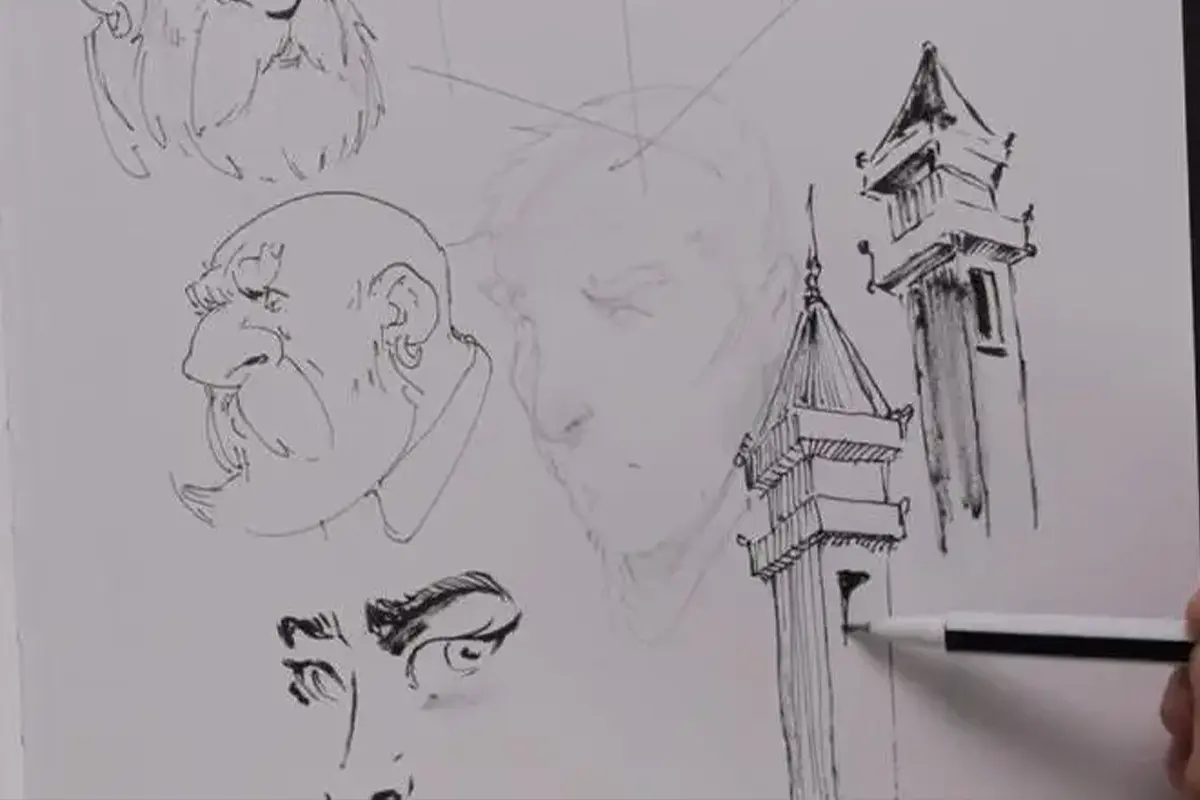
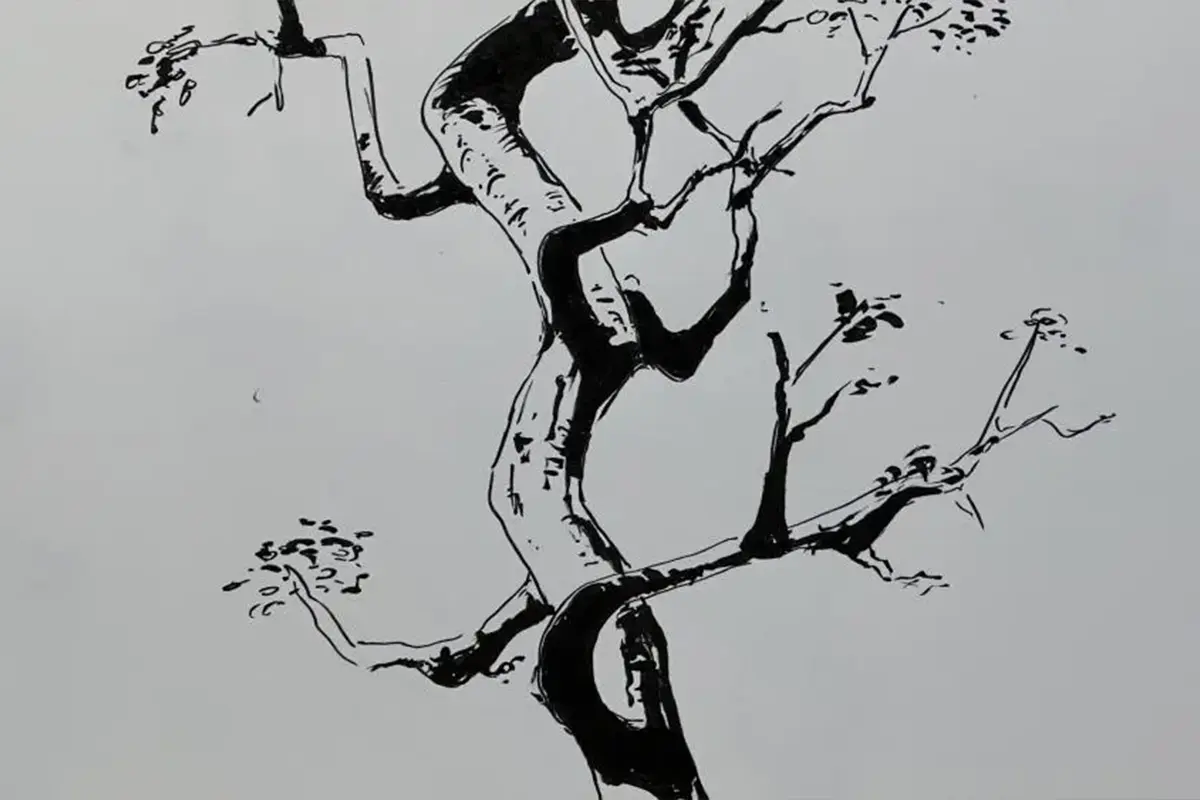
Instead of drawing every tiny element, focus on light and shadow. Take a tree, for example—block in the shadow areas rather than outlining every leaf. This contrast makes your drawings pop and feel more dynamic.
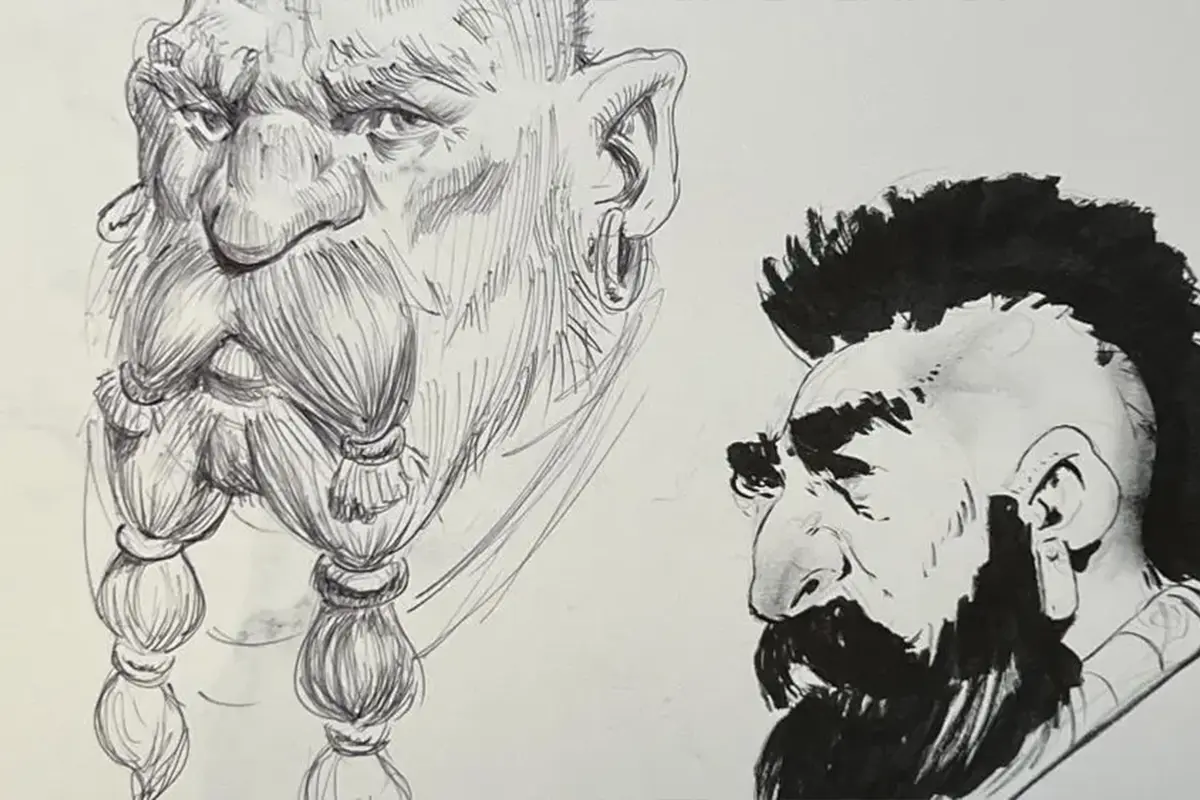
Shading isn’t just for brush pens—experiment with hatching and cross-hatching. Try short strokes that follow the form, then mix in strokes that go against the form. Each technique creates a different texture and depth.
Want more on form and rendering? Check out our Beginner Roadmap!
A well-placed focal point guides the viewer’s eye. Test this by drawing a simple scene three times, but each time, add detail to a different area. You’ll see how selective detailing controls focus and changes the entire composition.

Now that you’ve broken in your sketchbook, keep pushing forward! This space is perfect for developing spatial awareness and experimenting with drawing from imagination.
Start small—commit to just 10 minutes a day. Even if it’s as simple as grabbing a pencil and sketching anything, that daily consistency will build strong habits and sharpen your skills over time.
Keep going, keep experimenting, and most importantly—enjoy the process. See you in the next one!