How to Draw Faces: A Step-by-Step Guide for Beginner Artists
How to Draw Faces: From Loomis to Finding Your Own Style
Drawing faces is one of the first things artists want to learn - and one of the last things they feel confident about. The human face is something every person is wired to recognize instantly, which means errors are harder to hide here than anywhere else.
This art workout takes you from foundational structure all the way to developing a confidence in drawing faces. Whether you're a beginner or an intermediate artist, you will 100% find something useful.
Step 1: Start With the Loomis Method
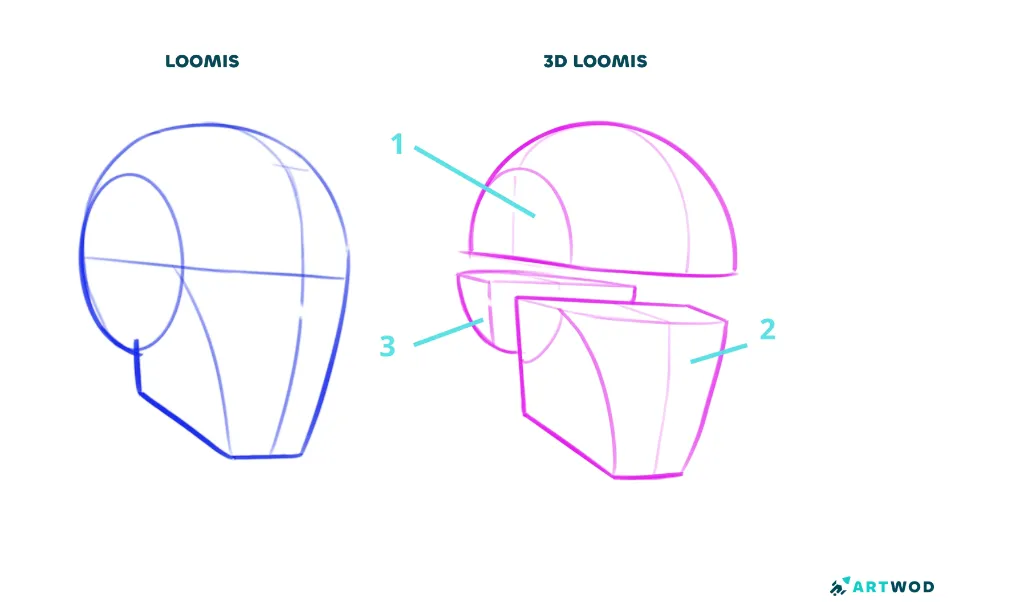
Step 1, How to Draw Faces: Loomis head to 3D Loomis head comparison
Step 2: Study the Asaro Head
The Asaro head is a faceted sculpture of the human head broken into flat planes. It teaches you how light behaves across the face - which planes face the light, which turn away.
Where Loomis teaches proportion, Asaro teaches form. Together they give you both the architecture and the surface of the head.
Try it: Sketch the Asaro head from 5 different angles, focusing on the major plane breaks - forehead, cheekbone, jaw. When the planes are drawn, try shading them with different light sources.
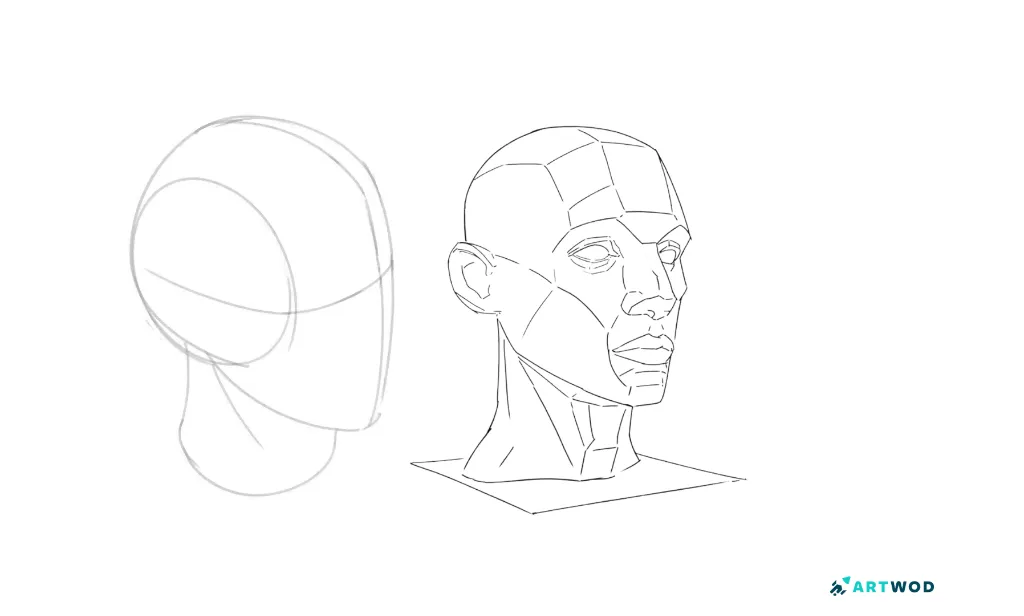
Step 2, How to Draw Faces: Loomis head for proporions and features, and Asaro head for shades
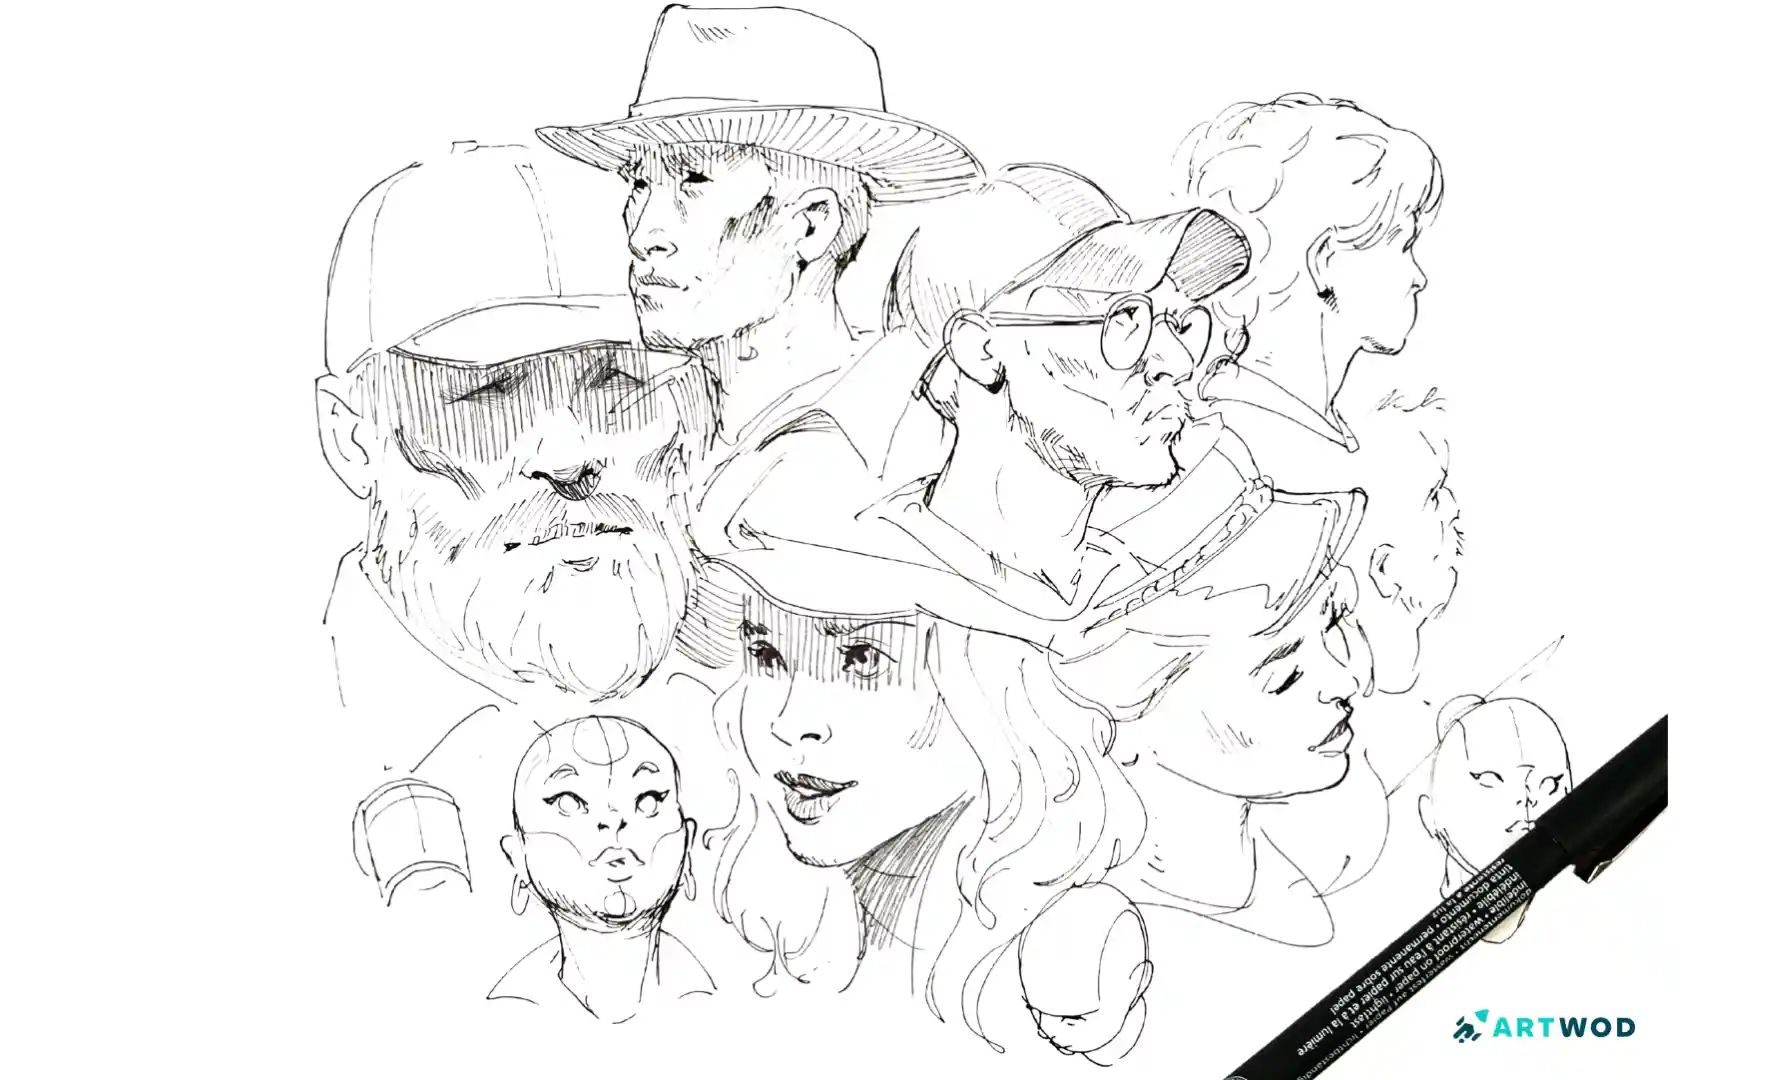
Step 3: Study Real Faces From Reference
Before stylizing, you need to actually look at faces. Pick faces with strong, varied features - old people, children, unusual proportions. Draw them carefully and notice where reality breaks the rules you learned in Steps 1 and 2.
This is also the right moment to get feedback. Upload your studies to the Artwod Feedback Tool and get structured written and visual feedback from real artists before moving forward.
Try it: Do 5 careful reference studies of faces you wouldn't normally draw.
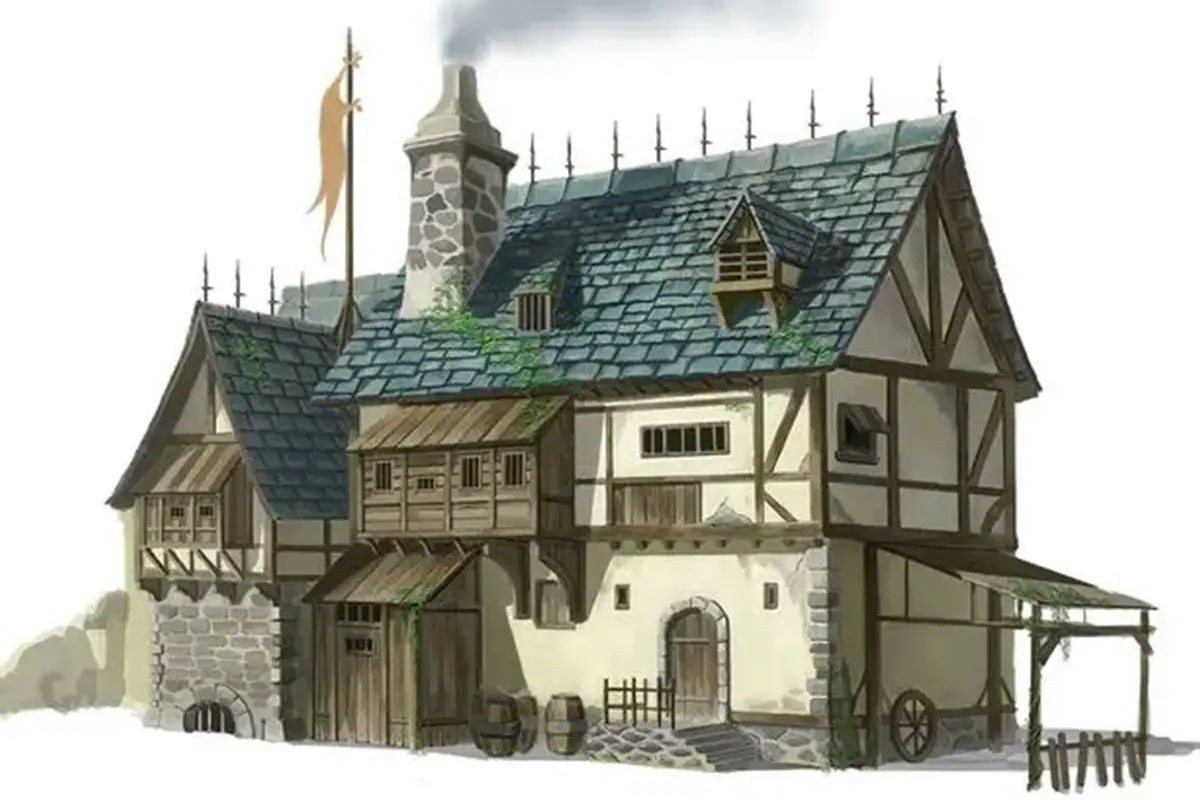
Step 4: Draw From Shapes
Forget everything that looks like a head. Start with a shape that has no business being a face - a crescent, a star, an irregular blob, a shape you'd find in a Picasso fever dream. Then ask yourself: where would the eyes go on this? Where does the jaw end? How does the nose sit on this surface?
This is where Loomis and Asaro reveal their true purpose - they're not rules, they're templates. You as an artist can modify them by artistic choice. Take your weird shape and reverse engineer the Loomis construction into it.
This is how distinctive styles are actually built - not by abandoning structure, but by bending it to serve a creative vision.
Try it: Draw 5 random abstract shapes, then turn each one into a face by reverse engineering Loomis into it. The weirder the starting shape, the better.
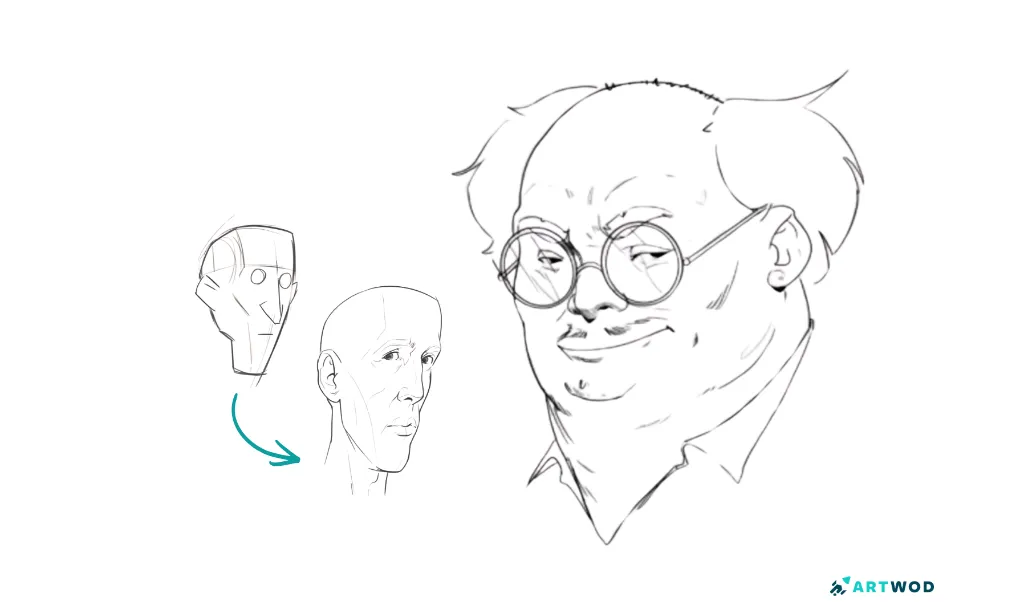
Step 4, How to Draw Faces: How to draw faces inside shapes examples
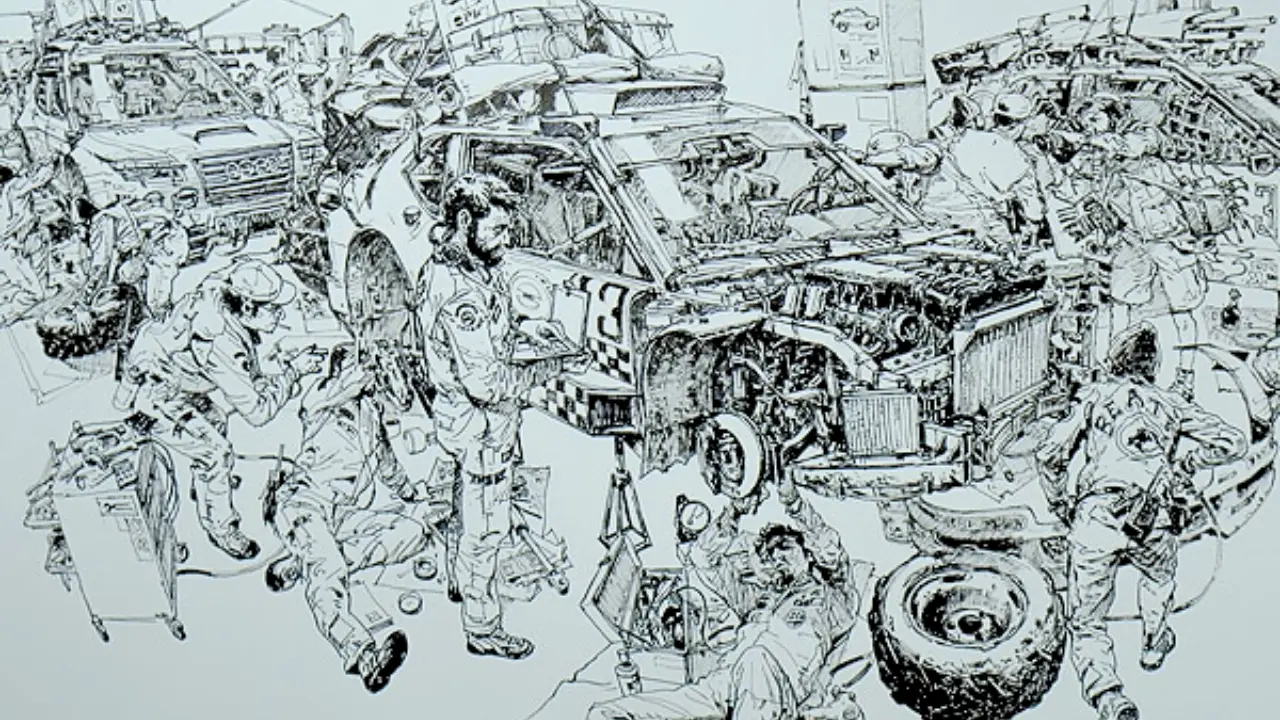
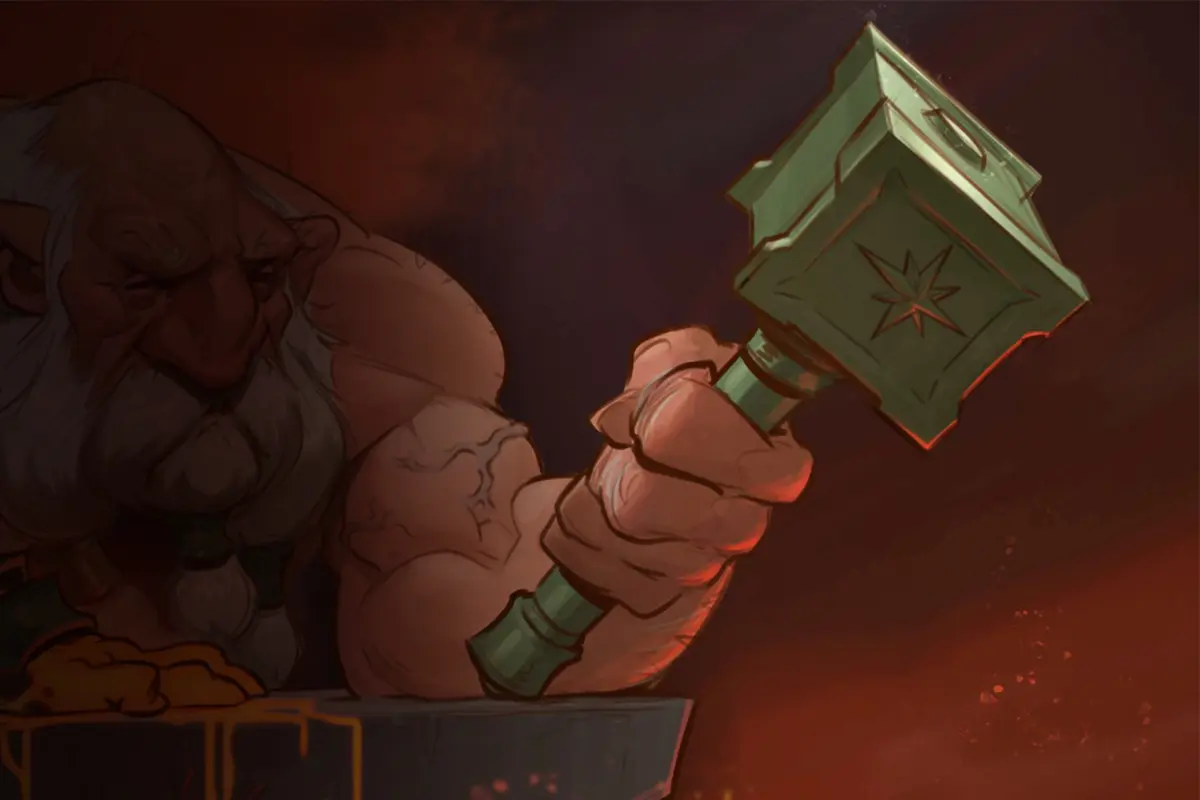
Step 5: Make Your Faces Ugly and Asymmetrical
Real faces are asymmetrical and full of irregularities. Most beginners chase perfect proportions and end up with faces that are technically correct but visually forgettable.
Draw faces with a drooping eye, an oversized nose, a jaw that juts too far. Push features to the edge. The most distinctive illustration styles in the world are built on controlled asymmetry and deliberate imperfection.
Try it: Draw 5 faces where you deliberately exaggerate one feature per face. Push it further than feels comfortable.
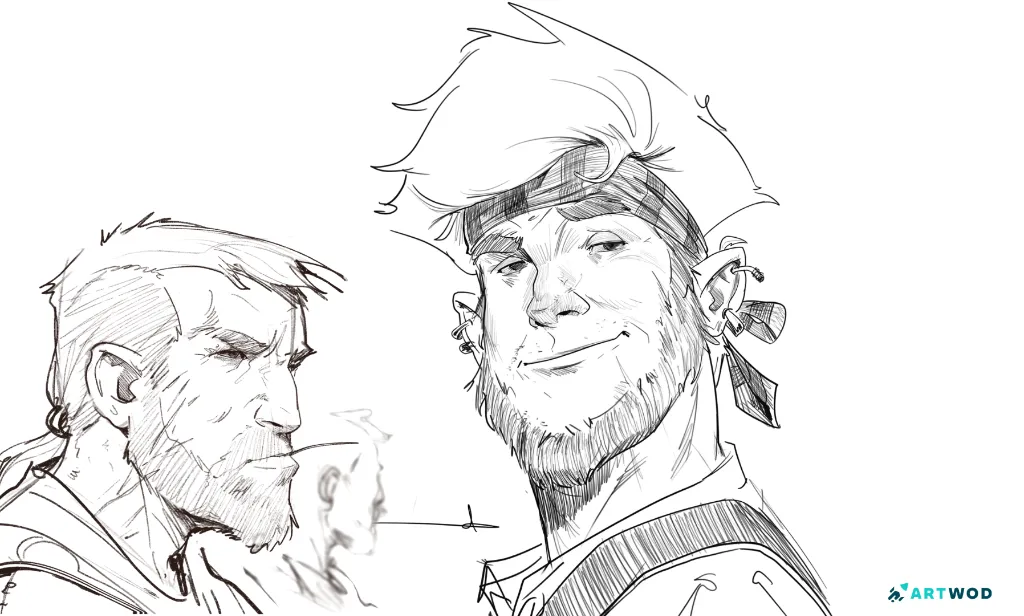
Step 5, How to Draw Faces: portrait art Antonio Stappaerts, pirate and a brute
Great job! Practice these steps frequently to skyrocket your portraits.
Upload your WIPs to the Feedback Tool to find out exactly what to fix before going further.
Related Posts