How to Draw Clothing Folds: A Step-by-Step Guide for Beginner Artists
How to Draw Clothing Folds and Drapery
Compression: folds caused by bunching
The first type of fold every artist needs to understand is compression folds. These happen when fabric gets pushed into itself - at the elbow of a bent arm, at the waist when someone sits down, at the back of a knee. Anywhere the body compresses, fabric has nowhere to go, so it bunches.
Compression folds tend to be shorter, thicker, and clustered around the joint or pressure point where the compression is happening. Think of the inside of a bent elbow - the fabric stacks up into layered folds right at the crease. Get that clustering right and the fold already reads correctly, even before you render it.
This is one of the most essential drawing tips for beginners when it comes to fabric.

5 sketches of compressed fabric, digital 2d
Tension: folds caused by pulling
The second type is tension folds, and they're the opposite of compression. Tension folds happen when fabric is being stretched between two points - a cape caught in the wind, a shirt pulled tight across the shoulders, trousers stretched over a raised knee.
Tension folds are usually longer, smoother, and more diagonal than compression folds. They don't bunch - they stretch. And they always travel between two anchor points. If you can identify where the fabric is anchored (the shoulder and the opposite hip, for example), the tension fold will run between those two points.
A lot of beginner drawings of clothing get this wrong because artists draw folds everywhere equally. But fabric only folds where something is acting on it - either compressing or pulling. Understanding the difference is a huge part of learning how to draw fabric properly.

3 sketches of drop folds - digital 2d
Draw folds on top of the form
Here's where most artists get stuck. They draw the clothes first and try to make the body fit underneath. That's backwards.
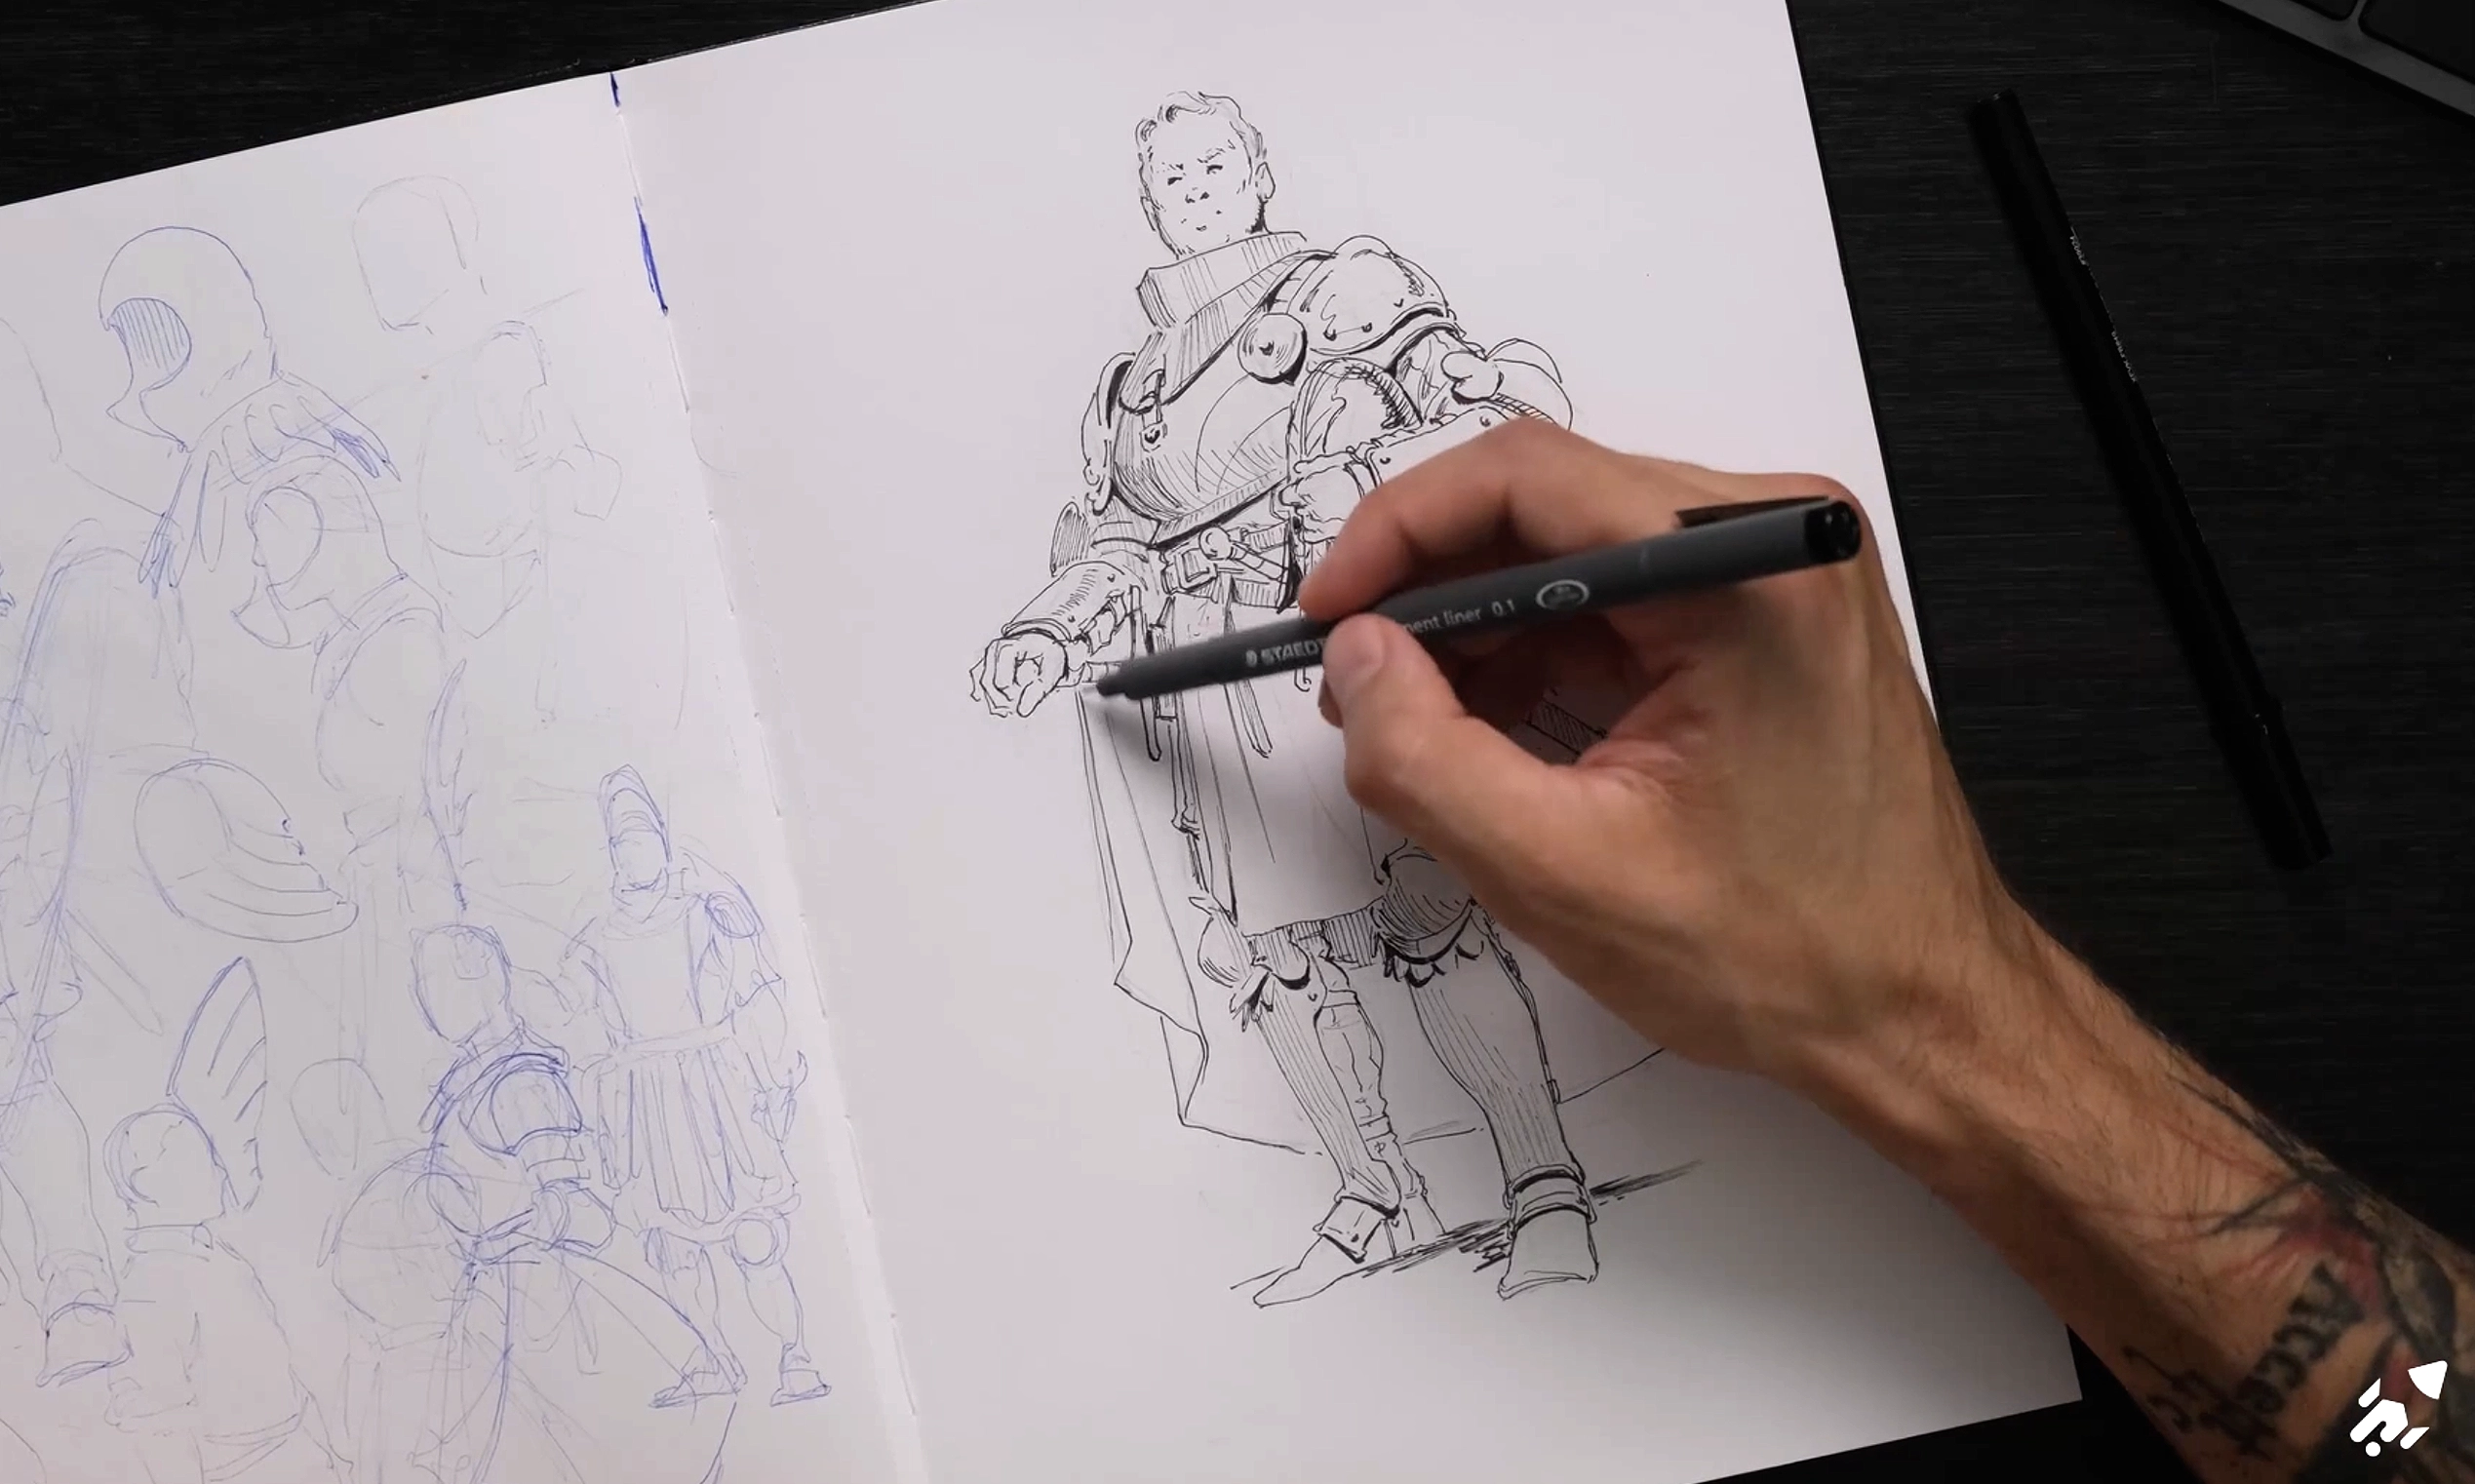
The body comes first. Always. Before you draw a single fold, you need to know what's happening beneath the fabric - the shoulders, the chest, the hips, the bent knee, the raised arm. Clothing doesn't exist on its own. It wraps around a three-dimensional form, and every fold you draw is a response to that form underneath.
So build the figure first. Block out the body in simple shapes - a cylinder for the torso, cylinders for the arms and legs, a sphere for the head. Then draw the clothing on top of that structure, letting the fabric follow the contours of the forms beneath. Folds appear where the fabric bends around a shoulder, drapes from a hip, stretches across a raised arm - all responses to the body shape underneath.
When you draw folds on top of the form rather than in place of it, something clicks. The clothing stops floating. It starts belonging to the body. And suddenly fabric feels like fabric, not lines on paper.
This is one of the most important shifts for any beginner artist who wants to level up. Body first, clothing second, details last. If you want to have more foundational drawing practice on drapery, try our Drapery Roadmap!

on the right - 2d digital sketch of a sleeve, on the left - bent arm in perspective