Halftone Techniques: Adding Texture and Depth to Your Artwork
Drawing, Painting
Halftone Techniques: Enhance Your Drawings with Texture
Halftones are something that can really bring your work to the next level, but you need to be careful of when to start working on them. This step comes only after you have established your shapes, volumes and the shadow map. But if you really want to practice them right now, we’ve prepared a quick artistic workout. Grab your tablet, and let’s finish these HALF-done drawings together!
STEP 1: Complete the halftones of this bean shape
This bean looks pretty nice already, but some halftones will be a nice addition. Add those, but keep the shadow shape distinctive, otherwise you will lose the illusion of volume.
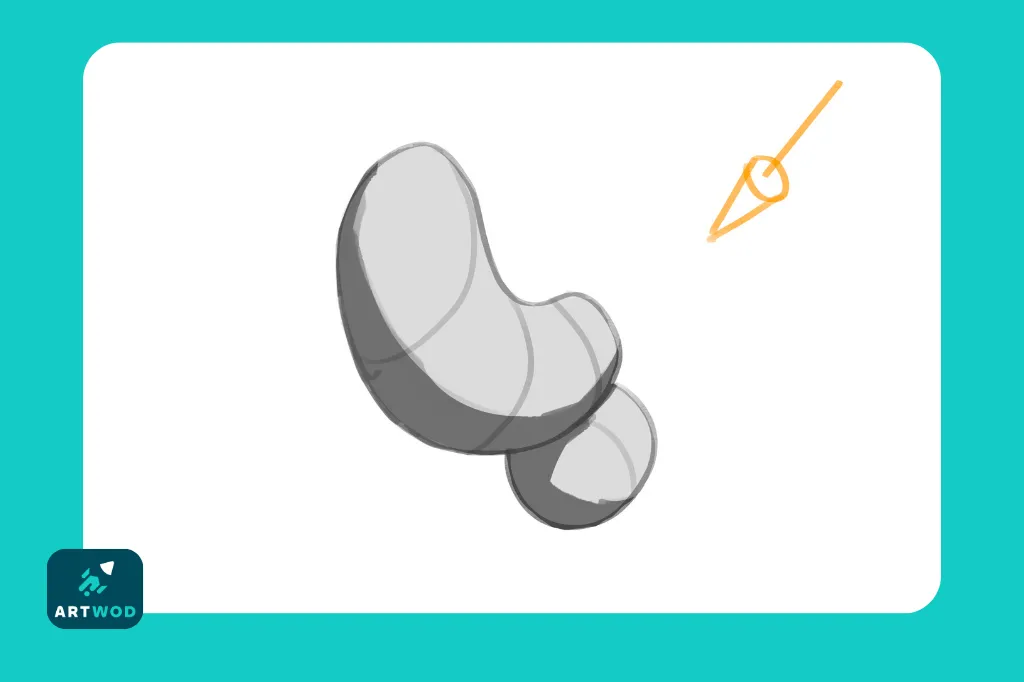
Halftones tutorial step 1
STEP 2: Complete the halftones on this nose
Now let’s try with a more difficult object. Choose one light source and add more volume to the nose. Tip: if your light source is coming from above, the darkest part of the drawing will be under the nose. But if the light is coming from the left, all the right planes will be in the shadow.
Always stay true to your shadow map, otherwise your drawing will look muddy.
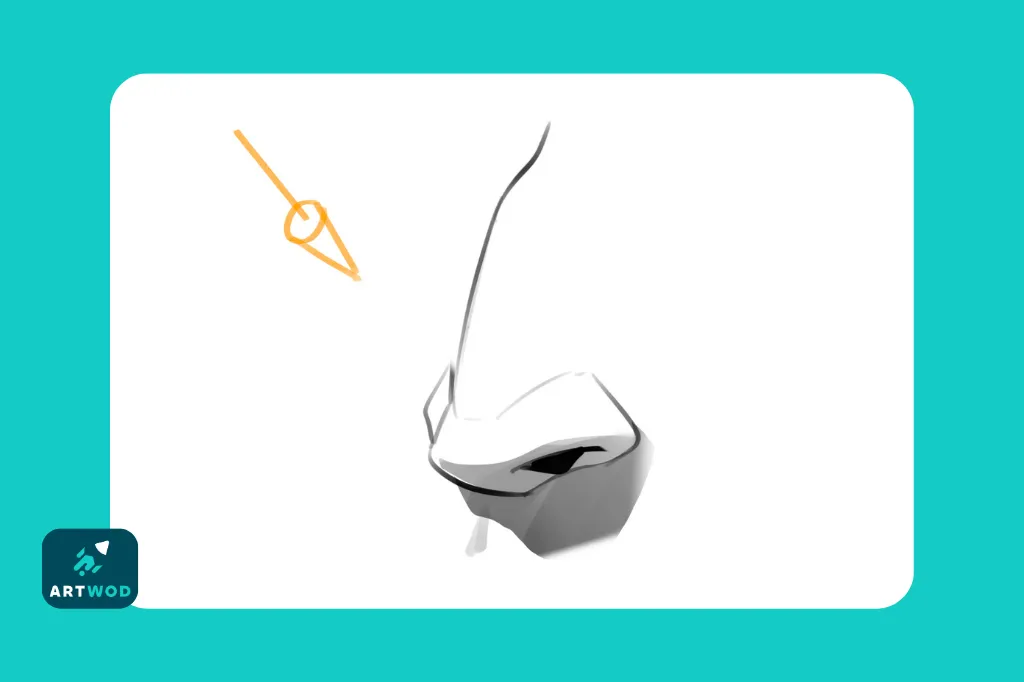
Halftones tutorial step 2
STEP 3: Complete the half-tones of this Norman Rockwell’s painting
You don’t need to copy his style if you don’t want to.
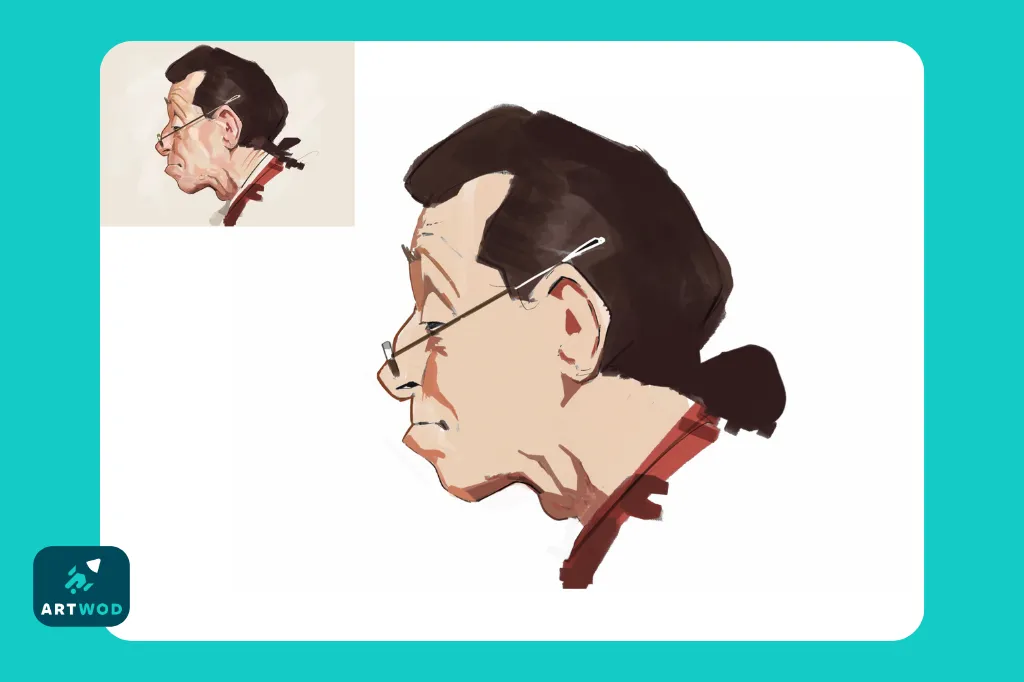
Halftones tutorial step 3
STEP 4: Take this poster and complete it with half-tones.
This portrait is already looking nice, but if you want to add more volume and make it less graphical, add the halftones. Remember to establish the light-source first!
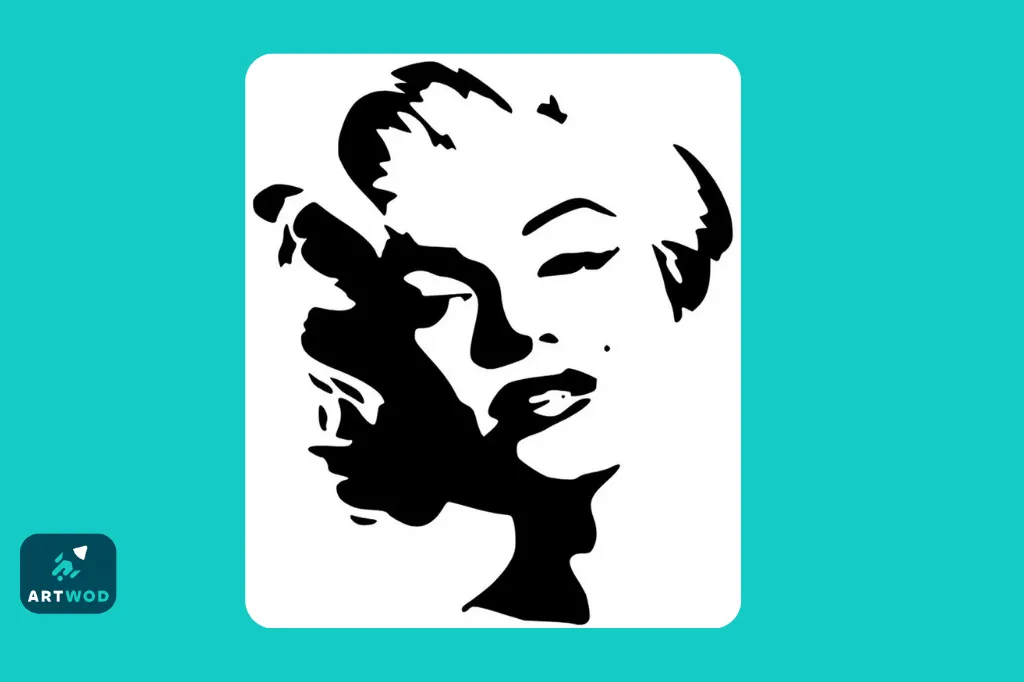
Halftones tutorial step 4
Great job! We bet you’re already feeling more confident about your half-tones. They can seem like a hard thing to do, but by approaching your work with a proper pipeline prepared, you will master those in no time.
Author: Artwod team
Published: Nov 20, 2025