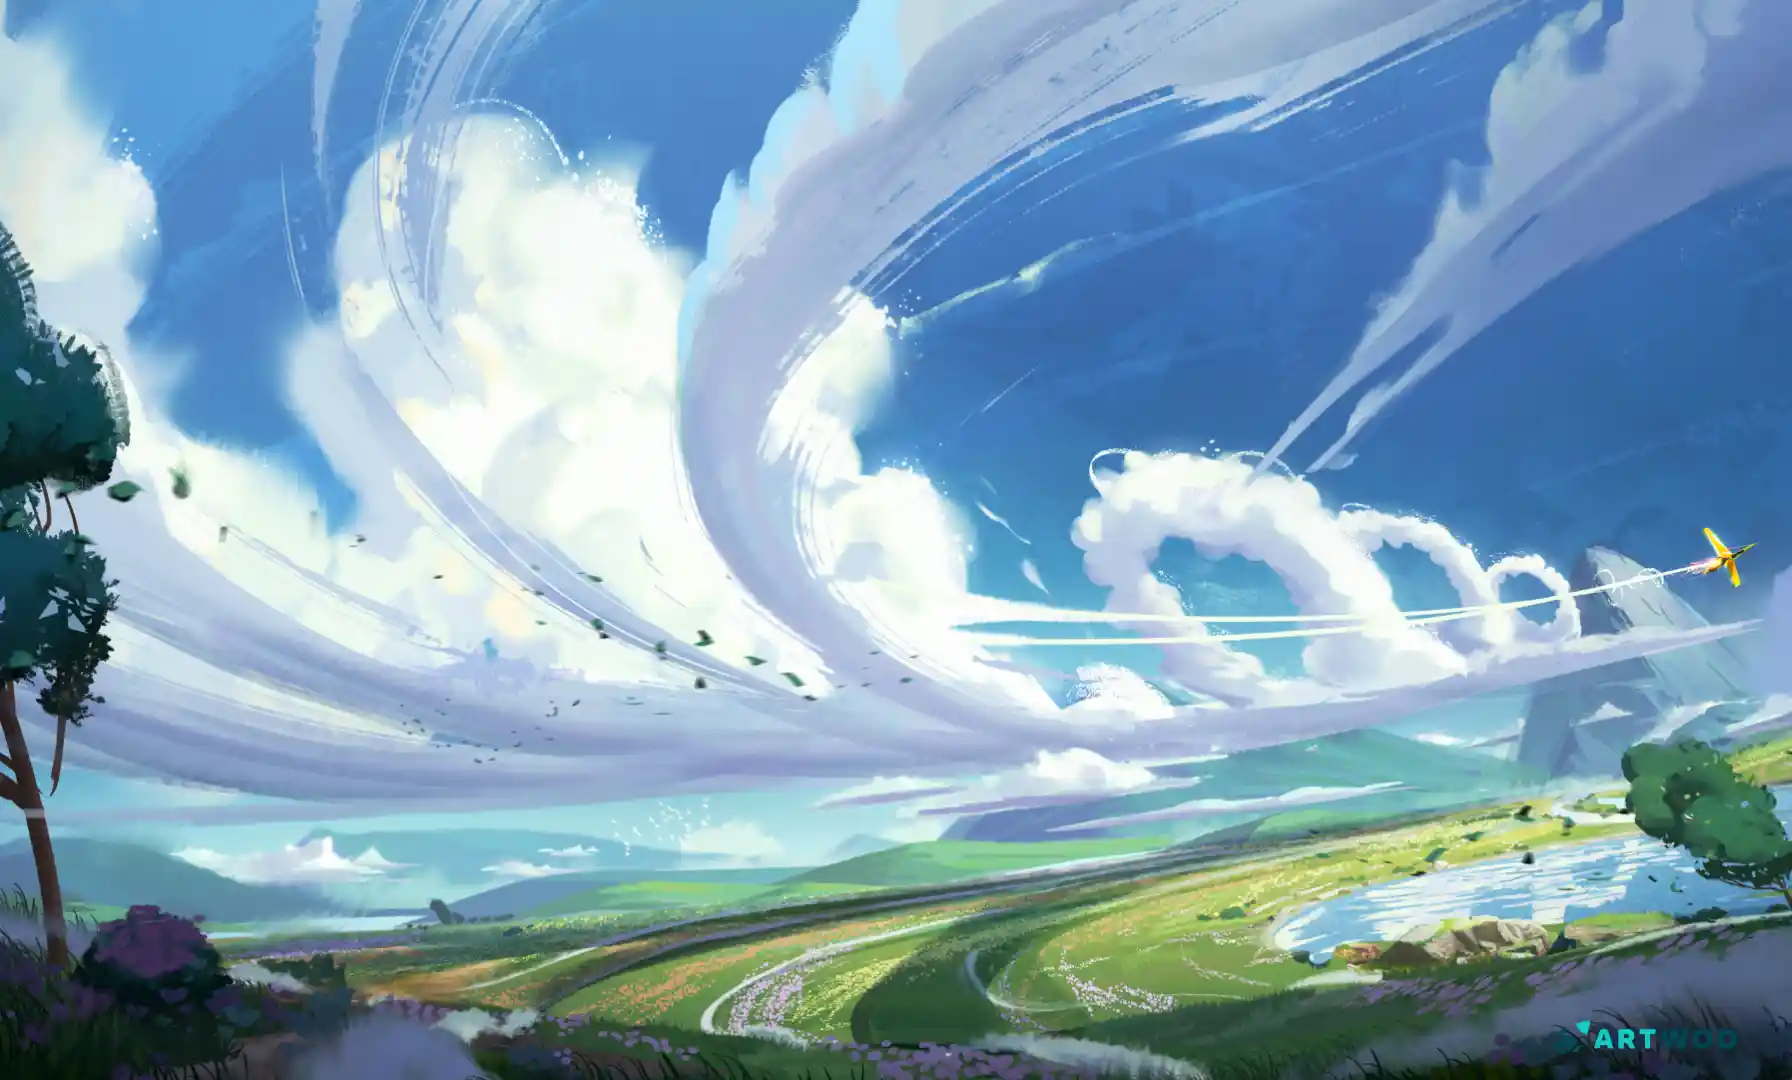
Drawing Clouds: Techniques for Realistic and Stylised Skies
Drawing Clouds: Realistic and Stylised Sky Techniques
Everybody says drawing clouds is so relaxing… But they can actually be very confusing, their soft edges making everything seem formless.
To properly draw clouds you need to know that they follow the same rules of light and volume as everything else you draw. Once you understand that, painting a convincing sky stops feeling like guesswork.
This guide takes you from perspective fundamentals all the way to a fully rendered cloud — step by step.
Step 1: Draw 20 Boxes in Perspective
Before you touch a cloud, you need to understand how light wraps around a three-dimensional form.
Boxes are the simplest way to practice this. Draw 20 of them in perspective - different sizes, different angles, different orientations. This isn't busywork. Clouds are essentially soft, irregular masses in space, and your brain needs to understand volume before it can convincingly fake softness. The box is the skeleton underneath every cloud you'll ever draw.
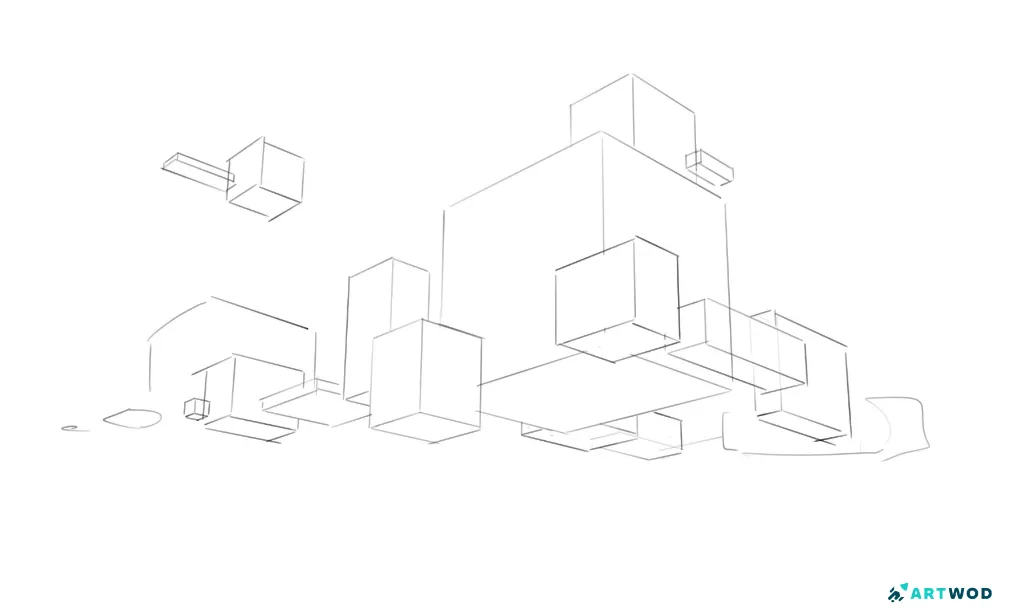
Step 1: Drawing Clouds: Realistic and Stylised Sky Techniques
Step 2: Study One Cloud
Now go find a real cloud and draw it carefully.
Look at a photo, go outside (the best option, always!), or find a reference online — it doesn't matter. What matters is that you observe before you invent. Where is the light coming from? Where are the darkest areas? What's the overall silhouette? How does the edge vary between hard and soft? One careful study teaches you more than ten drawings from imagination.
Step 2: Drawing Clouds: Realistic and Stylised Sky Techniques
Step 3: Color Your Boxes to Show Volume
Go back to your boxes and paint light and shadow onto them.
Here's the key rule: the bottom plane of any form is always darker than the sides and top, because it receives the least light. Apply this to your boxes — top plane lightest, side planes mid-tone, bottom plane darkest. This single principle is what makes a flat shape read as a three-dimensional object. Get comfortable with it on boxes before you apply it to something as irregular as a cloud.
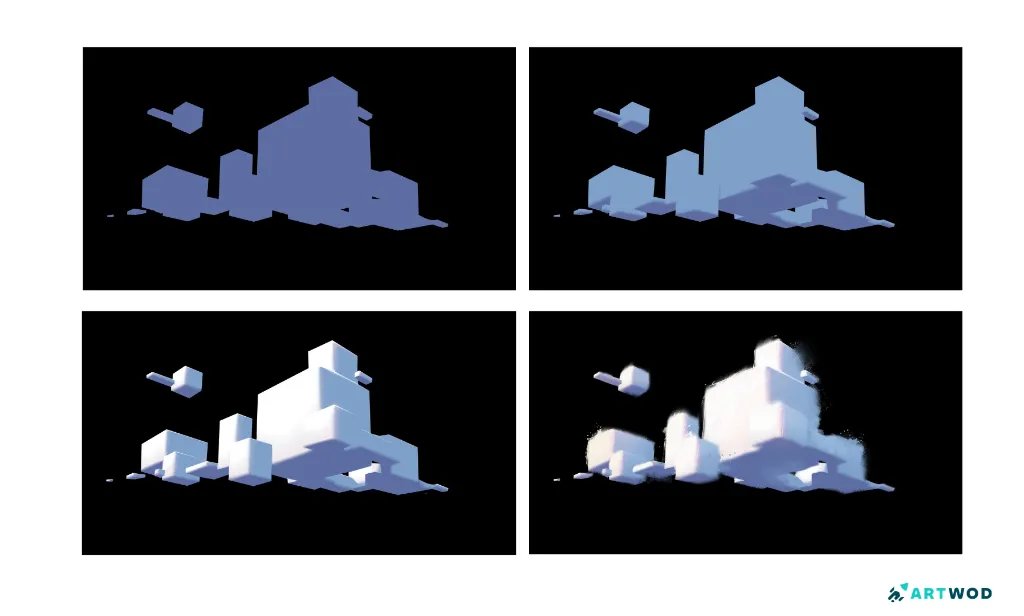
Step 3: Drawing Clouds: Realistic and Stylised Sky Techniques
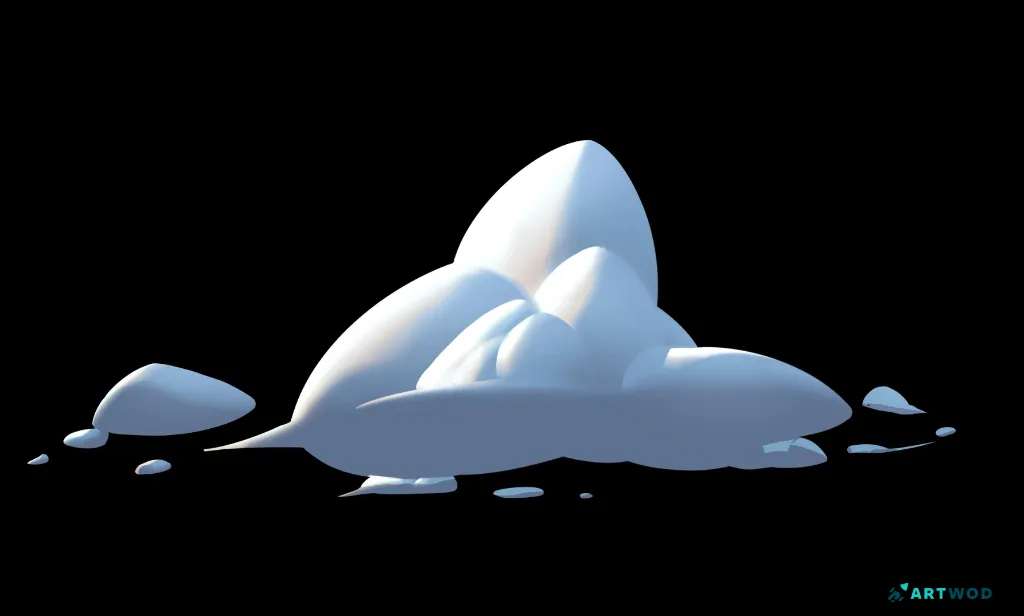
Step 4: Draw a Cloud Shape
Now apply what you've observed to an original cloud shape.
Draw the overall silhouette first — the big, bumpy, irregular outline. Don't worry about detail yet. Think about the overall mass: where is it heaviest? Where does it taper? A cloud is essentially a pile of soft spheres stacked and merged together, so let that logic guide your silhouette.
Step 4: Drawing Clouds: Realistic and Stylised Sky Techniques
Step 5: Add Volume to the Cloud Shape
Now bring your box exercise into the cloud.
Break the cloud mass into its component forms — the rounded lobes and bumps that make up the whole shape. Apply the same light logic you used on your boxes: top planes catch the most light, bottom planes sit in shadow. The bottom of a cloud is almost always its darkest area. Push that contrast — the more clearly defined your light and shadow, the more volume your cloud will read
Step 6: Render Your Clouds by Smudging the Edges
Now soften everything.
Clouds are defined by their edges — or rather, by the careful management of where edges are hard and where they dissolve. The lit top edges of clouds tend to be softer and more diffused. The shadowed undersides can be slightly harder. Smudge and blend your edges selectively, keeping some areas crisp and letting others melt into the sky. This is what separates a rendered cloud from a painted blob.
Step 6: Drawing Clouds: Realistic and Stylised Sky Techniques
Clouds reward the same approach as everything else in drawing — understand the structure, study the light, then render with intention. The softness is the last step, not the first.
Finished your cloud study? Upload it to our Feedback tool and get written and visual feedback from real artists on your values, edges, and light logic.