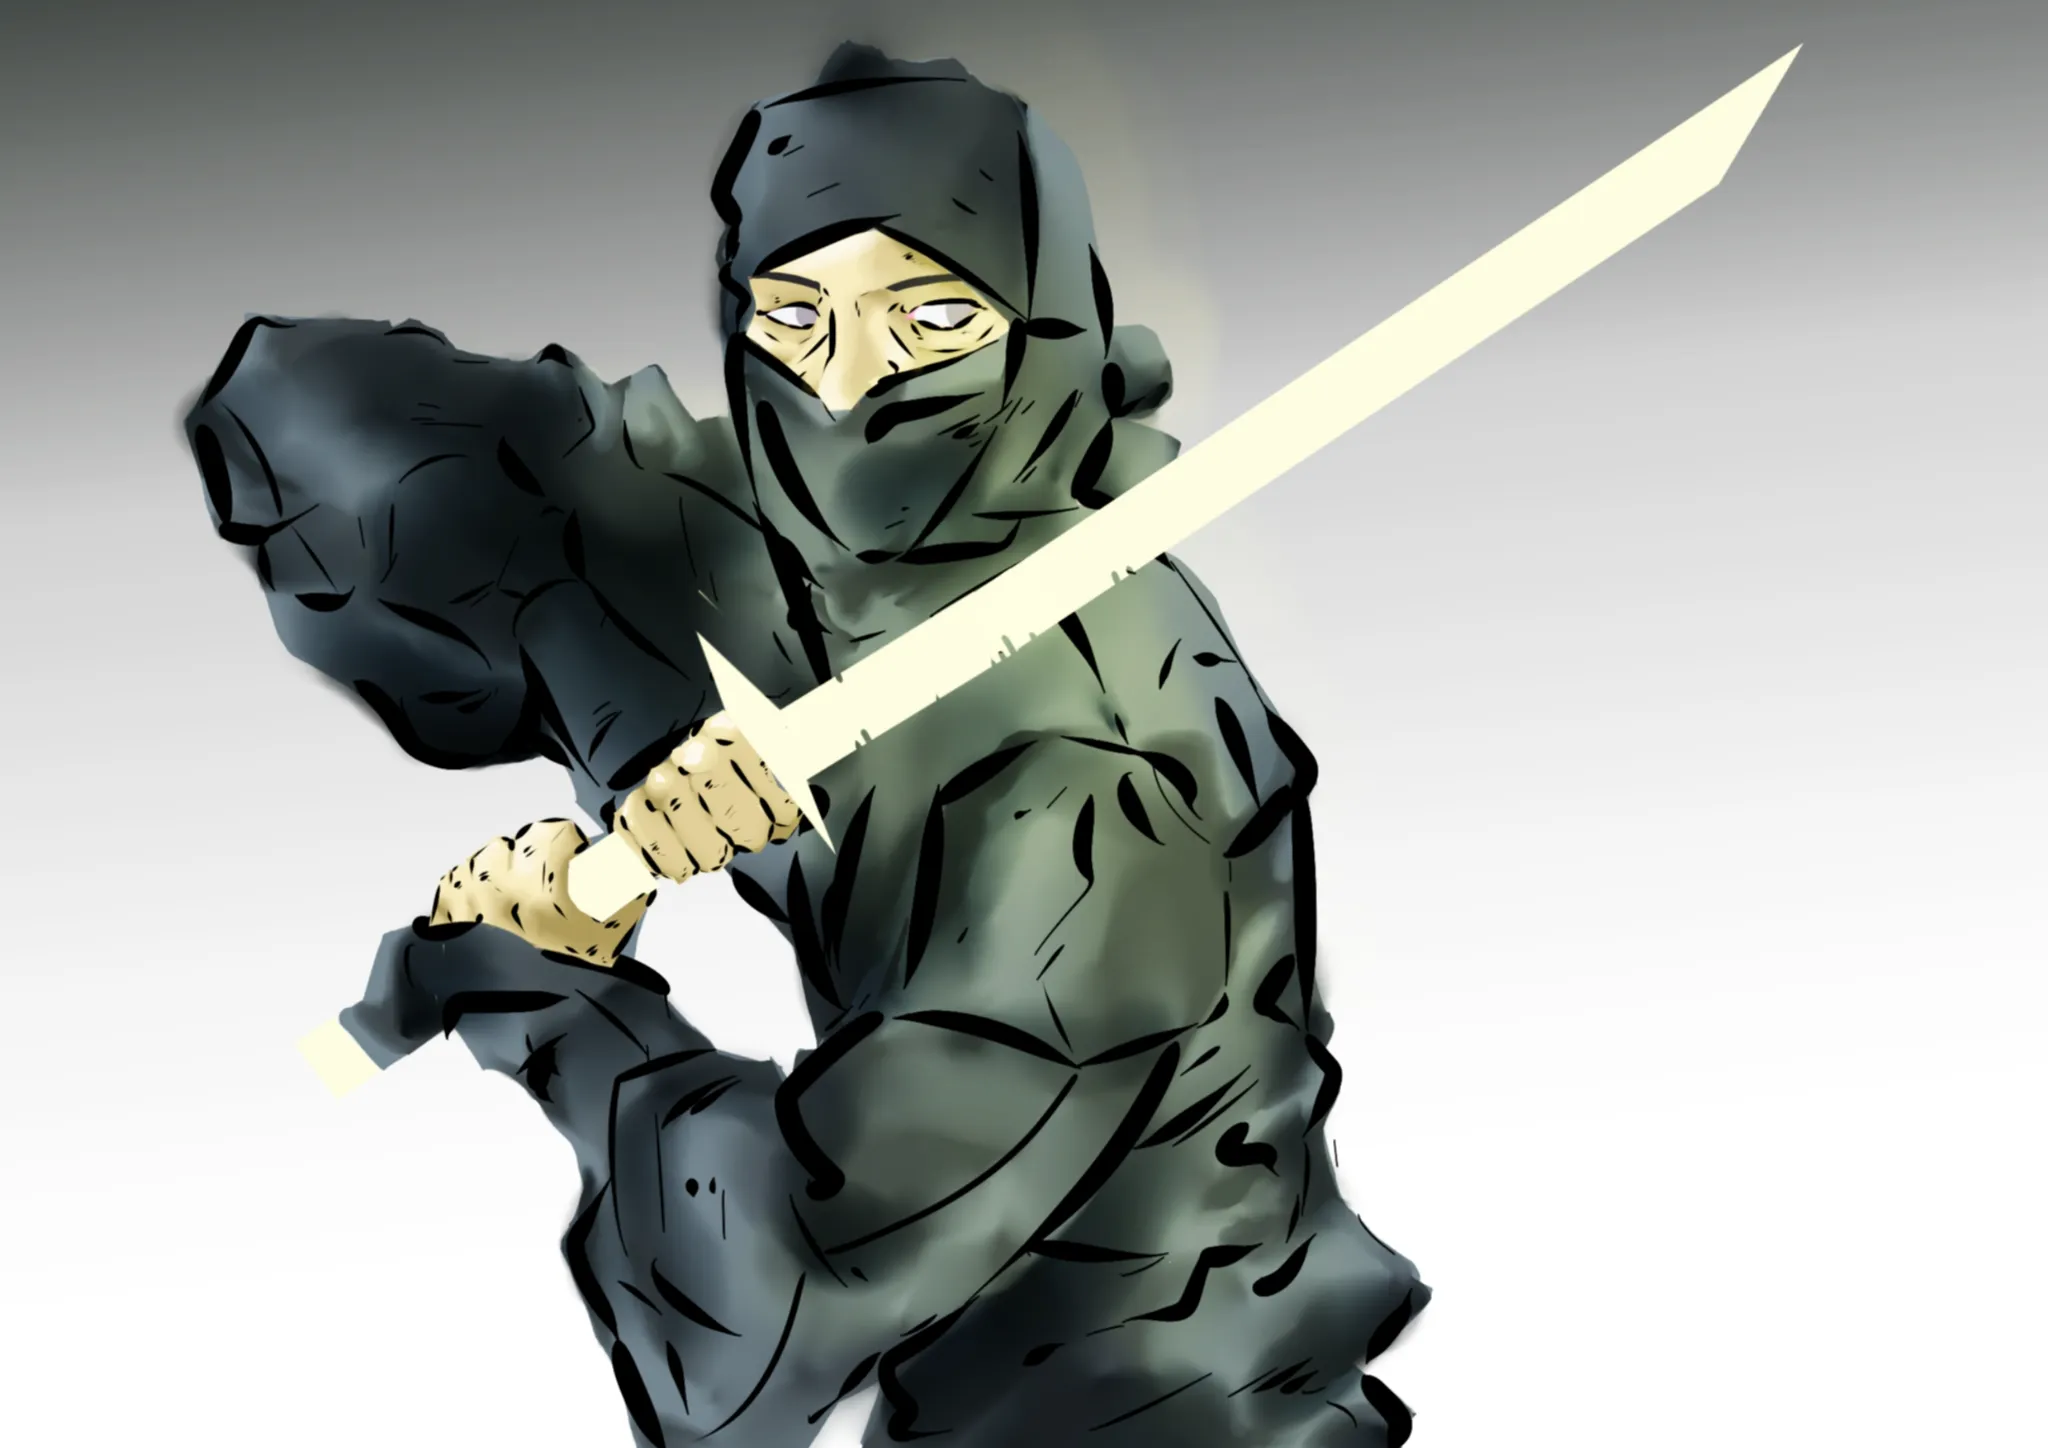
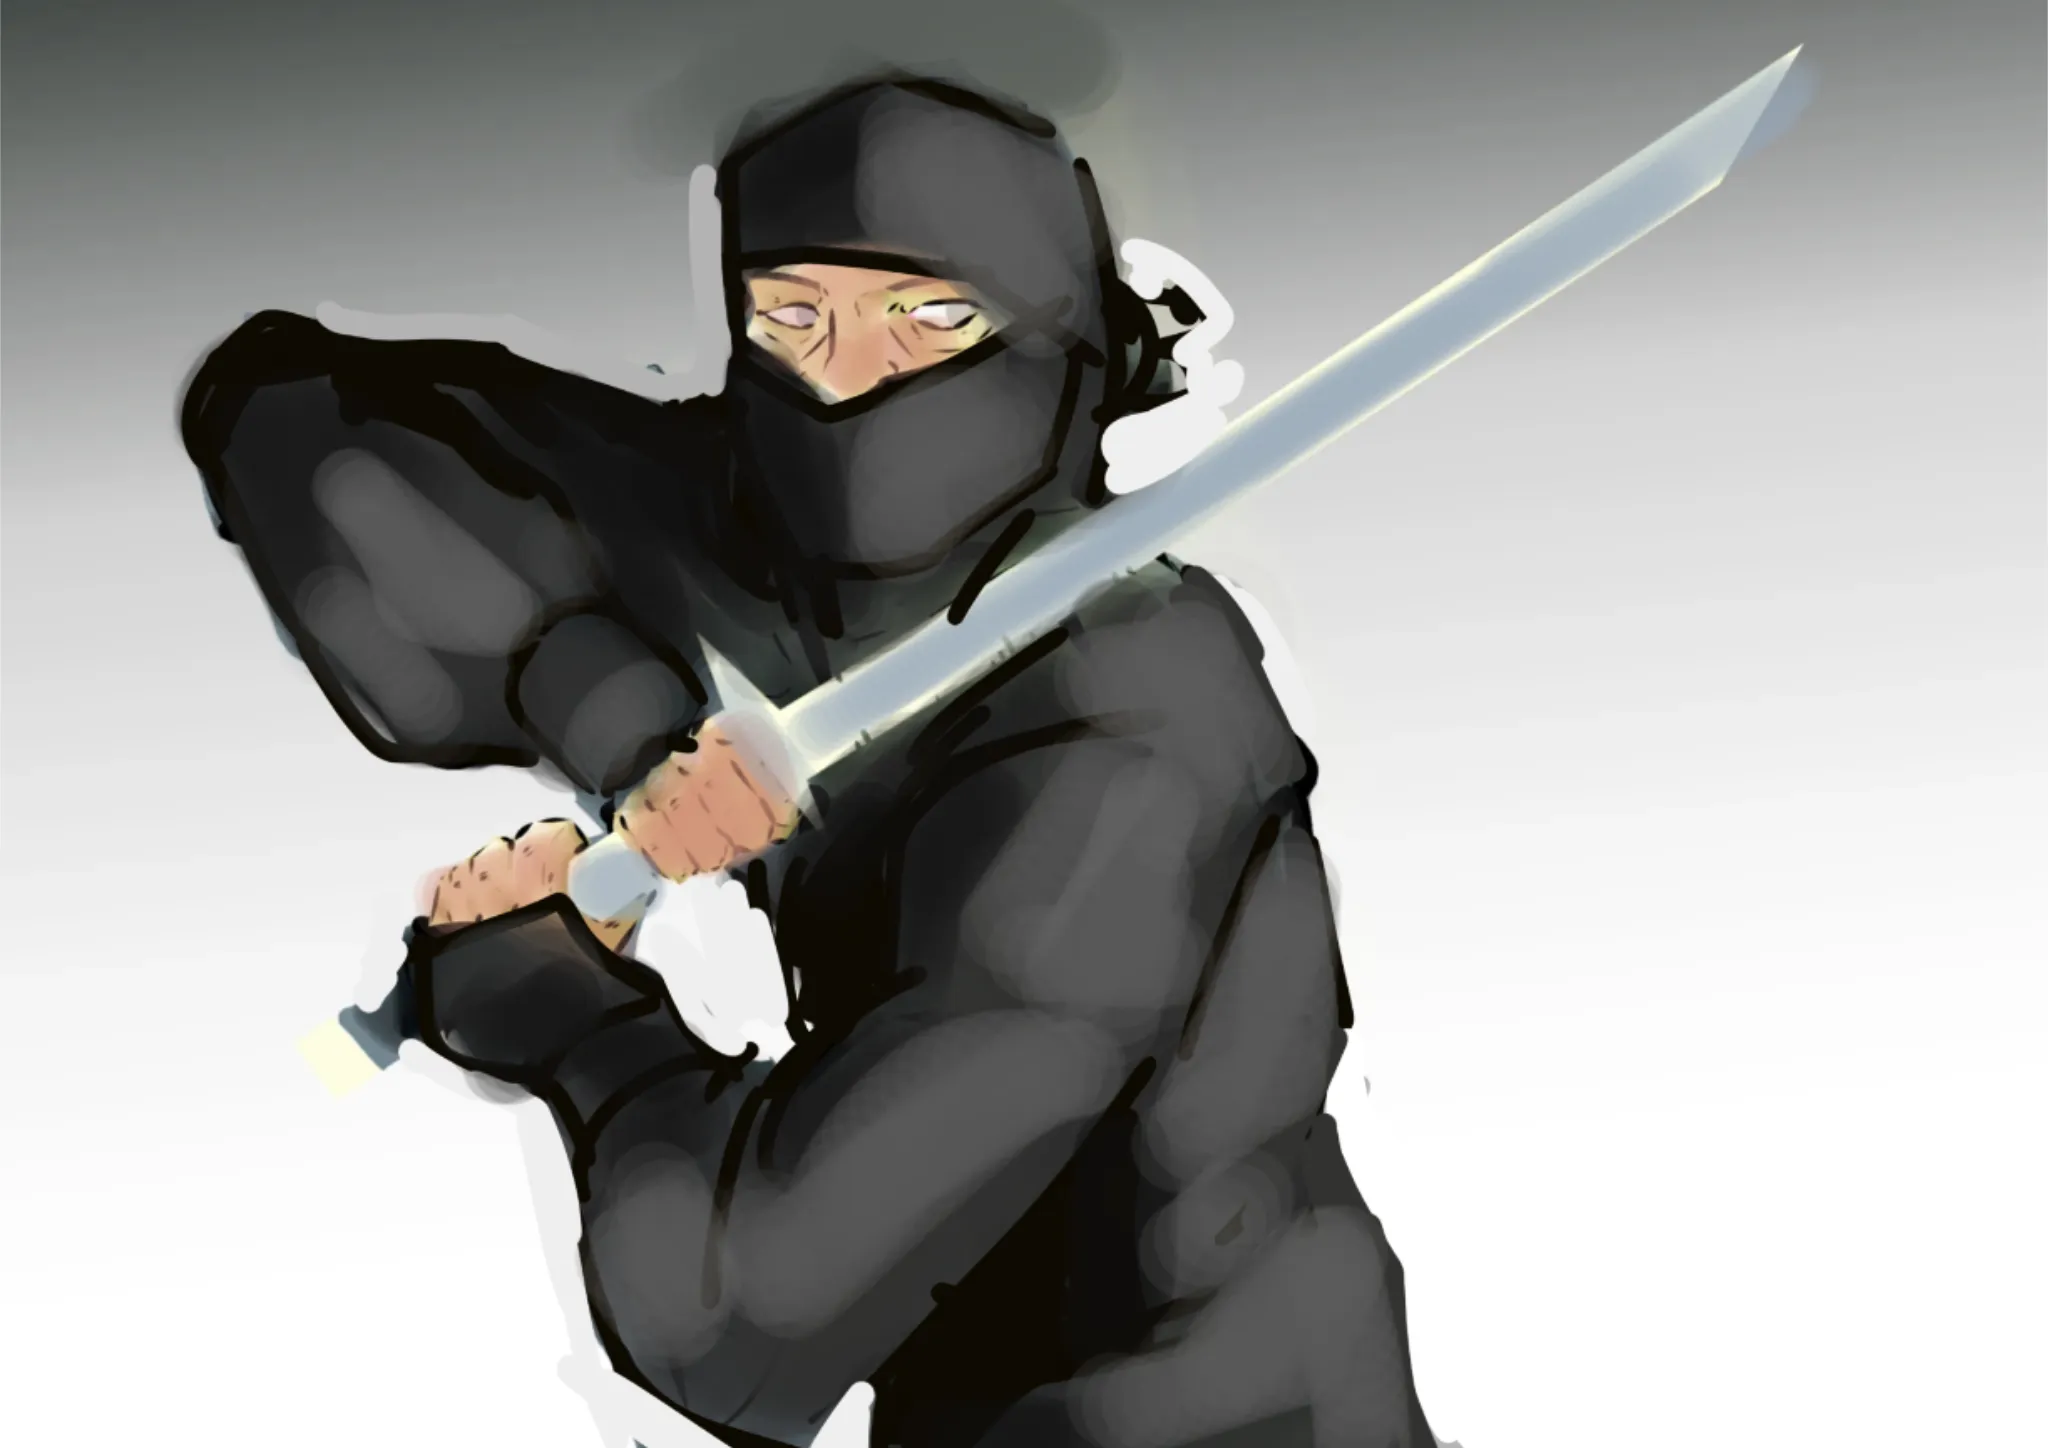
Hi Hi Great idea to practice folds and light! Here is simplified for an easier learning shading process but you can break it into smaller folds if you wish to practice very detailed creation. It all comes down to principles of big>medium>small and form manipulation. Determining tension points—where cloth is pulled—and compression points—where it bunches—is essential to producing realistic draperies that follow the body's curves. Determine where the fabric is being pulled (e.g., shoulders, elbows, hips) or pinched together. These largest folds dictate the form. They usually radiate in a "V" or "Y" pattern from tension points. In between the primary folds, these are smaller, shallower creases that provide intricacy. Create cylindrical, tubular, or zigzag shapes with the folds to symbolize the roundness of the torso and limbs, depending on the position. Shade the inside of the folds, keeping in mind that thicker fabrics, such as denim, make larger, fewer folds than thin cloth, which produces many tiny folds. With created solid structure,we can move on shadow placement. Setting up a light source—in this case, the light from the side—is necessary for a decent render. Place the shadows on multiple levels, align the character components with the main shadow, and use a neutral color for the shadows (typically warm for cool light and cold for warm light). You can experiment with textures on the drawing's light side during the finishing touches. Be cautious when installing artwork and try not to overdo it to avoid making it noisy for observers. I used the Overlay layer for light and the Multiply layer for shadows. Over flat hues that should not be overly bright or dark, both must be balanced (not too dark or too saturated). Hope it helps!
Participez à la discussion
Inscrivez-vous pour donner votre avis sur cette œuvre.